
Updated: 05/10/2024
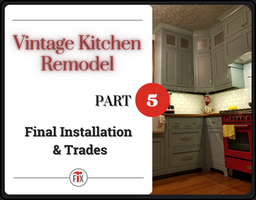
Part 7 of the Vintage Kitchen Remodel brings us to the final phase of the project, so don’t miss out - Kitchen Remodel Lessons Learned & Closeout. This phase wraps up all remaining details, work, inspections, and lessons learned, which we will document and take on to the next project. Let’s wrap up this kitchen remodel project!
Vintage Kitchen Remodel Lessons Learned and Closeout
Kitchen Remodel “Punch List”
Final Work To Be Completed
Final Function Checks
Final City Inspection
Final Cleanup
Final Payments/Invoices
Product and Material Returns
Kitchen Remodel Lessons Learned
Kitchen Remodel “Punch List”
The last phase of work left us with everything installed in our new kitchen. So now we just need to go back and clean up all the final details and finish the remaining work.
The “punch list” – Whether it’s your personal “to do ” list to complete the kitchen 100%, or your contractor’s list, make sure it’s complete so nothing is forgotten.
This list is especially important with contractors, to ensure all remaining work is completed to satisfaction before any final payments are made.
Final Work To Be Completed
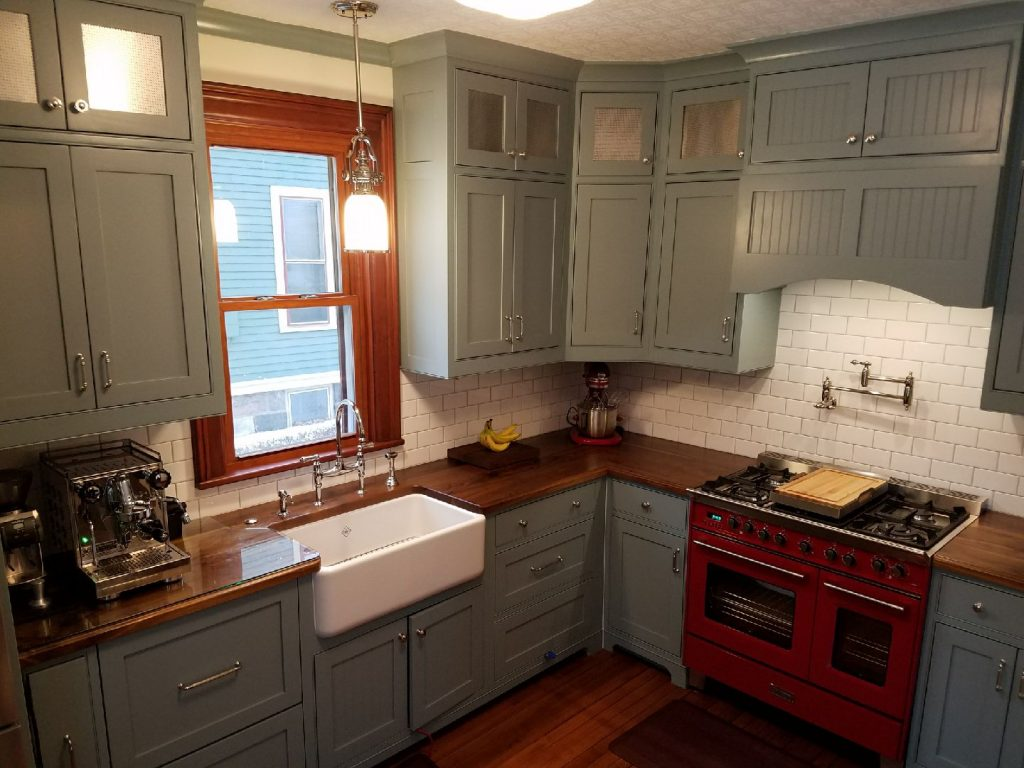
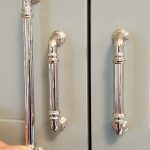
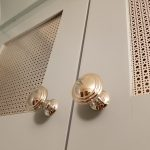
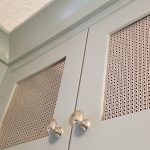
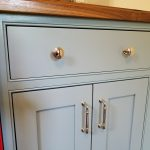
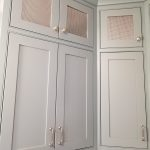
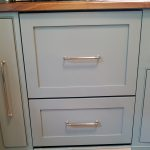
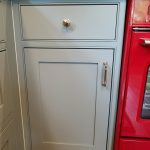
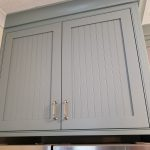
Install Cabinet Hardware
- There are many, many options and configurations to choose from!
- TIP: Leave the hardware for last, and bring home different samples to see how it will look in “real time” – sizes, shapes, diameter, finish.
- Location – There are so many options, and almost no standards when it comes to location and mixing/matching (same style knobs, pulls, bars).
- For example, the style of pulls we used come in multiple sizes, from 4-12 inches in length. The knobs have a large and small diameter option too. So, you really need to see them in person, to get the look just right!
- This is why you want to do “trial runs” to see what looks best with your cabinet configuration. Spacing really comes down to personal preference and aesthetics. Again, this almost drove us crazy, but again, there are really no absolute standards.
- TIP: Look at kitchen remodel magazines and books for ideas to get you started.
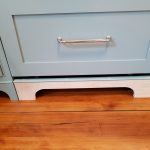
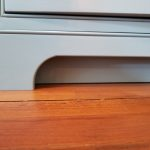
Install Custom Cabinet Toe Kicks
- Two-piece configuration – 1) Backplate 2) Front trim piece
Caulking, Painting, Touch-Up
- There will definitely be small tasks left over now that all the major work is done.
- Caulking around the sink (inside/outside), and around the cabinets.
- Painting any areas scuffed/damaged during the final kitchen assembly.
- Fill nail heads (trim, toe kicks, etc), and paint touch up.
Final Function Checks
- This is the final opportunity to perform ALL mechanical/electrical function checks before the final inspection.
- Check all appliances, plumbing, and electrical for proper function and for leaks (if applicable).
- Function – Make sure refrigerator is operating at the correct temperature, making ice, etc. Ensure the stove is heating properly and at the correct temperature.
- TIP: We used a standard BBQ digital thermometer (with probe) and found our large oven was off by 40 degrees, thus needed a service call to re-calibrate and replace the thermostat. Better to know this while it is still under warranty! Verify everything!!!
- Leaks – Make sure there are no water OR gas leaks (plumbing, appliances, etc)
Verona Baking Sheet Size – 13W” x 17 3/4″L
Fasten to sides of cabinets
Function check all appliances
Attach water line, check for leaks
Final City Inspection
- Refer back to Vintage Kitchen Remodel: Part 4 – ProjectManagement for detailed inspection information.
- Remember to schedule a back-up day in case you fail inspection and have minor rework to perform.

Final Cleanup
- Time to haul off all remaining scraps and demo items! Need a simple solution? Check out the Bagster. I have used them a few times, and they are awesome! Buy the bag, fill it up, and then schedule a pickup. The truck pulls up at the curb, extends a boom arm into your yard, picks it up, and DONE!
- HEPA vaccuum all surfaces.
- Wipe everything down
- Wipe down interiors of cabinets to ensure they are dust-free and clean before leading your dishes, etc.
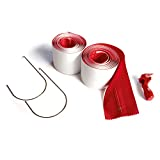
- Remove your Zip-Wall if still installed.

Zip Wall Zipper
Final Payments and Invoices
- This step is pretty self-explanatory, but the focus is to reduce your risk.
- Never pay contractors 100% of the project price until it is completed to your satisfaction, and/or per the contract and scope of work!

Product and Material Returns
- Now that the project is complete, round up any/all unused or excess materials and supplies
- TIP: Hold onto some excess like tile, or anything that might be broken/damaged in the future, that may be hard to replace. You’ll thank me down the road!
- Return any unused materials and excess before the return policies run out. Stay on top of this one, as you don’t want to be stuck with an expensive pile of excess at the end of the job!
Kitchen Remodel Lessons Learned
- Plan twice, build once! Reference back to the technical blogs on PLANNING.

- Tired of a loud, ineffective, recirculating range hood?Opt for the “remote blower” option – covered in blogs:
- Protect Your Wood Countertops
- Revisit Farmhouse Kitchen Remodel: Part 5
- Seal all 6 sides, to include after holes are drilled, and final cuts made.
- Vapor barrier above the dishwasher.
- Glass cover for espresso machine – If you have a hot, messy appliance that likes to spew steam, water, and coffee grounds…protect your wood countertops. We had this custom piece of glass made.
- Add felt furniture pads to potentially damaging items like mixers, chopping blocks, small appliances, etc
Bare Walnut/Walnut w/ Waterlox
Kitchen Remodel – Wood Kitchen Countertops
Vapor Barrier – Dishwasher
Felt Protection Pads
- Try To Anticipate Interferences– We encountered a few!
- The Refrigerator – With french doors, any location against a wall, etc, will be challenging. The left door will only open about 70%. We’ll have to live with it!
- Kitchen Cabinet Hardware – Pay close attention to potential clearance issues here. Our plan was to go with the vintage “pulls”, but those plans were thwarted due to tight corner cabinet clearances. We had to go with knobs instead, but it turned out ok. We didn’t want to THREE different types hardware anyway – knobs, pulls, and bars.
- Kitchen Cabinet Hardware – Remember not all kitchen cabinet hardware templates that you can buy will line up with every cabinet/hardware configuration (especially when centering). So expect to layout/install some locations manually, or easily modify your hardware template.
- Cracks in Plaster and grout are inevitable, but easier to fix than you think!
- Our plaster guy re-skimmed the walls – Fixed for a few hundred bucks!
- We used the anaglytpa wallpaper o the ceiling – Fixed for a few hundred bucks!
- Expect grout to crack from “new” material movement (tile board and drywall is pretty stable, but other new materials are not…like our countertops. So as previously mentioned, we’ll have to go back and touch-up.
- Kitchen Load Planning
- Remember: A place for everything, and everything in its place!
- Use “smart” storage options and organizers.
That is all for Kitchen Remodel Lessons Learned!
Conclusion of the Farmhouse Kitchen Remodel Series
So…all good things must come to an end! I know remodeling is tough and can be very intimidating at times. I must admit, along this journey, I thought the same myself, on several occasions! Rest assured that knowledge is power! I sincerely hope this Farmhouse Kitchen Remodel series has served to guide, encourage, empower, and educate you on your journey as you fix, repair, maintain, and restore your Old House!
Again, if you need kitchen remodel help or inspiration, head on over to the My Old House’Fix” Kitchen Remodel Resource Page !
Best of luck, and keep on Fixing!

For more info visit: www.myoldhousefix.com

Posts may contain affiliate links. If you use these links to buy something, we may earn a small commission (at no additional cost to you). Full disclaimer HERE.







0 Comment(s)