Updated: 05/10/2024
Have you had to call a plumber lately for any plumbing repair? Chances are you have, and even if it was just to clear a slow drain…30 minutes later Roto Rooter is leaving, and your wallet just shrank by about $100. Sometimes you do need a plumber, but with some minimum DIY skills YOU can save a ton of money and prevent a potential plumbing emergency! Who’s with me???
This time we are going to talk about plumbing repair and maintenance. Whether it's copper, galvanized, or PEX, chances are you have an old, or aging plumbing system (that can pose health risks-previous blog) that is in need of at least a little TLC…I know mine is! So this week we are going to look at slow drains, clogged pipes, leaks, and sewer pipe maintenance.
GOT SLOW DRAINS?
Plumbing Repair and Maintenance – In The Bathroom
True story! So we had slow drains, and for eight years I plunged…I used drain cleaner…I used a drain snake…I plunged some more…I know you can relate, right! So we finally remodeled our bathroom (this will be a future blog!!!), which included all new plumbing. Slow drain problems solved, right??? Yeah…for about 6 months! Between my wife’s hair, our dog’s hair (we taught him how to take a shower, lol), hair conditioner, and soap goo, we had a slow drain…AGAIN after about 6-8 months!
What??? Yep, even with new plumbing, I have found that some good old plumbing maintenance once, preferably twice a year, can keep your sink, shower, and tub drains flowing like new for a long, long time. And the good news is it will only set you back about $25…not $100 for a plumber!!!
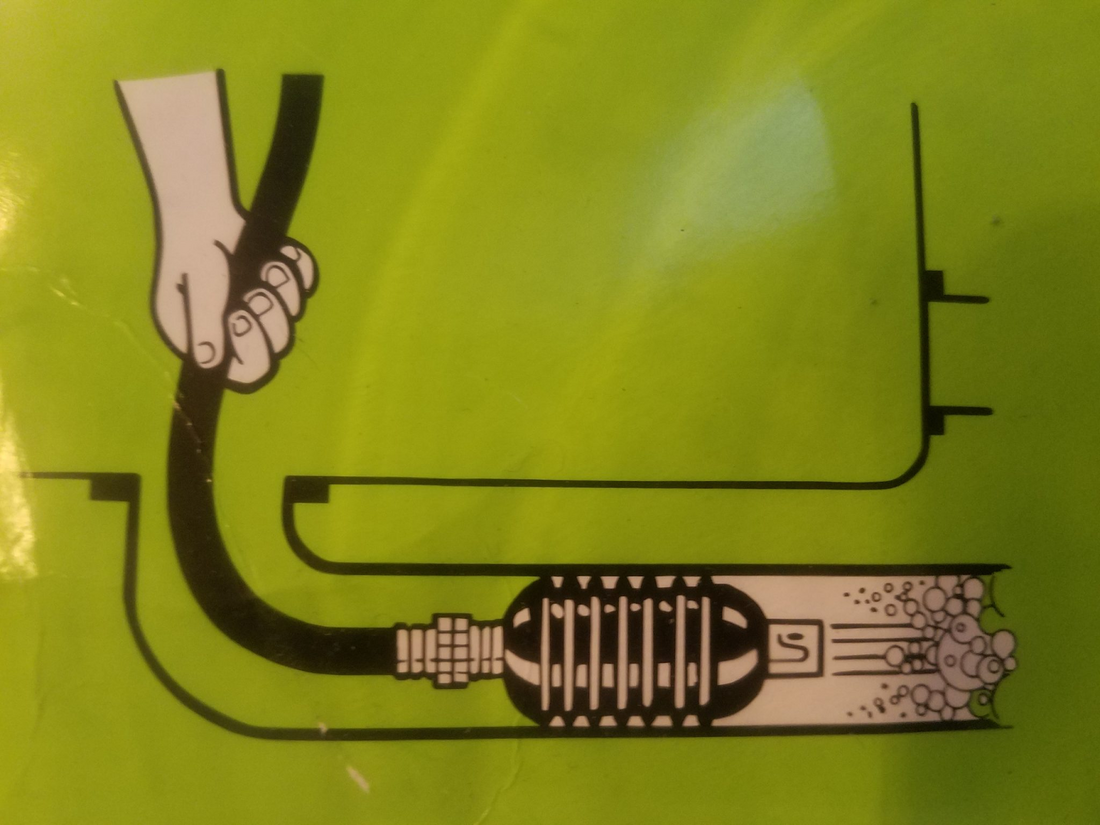
If you only have ONE tool in your plumbing DIY toolkit, it should be this one – The Drain King drain clearing kit. This “bad boy’ turns your ordinary faucet into a high pressure drain clearing/cleaning boss! it will pay for itself after its first use! Here is how it works:
Unscrew the end fitting/aerator off your ordinary faucet.
Screw on the adapter fitting from the kit.
Screw on the hose fitting at the faucet.
Screw hose to the black rubber “bladder”.
Insert the bladder in the drain and turn on the water.
Hold bladder firmly in drain until it expands and seals to the drain
Let it blast away all debris and clear your drain in just a few minutes or less!
Click this link for more info.
This IS my “go to” plumbing tool for clearing clogged/slow drains. This kit covers 1 1/2 – 3″ drains. You can also purchase additional end nozzles (bladders) down to 1″ or all the way up to 6″ (which we’ll cover below on sewer pipe maintenance).
See the Drain King in action, below:
Drain King by GT Water Products
Plumbing Repair and Maintenance – In The Kitchen
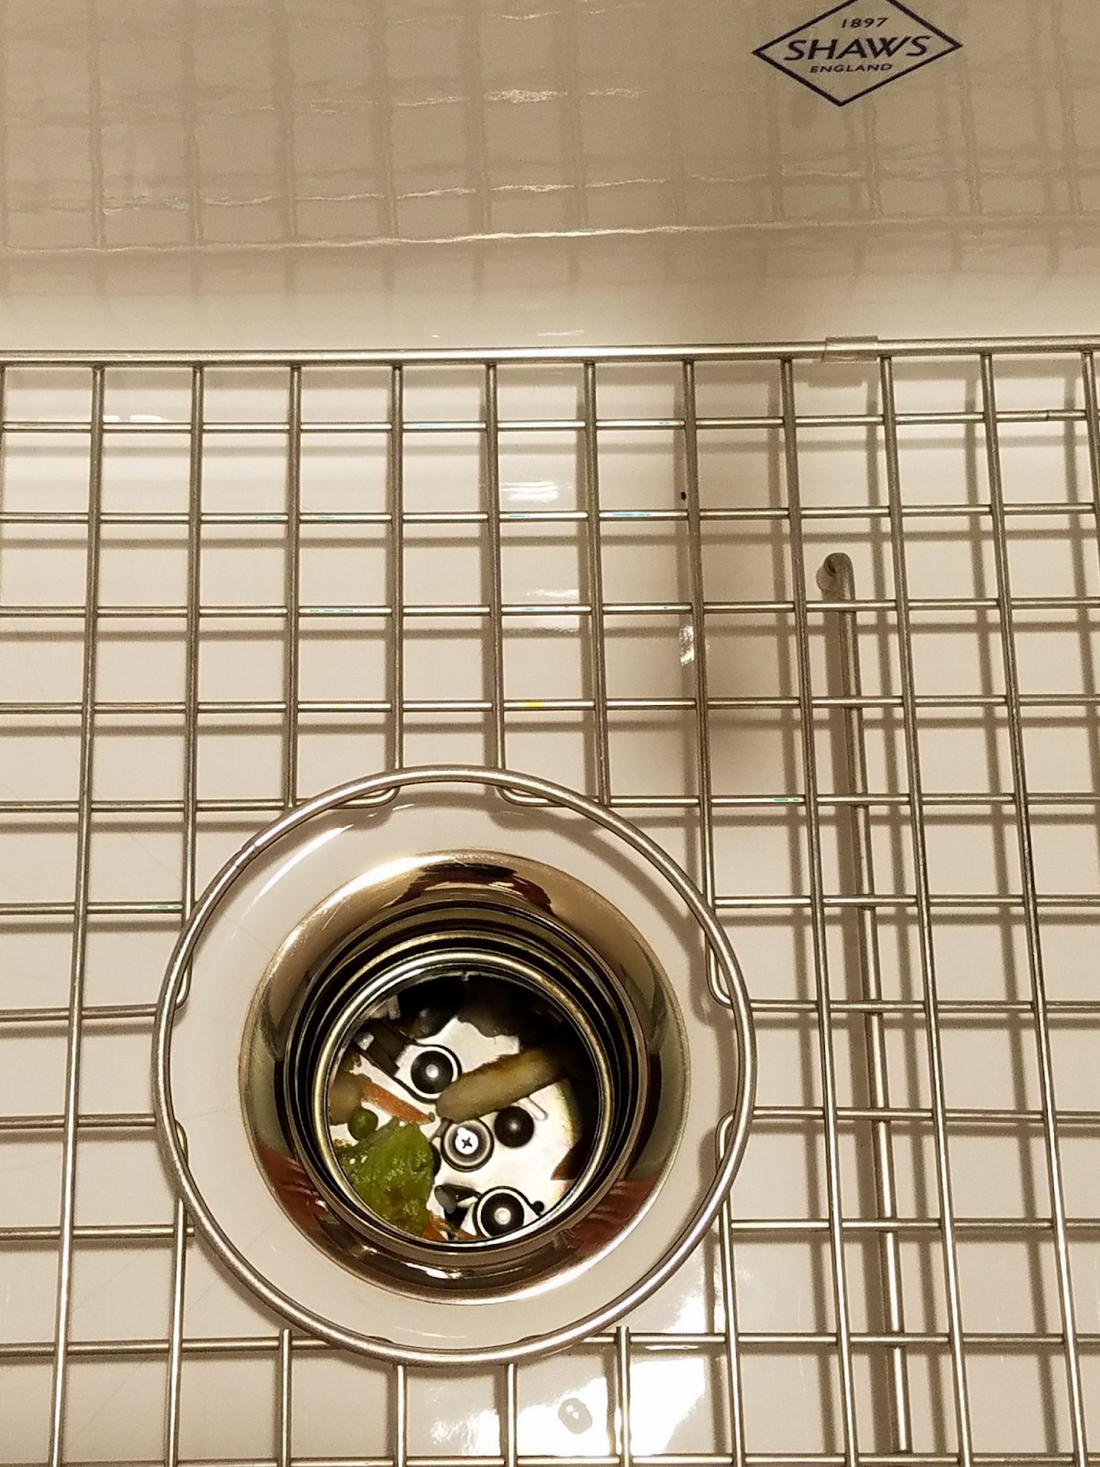
The kitchen is another potential place for slow and/or clogged drains. With all the food, scraps, oils, etc…it doesn’t take long for issues to arise, especially with old plumbing! This is especially true if you have a garbage disposal installed, where you are more inclined to throw larger food items down the drain that you normally would. You may want to play it safe and use the garbage disposal just for the food particles that end up in the sink (that you normally have to clean out of the strainer basket), and compost the larger items like vegetable peels, cores, scraps, etc).
Here is a list of garbage disposal best practices:
Do:
Run with COLD water only, so fats and oils wash down the drain.
Make sure disposal is empty before using the dishwasher, for proper draining.
Small food particles are a safer bet over the long term, vs larger food items.
Don’t:
Don’t let utensils fall into the disposal, especially during operation.
Don’t run the disposal with HOT water, as it will melt grease and fats from their “solid” state, and the particles will not be washed away properly, resulting in build-up over time.
This is common sense, but don’t try to grind any metals, plastics, bottle caps, glass, fabrics, rubber, string, clam and oyster shells, and feathers. Potato peels can also be problematic, as they like to stick to the insides/walls.
Plumbing Repair and Maintenance – Need a Great Garbage Disposal?
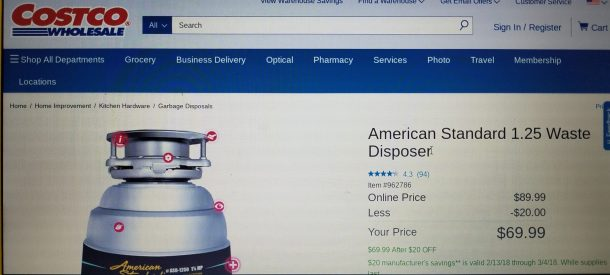
If you are in the market for a well-made disposal at a GREAT price, check out the 1 1/4 HP from American Standard (model #ASD-1250). We have been using this model since December 2017, it works great, and we love it:
1¼ Horsepower
Bio Shield® Anti-Microbial Agent: Molded throughout provides protection against odor-causing bacterial growth
Removable Splash Guard with Bio Shield
3-Bolt Mounting System for Easy Replacement
Insulated Sound Shell
Silver Guard®: the unique feature that captures most metal objects before they enter the disposer chamber
Corrosion Proof Grind Chamber and Drain Housing
Attached Power Cord & Plug
Less Jamming (no dejamming wrench necessary)
Septic Safe
Measures 15.5” High x 8.7” Wide
10 Year Limited Warranty
Option 1: Amazon, $101.86. Click below.
American Standard.. https://www.amazon.com/dp/B073RNLVGK/ref=as_sl_pc_tf_til?tag=myoldhousefix-20&linkCode=w00&linkId=0da72aea5cce2f8555cb0f67485f2084&creativeASIN=B073RNLVGK
Option 2: If you have a Costco membership, there is a $20 rebate until 3/4/18. What a deal! It's about $75 shipped HERE.
Blocked Pipes, Hoses, and Showerheads
I have encountered some weird stuff over the past ten years, and most of these were simple fixes…so don’t call the plumber just yet!
In The Laundry Room
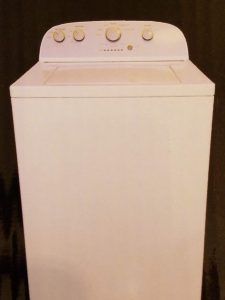
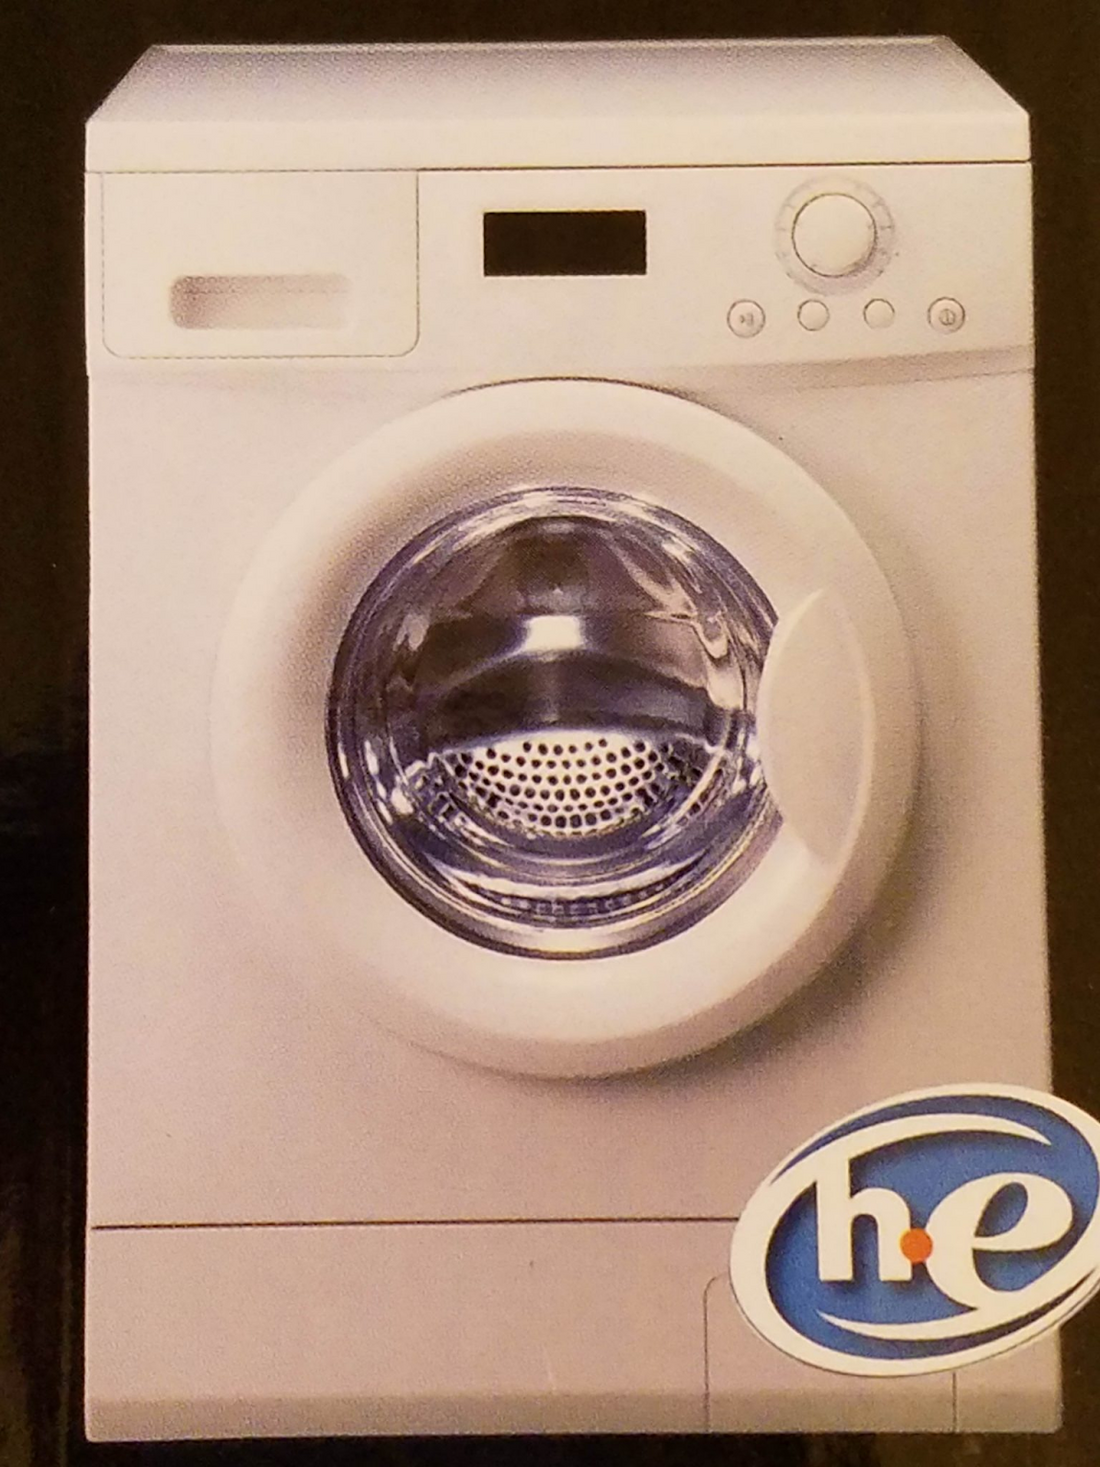
1) Have you ever come home to your washing machine overflowing with water…on its own? or 2) your washing machine has a few years on it now, and it seems like it takes forever to fill with water? Hard water and limescale are probably to blame, depending on the quality of your water (city or well).
Problem #1: After several years, mineral deposits and limescale build up inside the water intake valve located on the back of your washing machine. The deposits prevent the valve from sealing closed, therefore water slowly trickles in, and after a few days it fills the wash drum, and can eventually overflow.
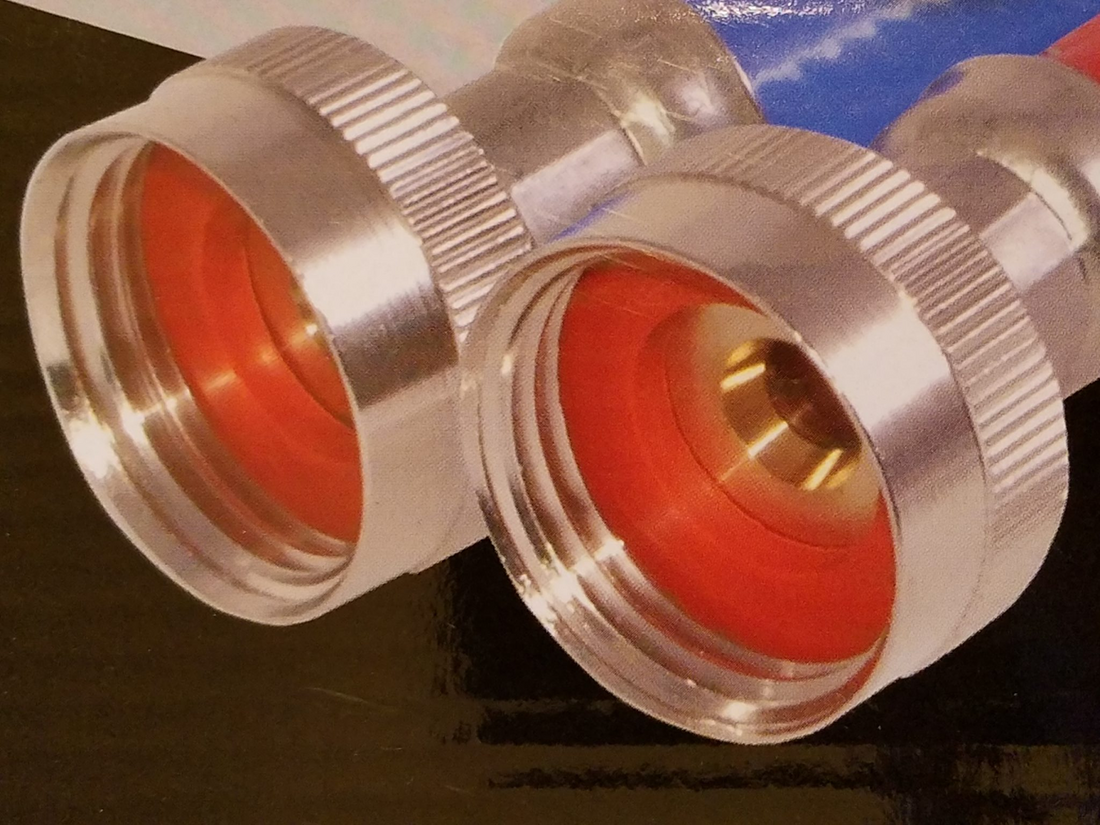
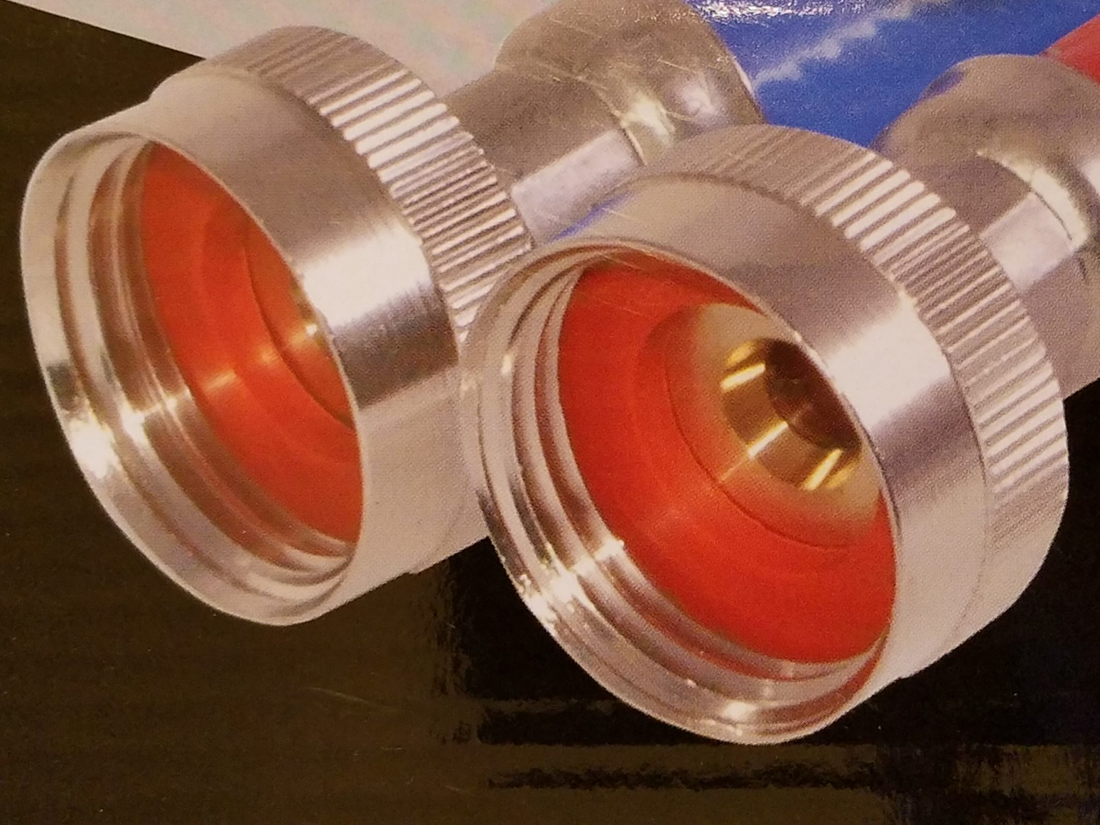
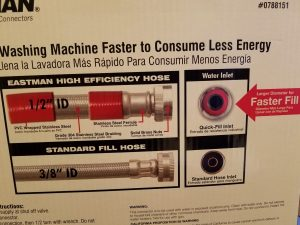
Problem #2: Mineral deposits and limescale from your hard water build up over a few years, and eventually clog the inside diameter of your water supply hose(s), therefore restricting the water flow – usually the hot side.
The Solution: Fix BOTH at the same time!
Unscrew both hot and cold water supply hoses at the water supply shut offs (not at the washing machine side).
Hold the hoses up high and pour in (per instructions) a product called CLR (link and info below).
Let it soak inside the hoses for about 5-10 minutes, then reconnect hoses to the water supply (hot and cold).
Flush the CLR and deposits out of the water intake valve and water supply hoses by doing a quick fill and drain cycle, and check for leaks at the hoses. And fixed!!!
Maintenance:
Make sure to add the CLR cleaning solution to your maintenance routine every few years, to keep your washing machine operating like new.
CLR WILL harm some surfaces! Always follow product safety, warning, and instruction labels. CLICK FOR CLR:
https://m.media-amazon.com/images/I/51+PfU9nhFL._AC_AC_SR98,95_.jpg
Consider drip pans under ALL major appliances – Washer/dryer/etc.
Remember, standard washing machine water supply hoses only last 3-5 years, on average. Remember to inspect them periodically for corrosion and leaks!
Consider upgrading your hoses to the steel-braided type (see the link below for more info). At around $25 for the set, they are cheap insurance against water leaks. In a 2nd story laundry, a major leak could be a disaster! CLICK FOR HOSE SETS:
https://m.media-amazon.com/images/I/41kbQ3GFInL._AC_AC_SR98,95_.jpg
Plumbing Repair and Maintenance – In the Bathroom
The Problem:
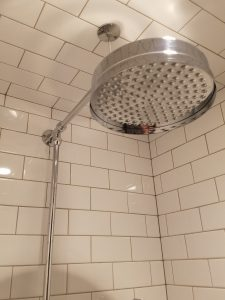
Does your shower head get clogged all the time with mineral deposits? Mineral deposits and limescale (from hard water) are probably to blame.
The Solution:
Again…its CLR to the rescue!!! Mix the CLR solution in a bowl, hold it up to the shower head and let it soak for about 5 minutes, or as needed. Done!!!
If you have marble, granite, etc, it may be damaged per warnings on natural stone: Remove shower head if you can and soak it in a CLR solution for about 5-10 minutes. Rinse and re-install!!!
CLR WILL harm some surfaces! Always follow product safety, warning, and instruction labels. CLICK FOR CLR:
The Problem:
Has the water flow of your bathroom faucet ever slowed dramatically, or ever stopped abruptly?
The Solution:
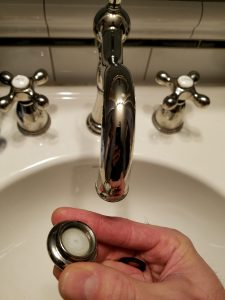
The faucet aerator may be blocked! This has happened to me THREE times within the last two years – after major plumbing repairs were made. All types of debris can get in your pipes during repairs – solder, chips of wood, limescale, etc. 1) Unscrew the faucet aerator and check it for debris 2) Clean/rinse it and re-install. BAM!!! Done!!!
Blocked Sewer Drain or Slow Sewer Drain Pipe
I CAN TELL YOU FROM EXPERIENCE….IF THERE IS ONE THING YOU NEVER, EVER…EVER, EVER WANT TO HAPPEN IN YOUR OLD HOUSE, IT IS……. A BACKED UP SEWER PIPE!!!
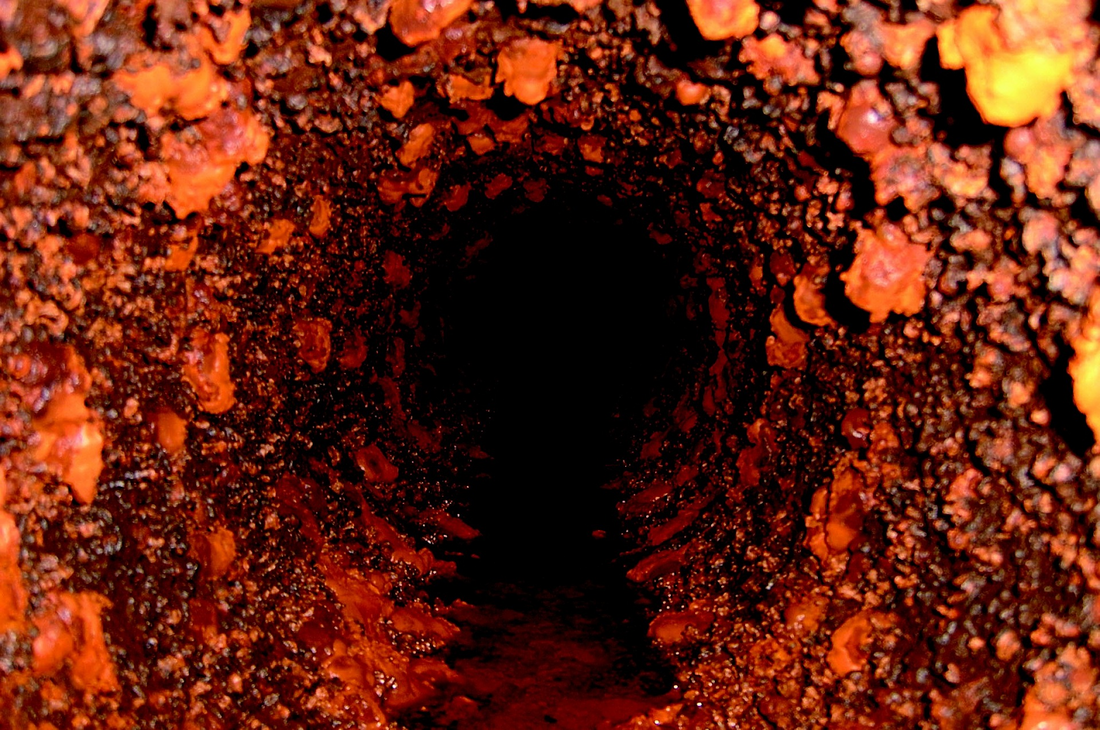
It IS nasty…it IS gross…did I mention that it is GROSS??? We had a home inspection back in 2009 (for a past blog on home inspections click HERE.) We did the sewer camera check, and all was good! No worries, right? Wrong! Fast-forward to 2014 and our luck ran out! Don’t be like us! Know the condition of your sewer pipe!
The Problem:
What's going on down there???
The Solution:
Know what is going on in your sewer pipe! Sewer pipe replacement can be $10K+.
Have a camera inspection performed during the initial home inspection.
Have tree roots cut/removed as needed – DIY or professional.
Perform tree root preventive maintenance, if a known problem. Products like Root-X are recommended. Click link below for more info:
https://wms-na.amazon-adsystem.com/panda/20070822/US/img/prime.png
Have it snaked/cleaned out if needed – DIY or professional. Drain King (from above makes a sewer pipe attachment:
See the Drain King in action, below:
Drain King Water Powered Drain Cleaner GT Water Products Inc.
Alright folks, remember to always periodically look for leaks around your Old House! I hope there is some useful info here for you to use and utilize, so YOU learn from MY mistakes, and save yourself a few headaches along the way as you Fix your Old House!!!
Best of luck, and keep on Fixing!

For more info visit: www.myoldhousefix.com

Posts may contain affiliate links. If you use these links to buy something, we may earn a small commission (at no additional cost to you). Full disclaimer HERE.








0 Comment(s)