
Updated: 05/11/2024
It’s time to remodel your kitchen, and you are planning everything around your range hood installation. You’re trying to make sure that everything works and integrates together, but there are so many options. Ugh, Right?
What do you do?
Stay tuned, and My Old House “Fix” will lay out a few range hood installation options, that will get your kitchen remodel planning and range hood installation back on the right track!
![]()
Let’s get started with THREE easy steps!
1) Range Hood Installation – Logistics
Considerations
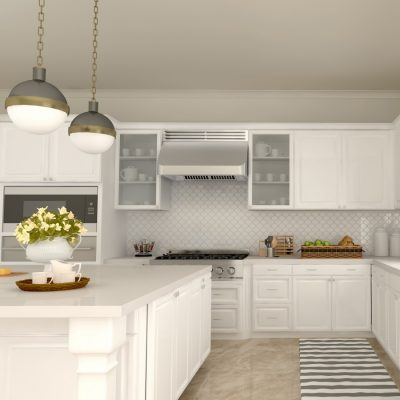
Under Cabinet Recirculating Range Hood (non-vented) – I don’t recommend this option, but if you must have a microwave over the range, then this is your only option. They are loud, only filters the air, and doesn’t remove heat or humidity .
- Standard Range Hood ( vented – louder motor in cabinet/kitchen) – 1) Usually the only option for a vented hood on an exterior wall. 2 ) Non-exterior wall – pipe/duct runs out of the top, and through upper cabinets to exterior wall exit.
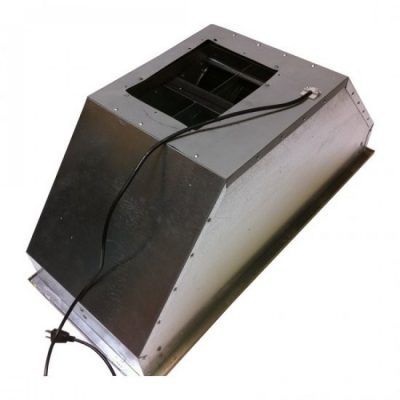
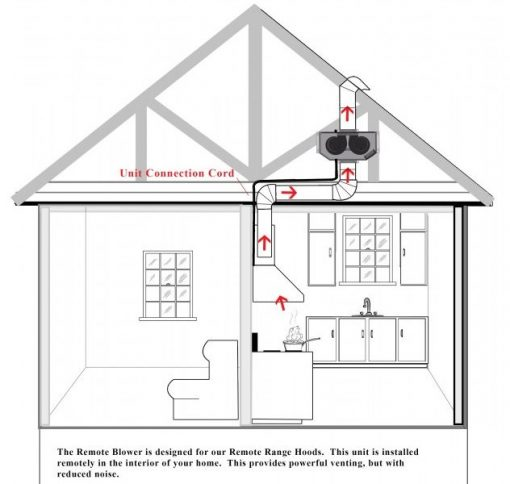
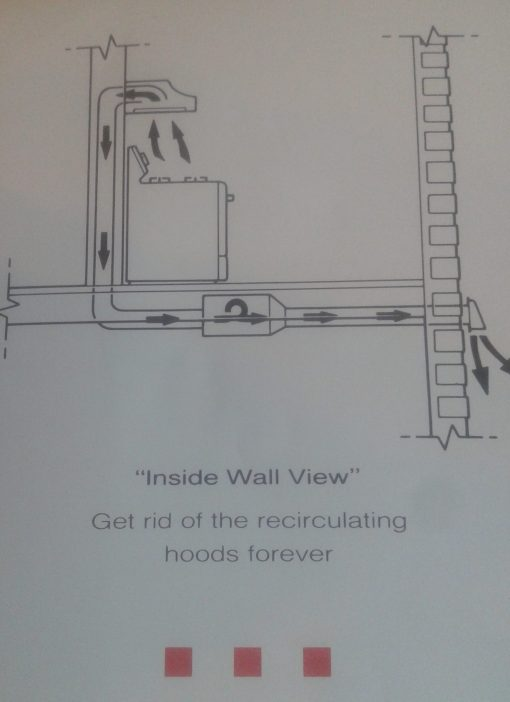
- Remote Blower Range Hood (vented – motor in attic or basement) – 1) Super-quiet operation vs a standard range hood. 2) Non-exterior wall application – pipe/duct can run in a dedicated wall cavity, out the back of the range hood box, and to the remote blower where it exists the house (basement or attic).
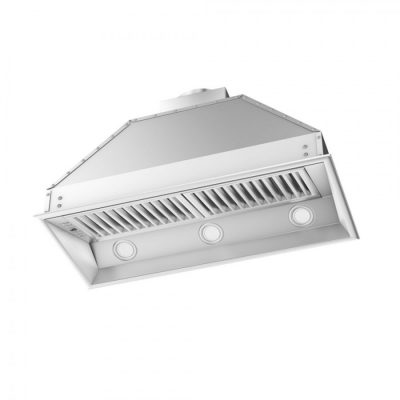
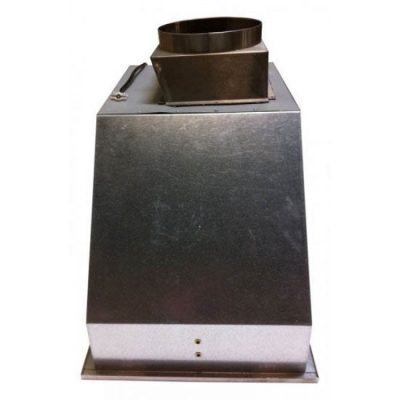
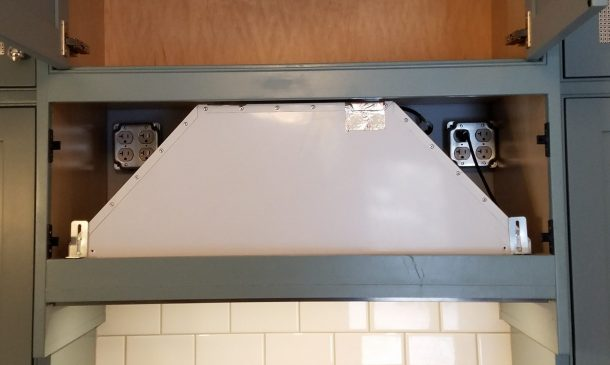
Rear Duct Exit – Used with insert style range hood. If routing the duct through a wall cavity, make sure the hood box in the kitchen has a REAR duct exit option. NOTE: If the model you choose only has a TOP exit (shown), no worries, the top can be covered/sealed, and cut a new REAR exit in the box. A rear duct exit will save space and allow you to have fully functioning cabinets above the hood (SEE VIDEO BELOW).
Top Duct Exit – Used with freestanding/wall mount range hood, without cabinets above the hood.
Size/Dimensions
You may not hit these guidelines every time, but try to get close. For a 36 inch range we had to go with a 34.5 inch wide hood, as the next size was 40 inches. A 40 inch hood would not work with our cabinet configuration.
Calculate fan size per your range – 400 cfm, 900 cfm, etc (see tutorial below)
The hood should be as wide as your stove (or close).
The hood should be at least half as deep as the cook top (or close).
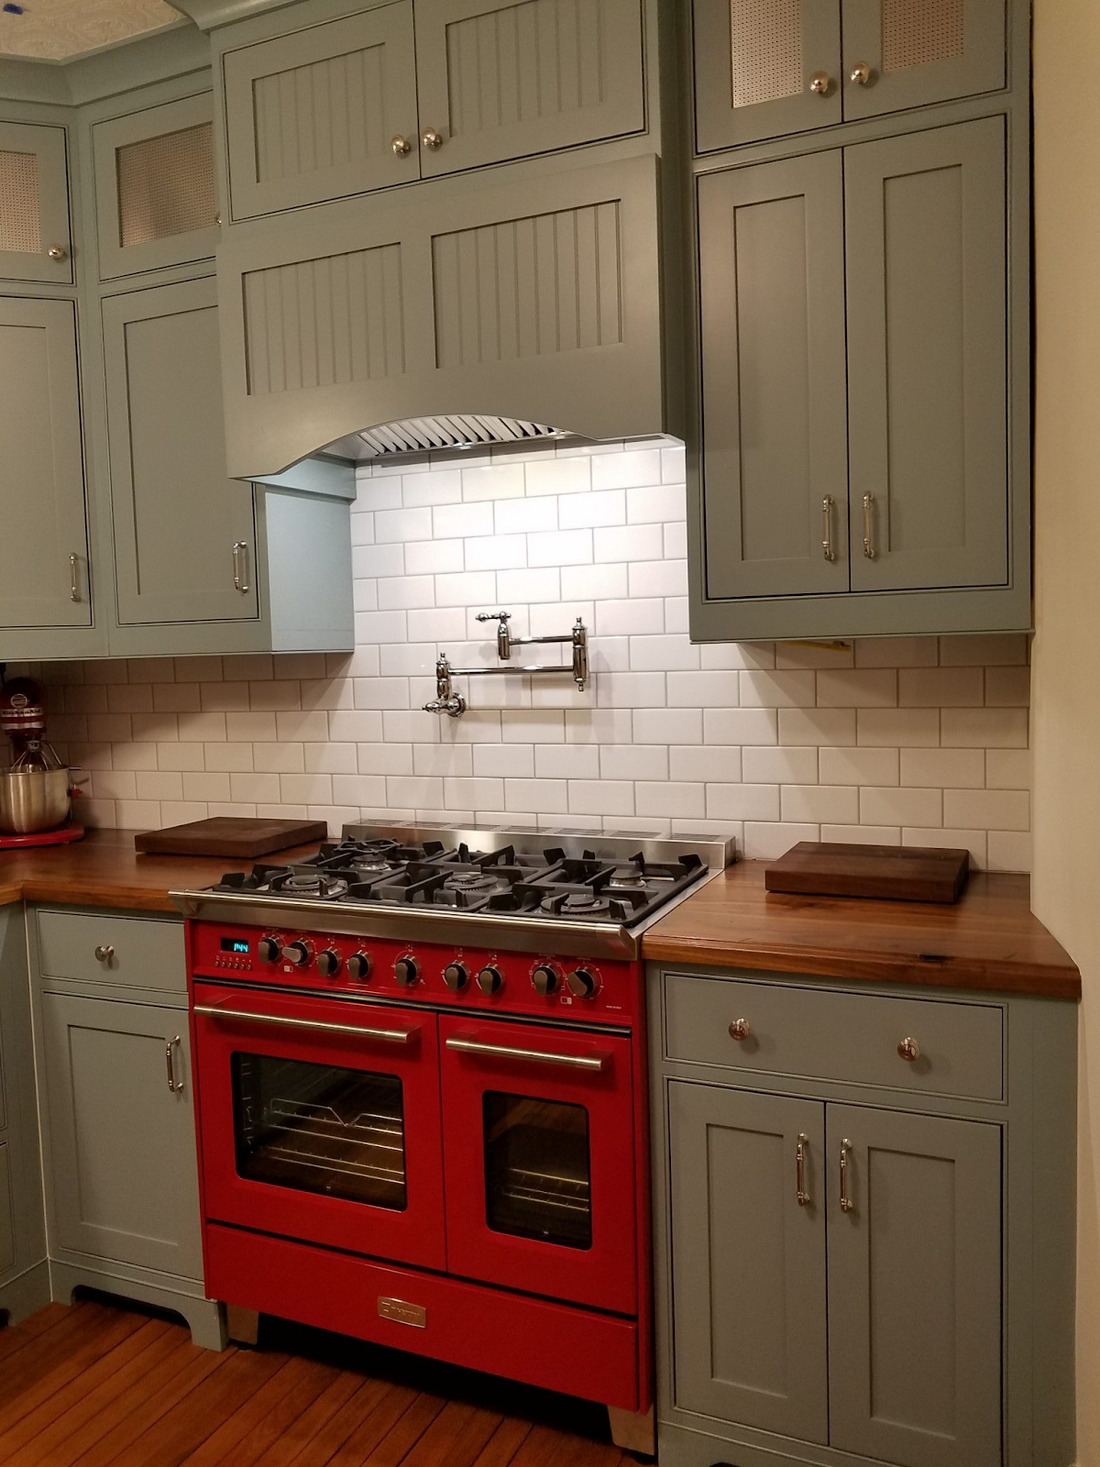
Hood install height should be 30-36″ (ours is 35″) above the countertop / cooking surface. Too high and it wont air pull properly. Too low and the hood will be in your way. 34″ is a good average.
Additional Range Hood Resources
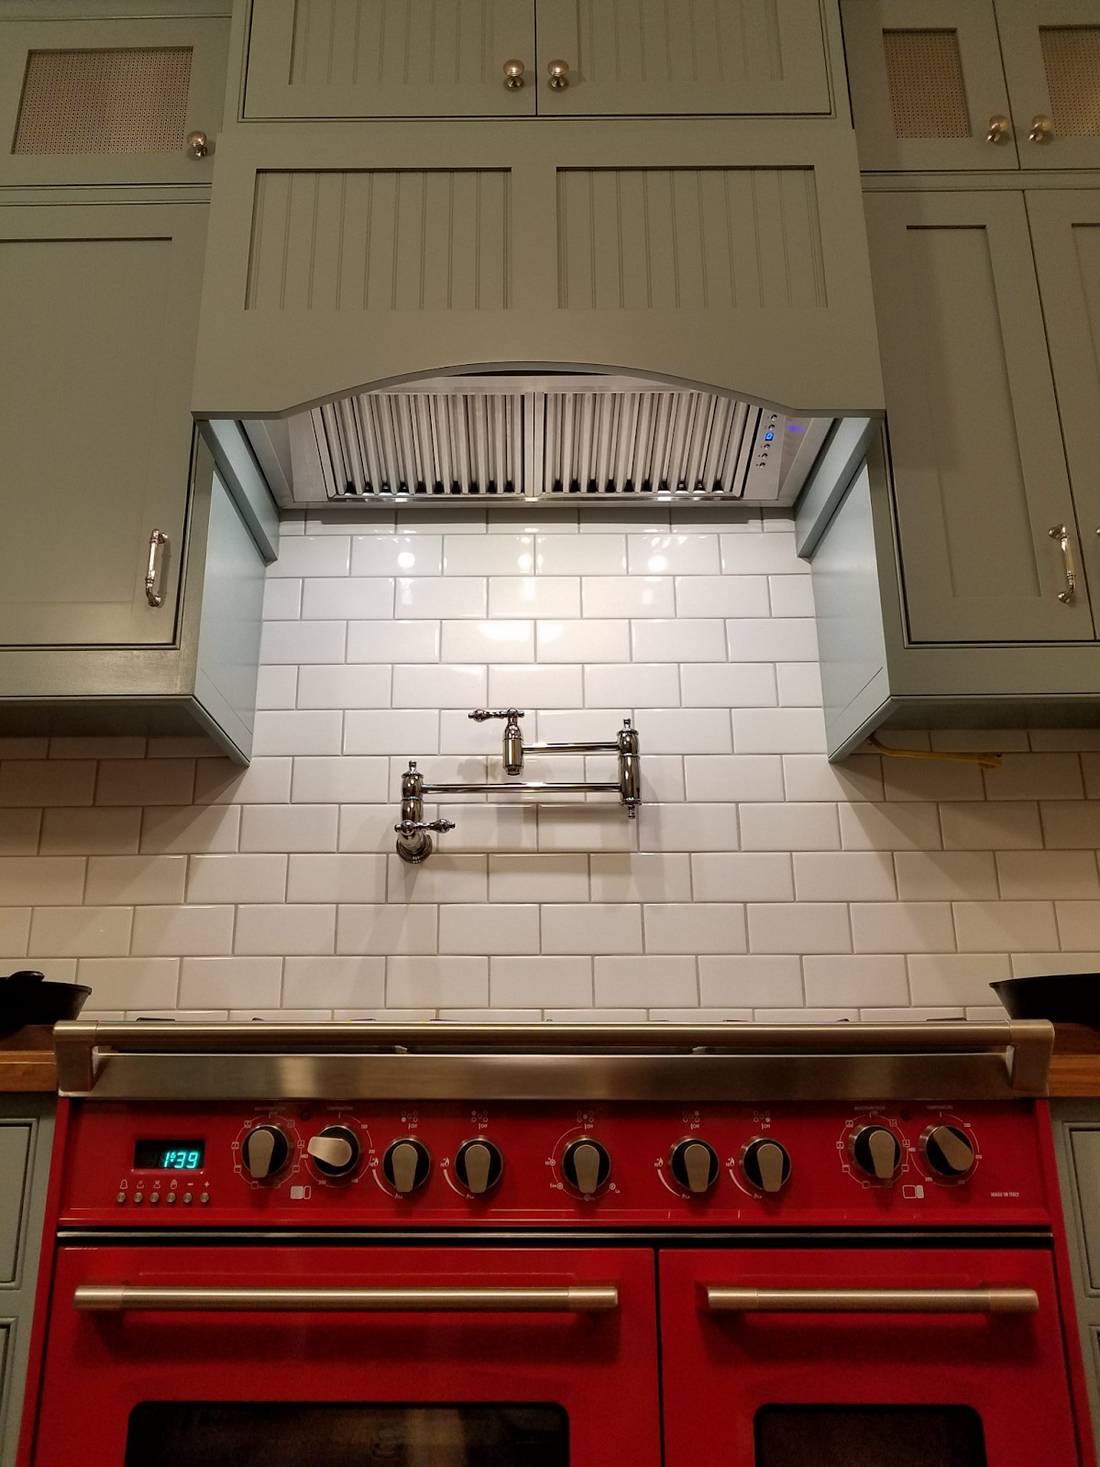
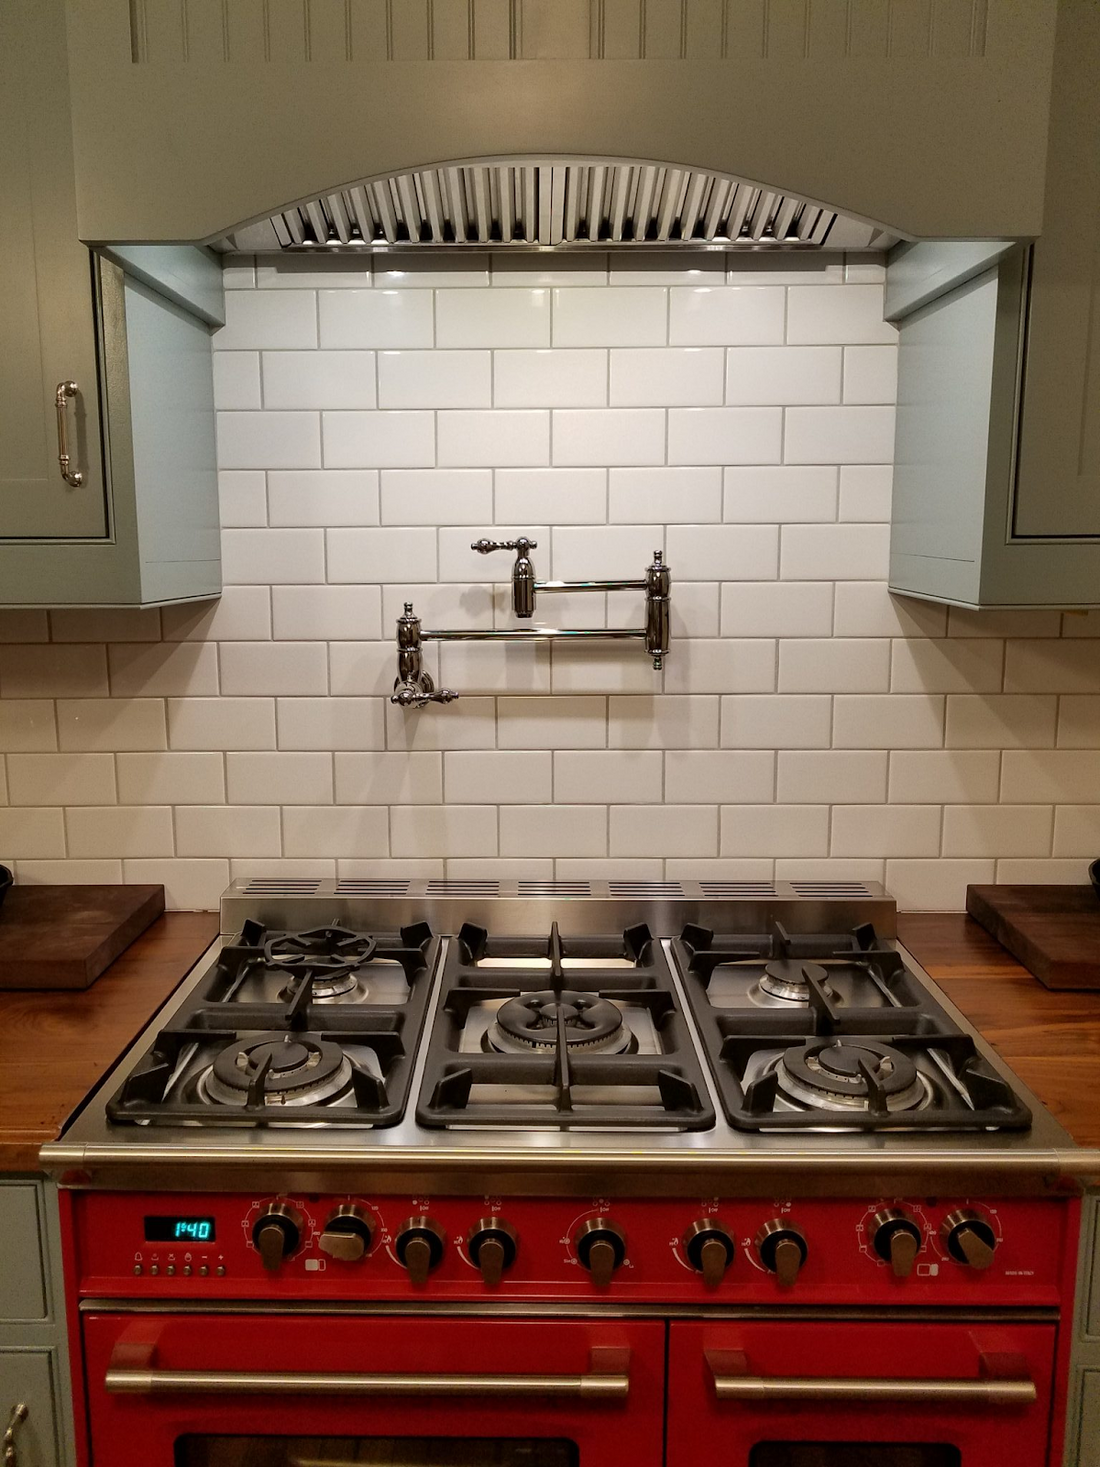
Featured Range Hood ($750): 34.5” Remote Blower Range Hood from The Range Hood Store
Range Hood Installation Options: Part 1
2) Range Hood Installation – Planning
So after you select a range hood style (under cabinet, free-standing/wall/island, or cabinet insert/hidden), it’s time to plan the installation.
NOTE: This installation plan assumes a complete kitchen remodel, and access to wall cavities.
NOTE: The example given in this Blog will focus on the remote blower option, which is compatible with under cabinet, free-standing (except island), and insert style range hoods.
Location
One of the first things you need to think about while kitchen remodel planning may not be the stove or sink location – especially if you are planning any vented range hood model.
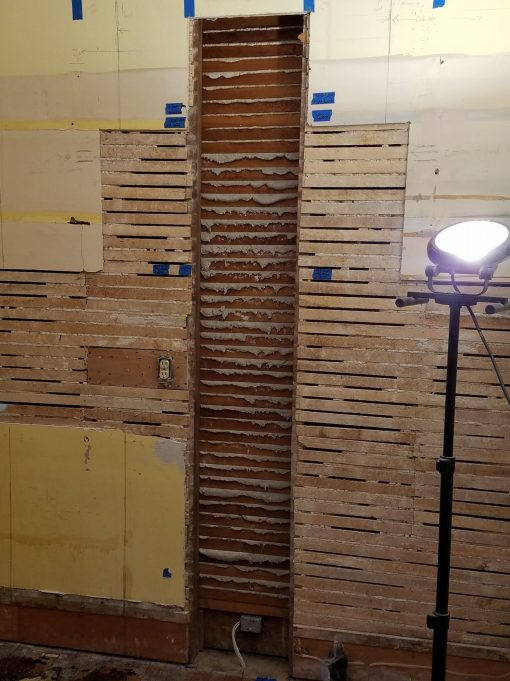
For an exterior OR interior wall, the range hood duct will need to exit between the wall studs.
So FIRST, make sure your plan lines up the range hood on the center of the identified wall cavity.
Everything else on the range hood wall – cabinets, stove, sink, etc, will fall into position based on this starting point!
Refer back to the Farmhouse Kitchen Remodel Blog – Planning and Product Selection for the detailed Ventilation Plan and layout!
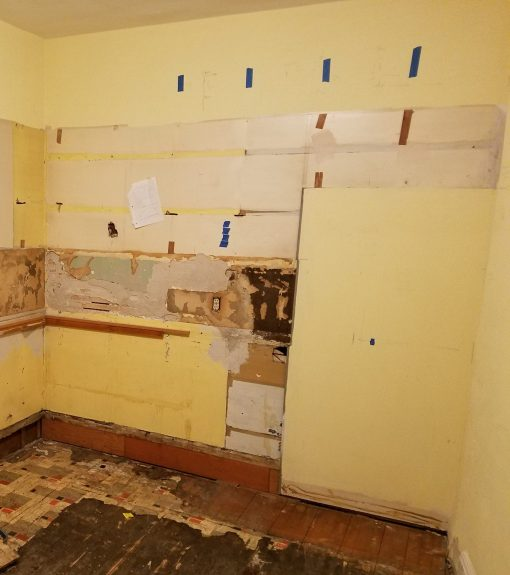
If possible, I like to sketch out a rough layout on the existing walls to visualize the location of everything – cabinets, stove, range hood, electrical outlets, etc.
Final Layout for Remote Blower Range Hood
Plan the final layout of the range hood in relation to the range and surrounding cabinets.
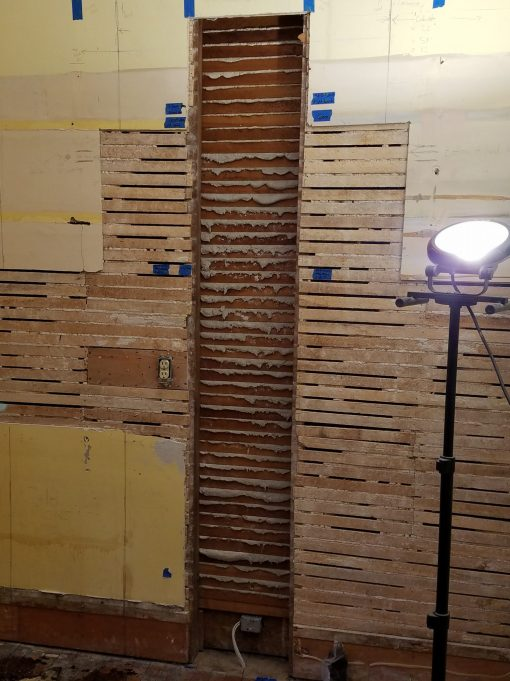
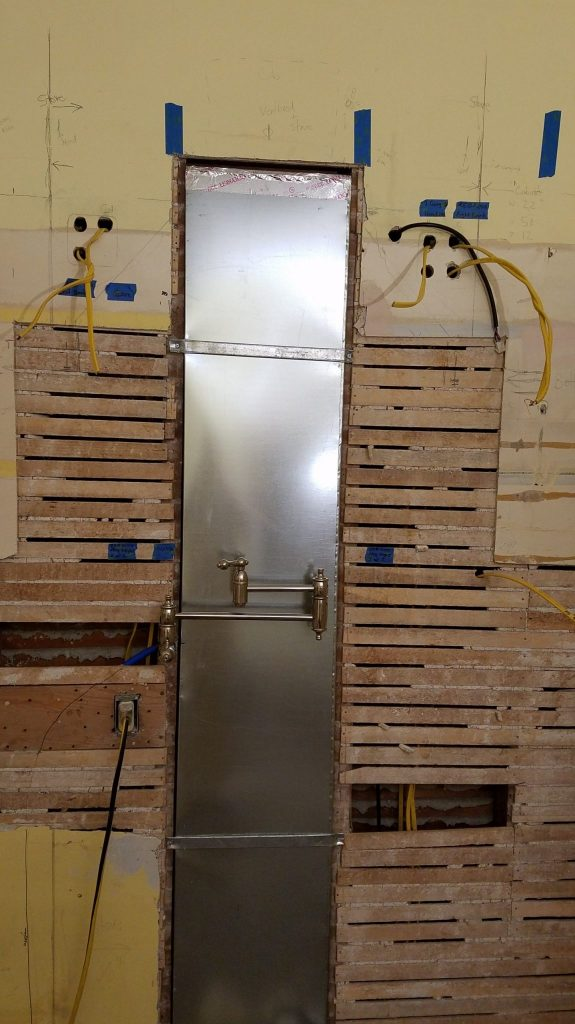
Remote blower duct in wall cavity
Again, the range hood duct will need to exit the range hood between the wall studs, so identify the wall cavity that is closest to the center of where you want your range!
The center-line of this wall cavity is your starting reference point!
Everything else on the range hood wall – cabinets, stove, sink, etc, will fall into position based on this starting point!
Consider the final width of your upper cabinets on each side of the range hood to ensure proper sizes and fit.
Calculate the space and height of your cabinets above the range hood install height – especially if cabinets run to the ceiling.
Plan the rough placement of the range hood box and its electrical source(s).
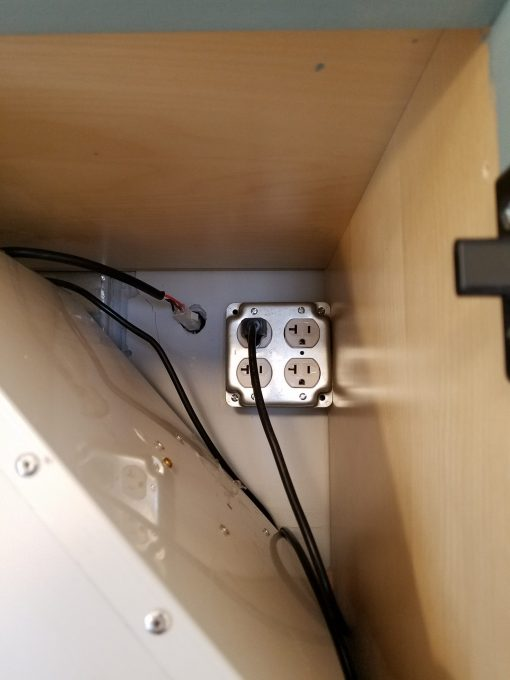
Range Hood – 20A, non-GFCI
Consider a removable “service cover” that integrates into your cabinet design and range hood model/size (SEE VIDEO).
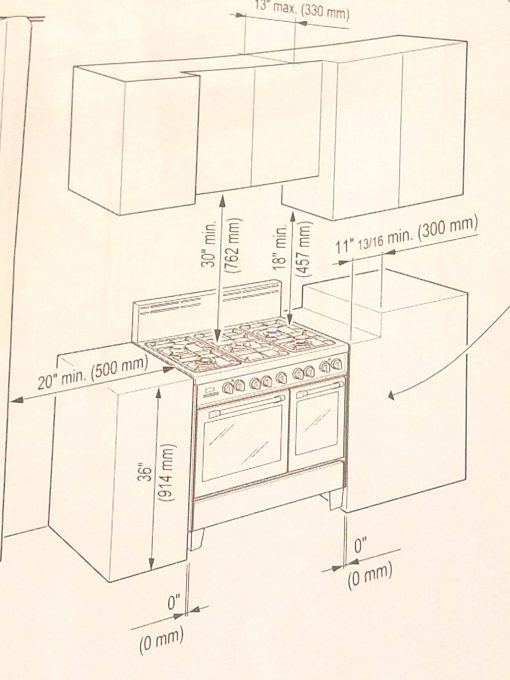
Know your range specifications.
Range Dimensional Requirements
Range Hood Installation Options: Part 2 - Remote Blower
3) Range Hood Installation – Execution
Electrical Rough-In
Again, refer back to your master plan for rough electrical layout.
Refer back to the sample electrical plan used for the Farmhouse Kitchen Remodel.
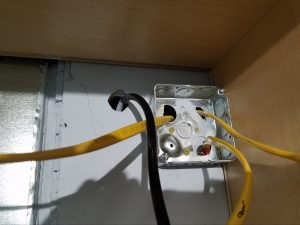
Next to the hood (inside cabinet), rough-in the power, electrical, and remote control harness that will run from the range hood control panel to the remote blower.
Refer back to the Farmhouse Kitchen Blog for all the details on electrical rough-in.
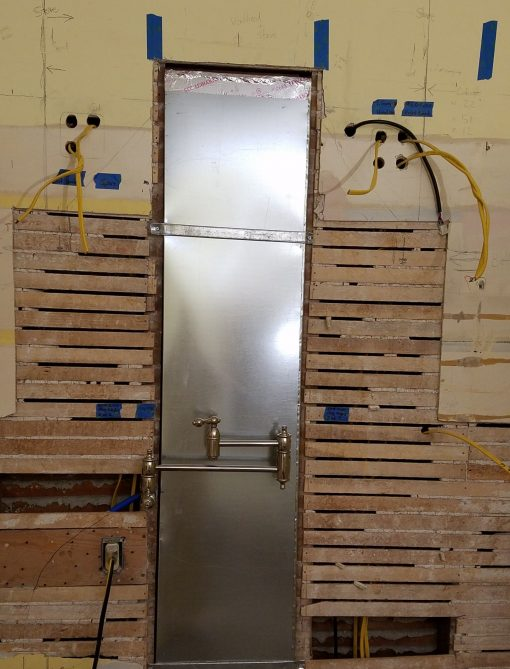
Wire Rough-in Around Range Hood
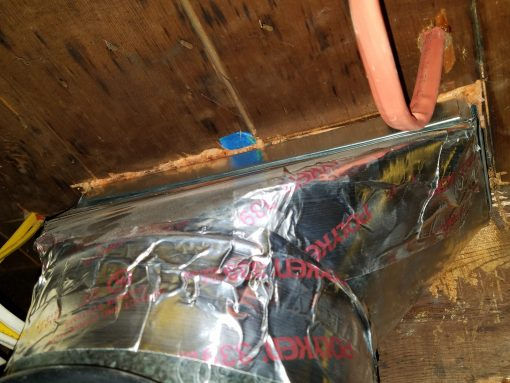
Duct Rough-In
Time to run the duct inside the selected wall cavity.
Run the range hood duct in the wall cavity and through the floor/ceiling to the attic/basement.
Seal Penetrations
Note the rough height where the duct will enter the back of the range hood box. Don’t go too high into your upper cabinets (insert-style hood only)
Again, I like to start with a sketch on the existing walls (note in the pic below) to ensure my plan on paper lines up with reality.
Refer back to the Farmhouse Kitchen Blog for all the details on the HVAC rough-in.
Final Installation
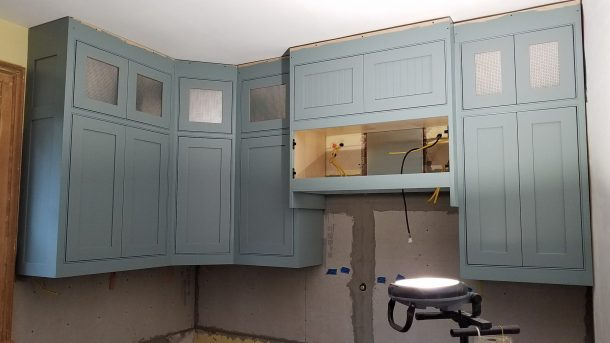
The cabinets, backsplash, and final electrical are complete…
Farmhouse Kitchen Remodel – Cabinet ready for range hood
Now it’s time for final installation of the remote blower range hood assembly
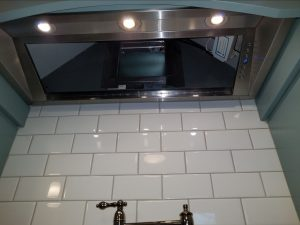
Install range hood in kitchen.
Circuits: Spare/Lights/Hood/Lights
Installed, collar to rear duct exit
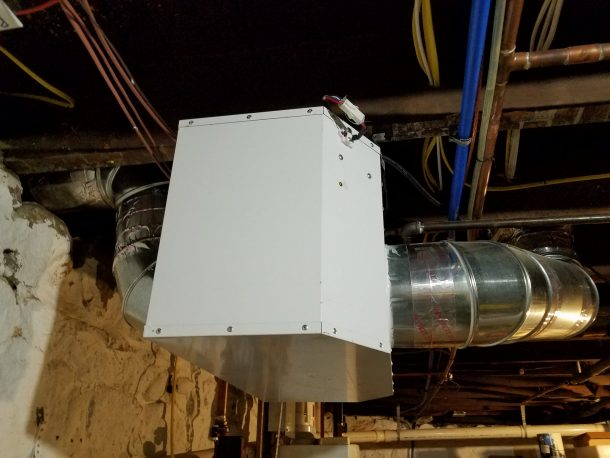
Install the remote blower assembly in the basement or attic.
Duct Exits to Outside Just Above the Foundation
Refer back to the Farmhouse Kitchen Blog for all the final range hood assembly details.
Conclusion
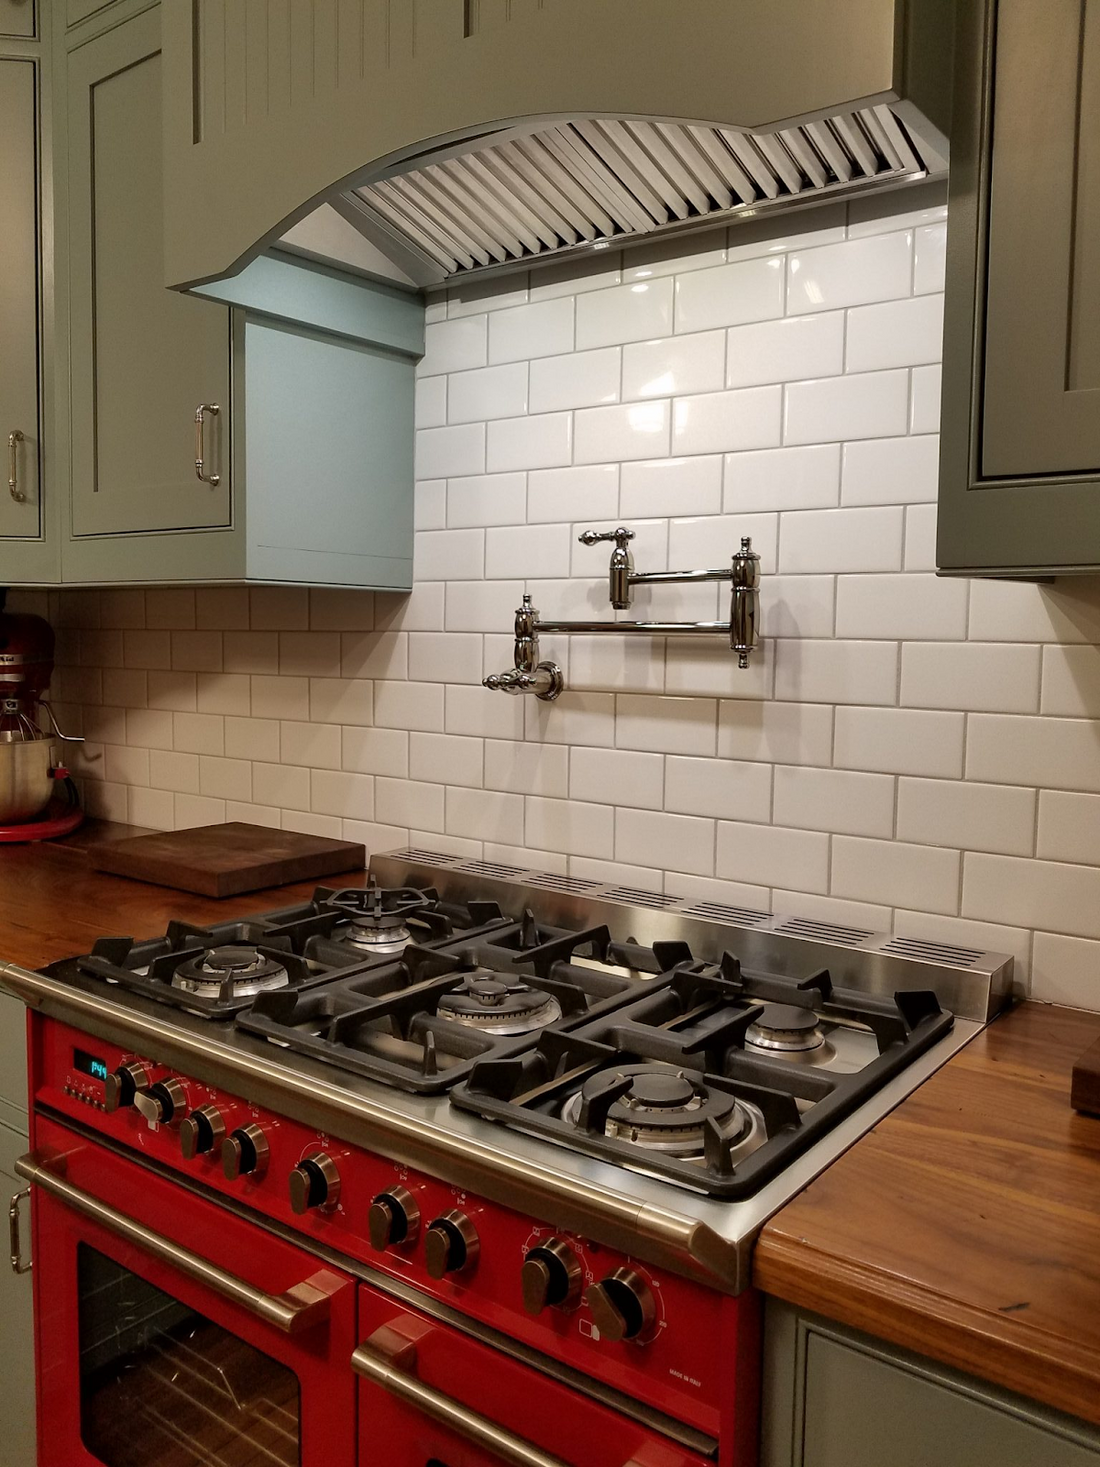
Recirculating range hoods (non-vented) will “get you by”, while standard range hoods (vented) are a a step up, but result in louder operation. If pre-existing conditions allow, my pick for the ultimate range hood option is the remote blower range hood! The pros just outweigh the cons in the fact that it is vented and you can actually carry on a conversation while cooking and entertaining! Its simply the best of both worlds!
As always, I hope this information helps you along the way, so you end up with the best configured kitchen of your dreams!
Best of luck, and keep on Fixing!

For more info visit: www.myoldhousefix.com

Posts may contain affiliate links. If you use these links to buy something, we may earn a small commission (at no additional cost to you). Full disclaimer HERE.




0 Comment(s)