Updated: 05/11/2024
Are you losing your mind over the lack of quality closet space in your Old House
Keep reading… and everything WILL be ok!
Don’t get me wrong, I love Old Houses, and many turn out to be nice pieces of real estate, but it’s no secret, they can be lacking real estate in the closet department!
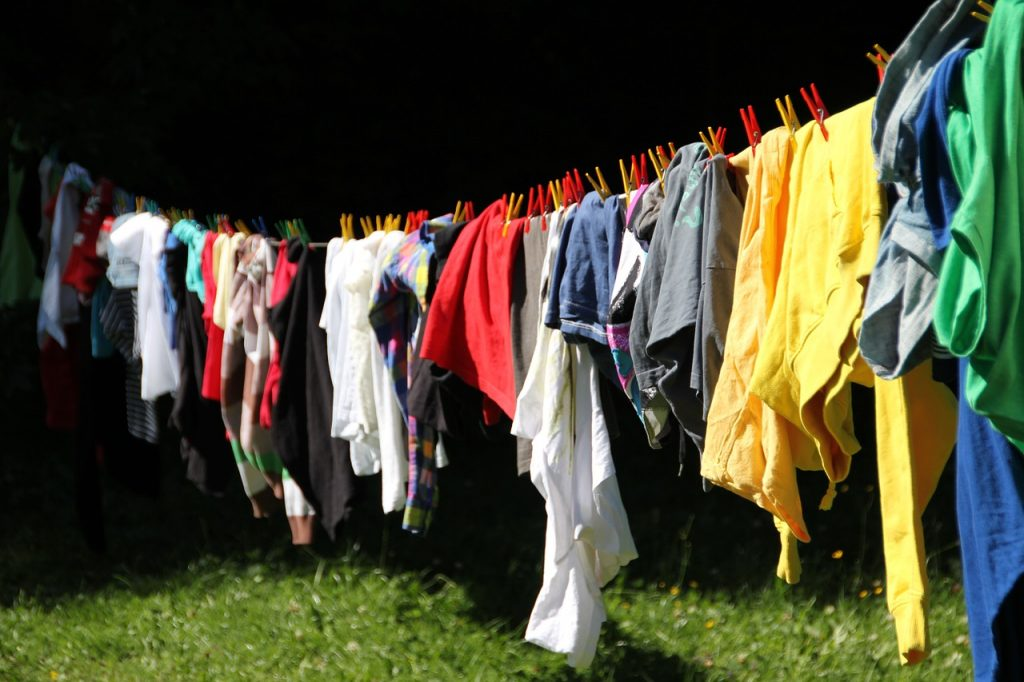
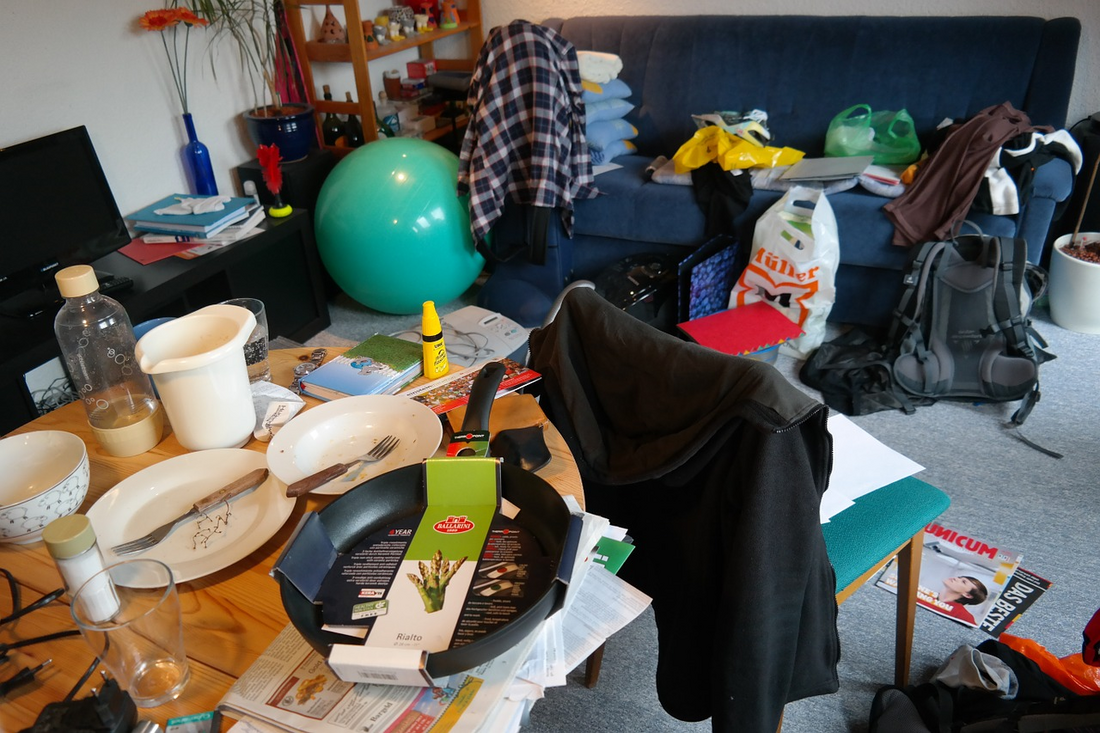
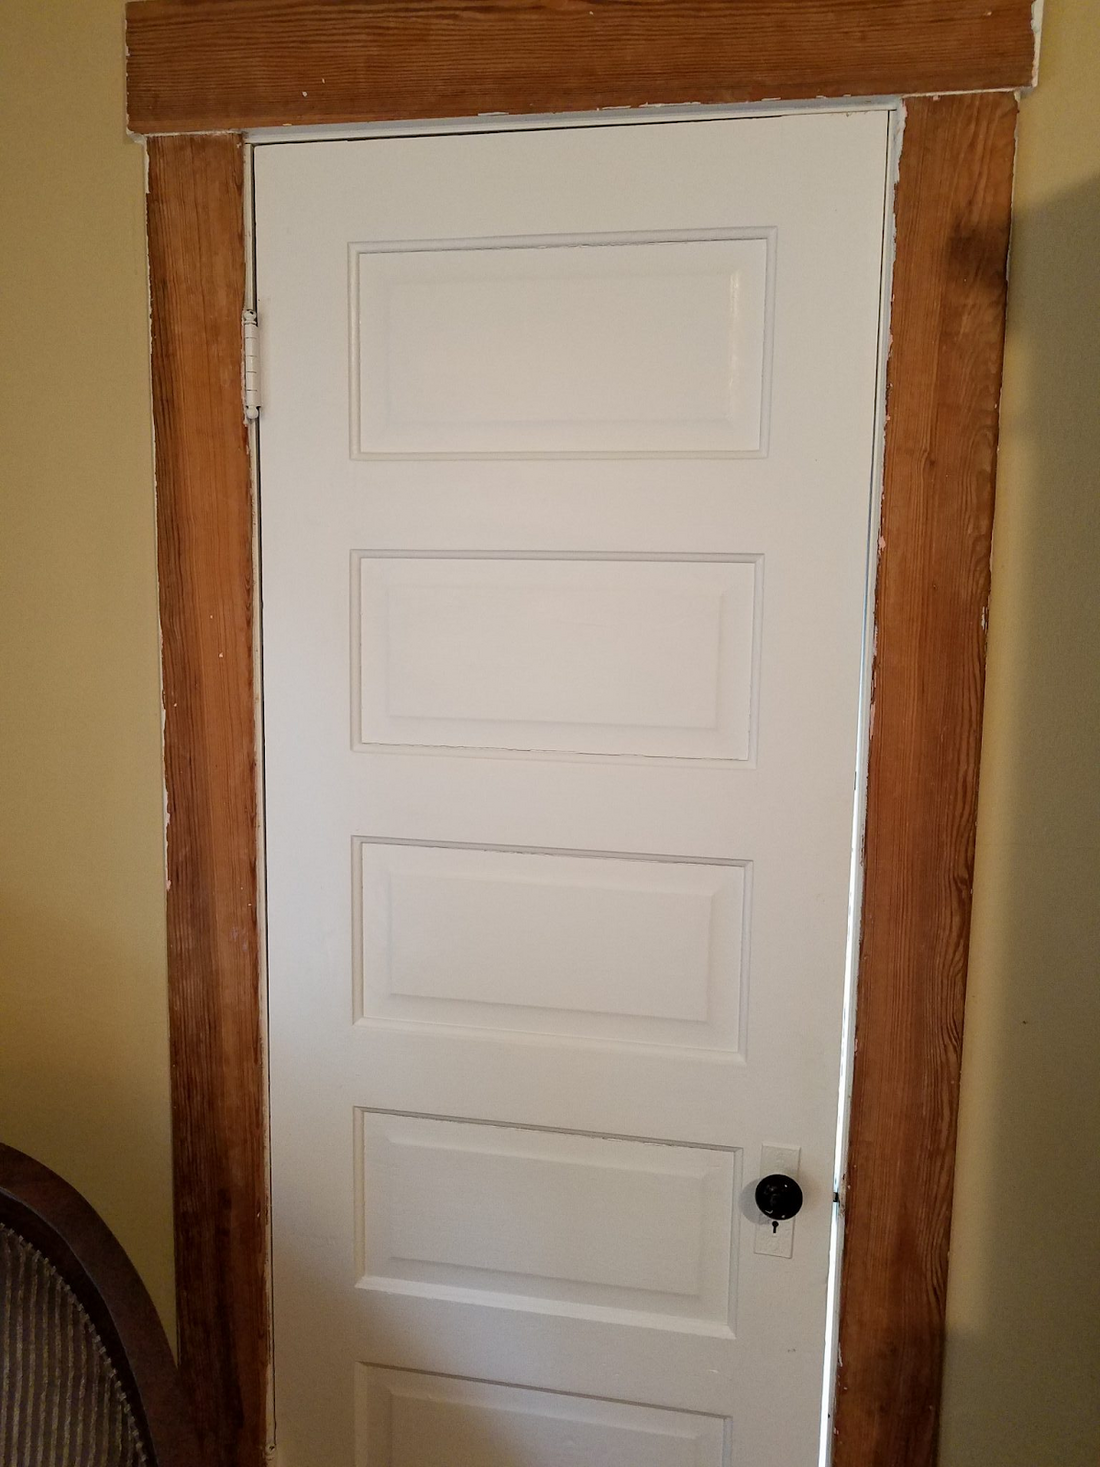
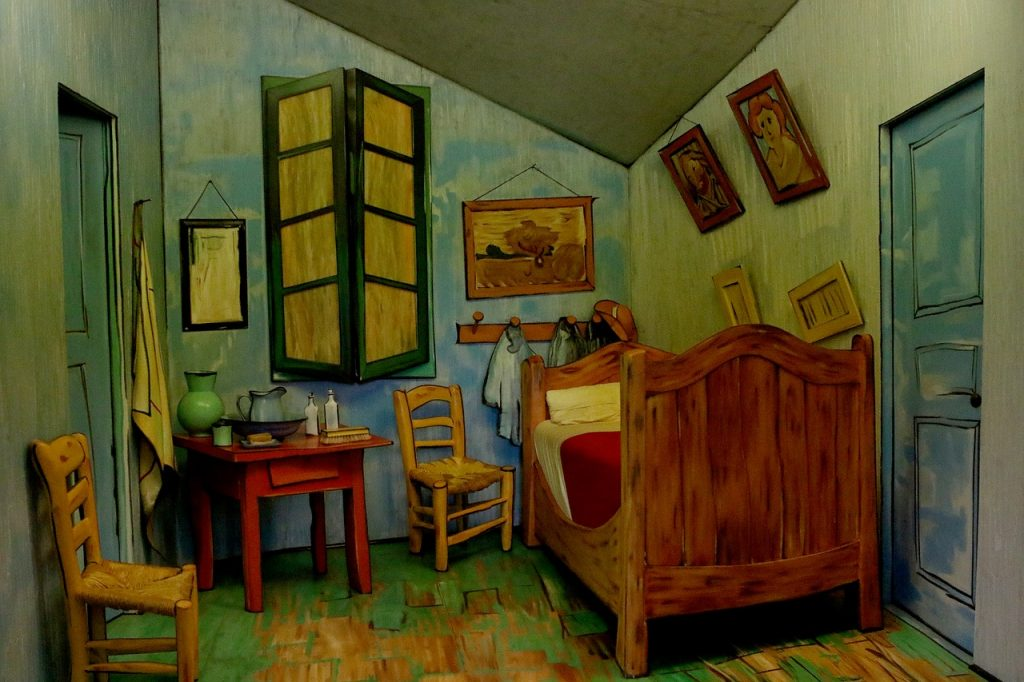
If you own an Old House, you know EXACTLY what I am talking about. We don’t have room for this! Where are we going to store that? We don’t have room for summer AND winter clothes in the same closet! The list goes on and on! The picture below…YES, some of us live this daily struggle!!!
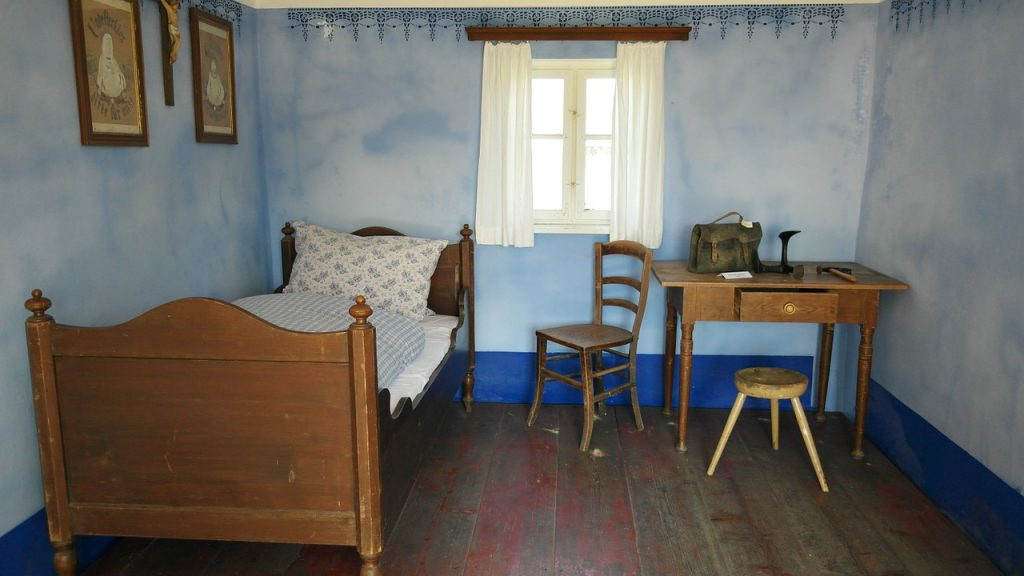
Truth is, 100 years ago, most people just didn’t have as many clothes as we do today, therefore closets were much, much smaller! Additionally, in the Victorian era, people would supplement with furniture like wardrobes and armoires for additional storage needs.
So what to do? Let’s see if we can come up with some good solutions for small closets and Old Houses!
Try these 4 easy steps to get you started on the road to storage sanity!!!
Step 1: Closet Space – Try Utilizing the Existing Space
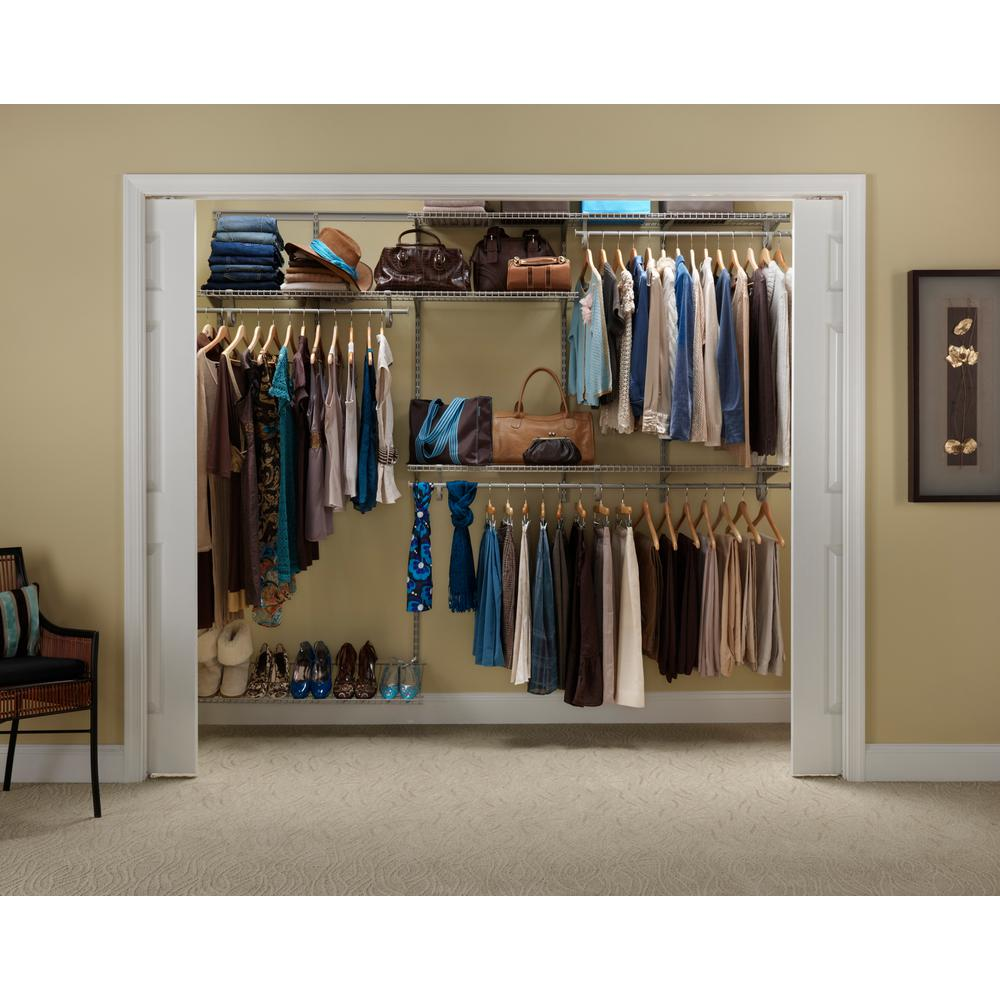
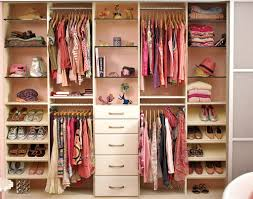
If you are looking for a DIY or budget friendly solution to attack the “clutter“, try re-configuring your existing closet with “off the shelf items” such as:
GOOGLE/Pinterest: DIY Closet – the possibilities are endless!
GOOGLE: Closet space savers – tons of stuff!
Closet organizers and closet systems – watch cheap units that will not hold up well, are flimsy, or don’t blend with the character of your Old House.
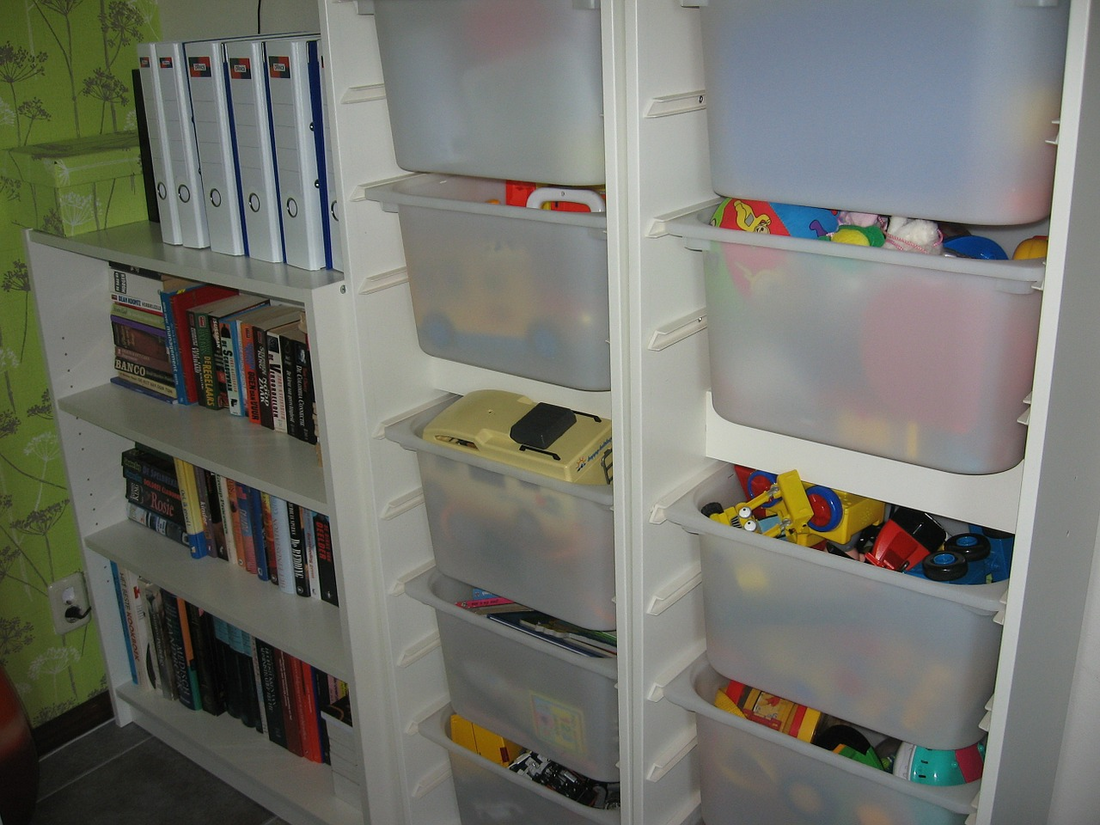
Storage bins and cubbies
Closet shoe racks
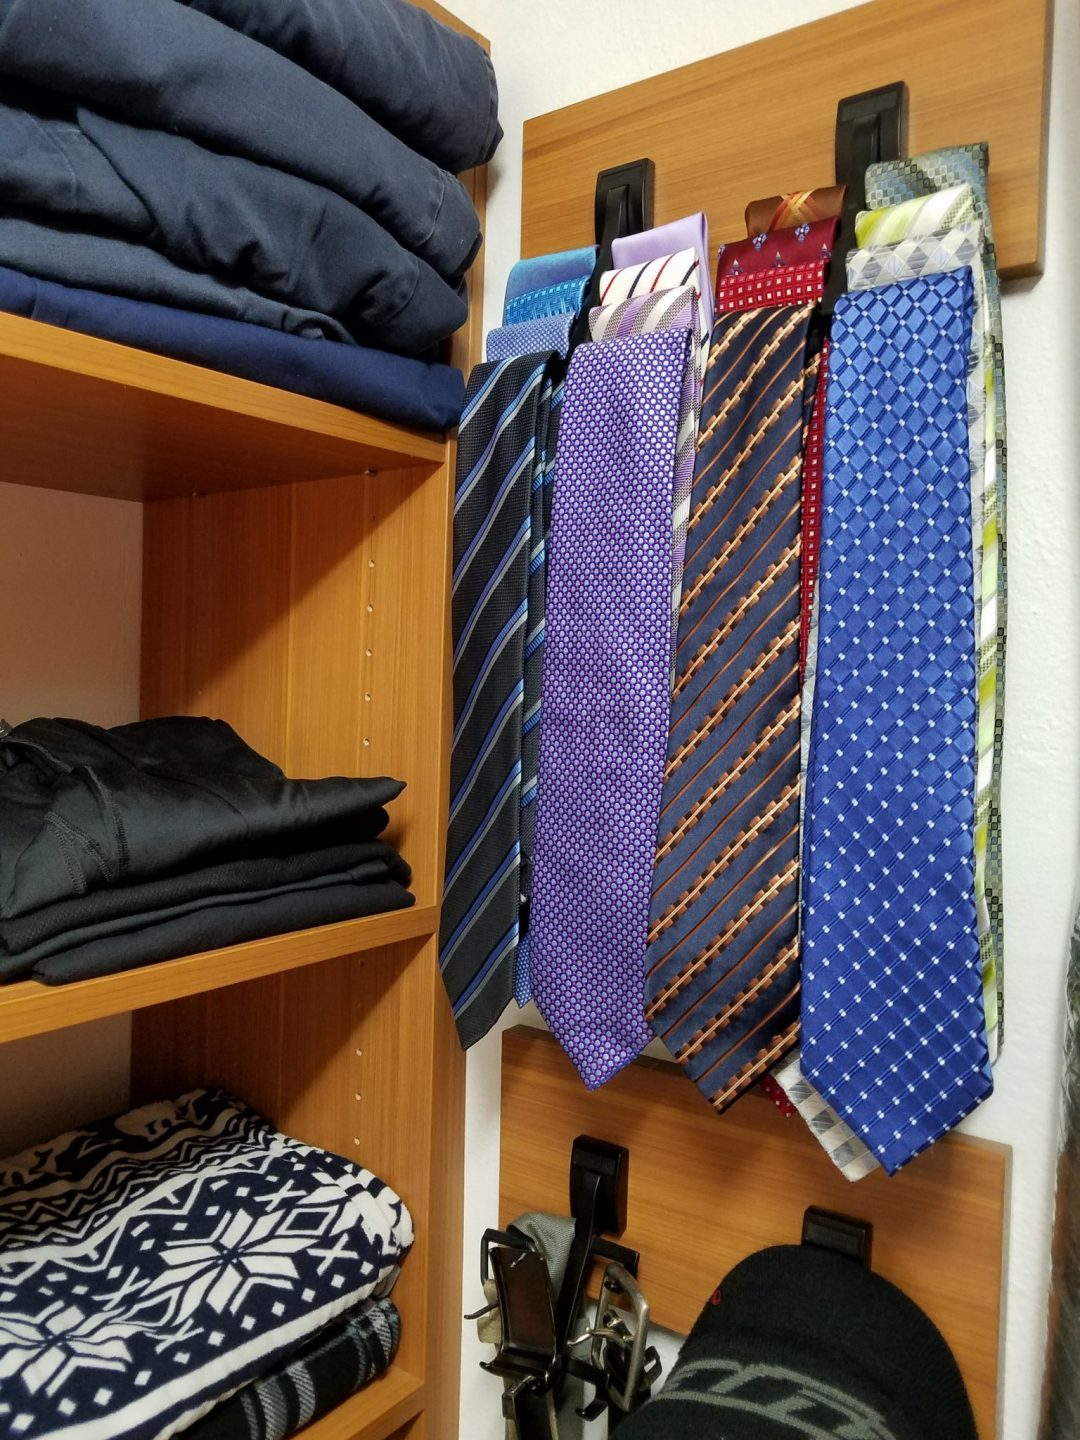
Closet hooks! use them! Belt, tie, and handbag, etc.
Space savers – like Huggable Hangers, etc
Use the back of the closet door for additional hanging space
Pop on over to the closet storage sites to get your own closet space ideas, AND save some money!!! Ikea, Wayfair, Pinterest, etc
Step 2: Closet Space – Supplement with Additional Furniture
As mentioned above, this is how the Victorian Age added storage space, to make up for impossibly small closets. Try to add or incorporate the following:
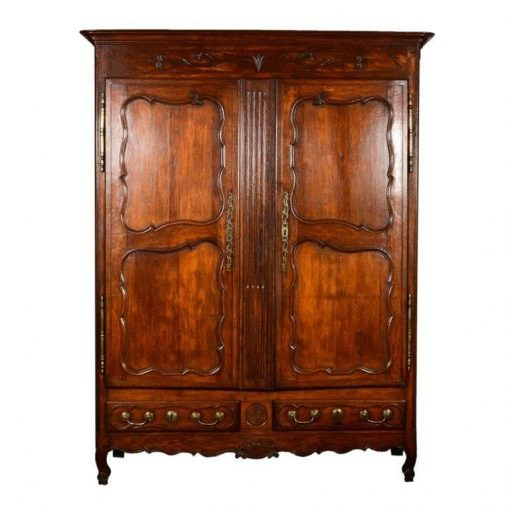
Armoire / Standing wardrobes
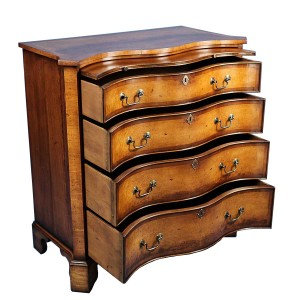
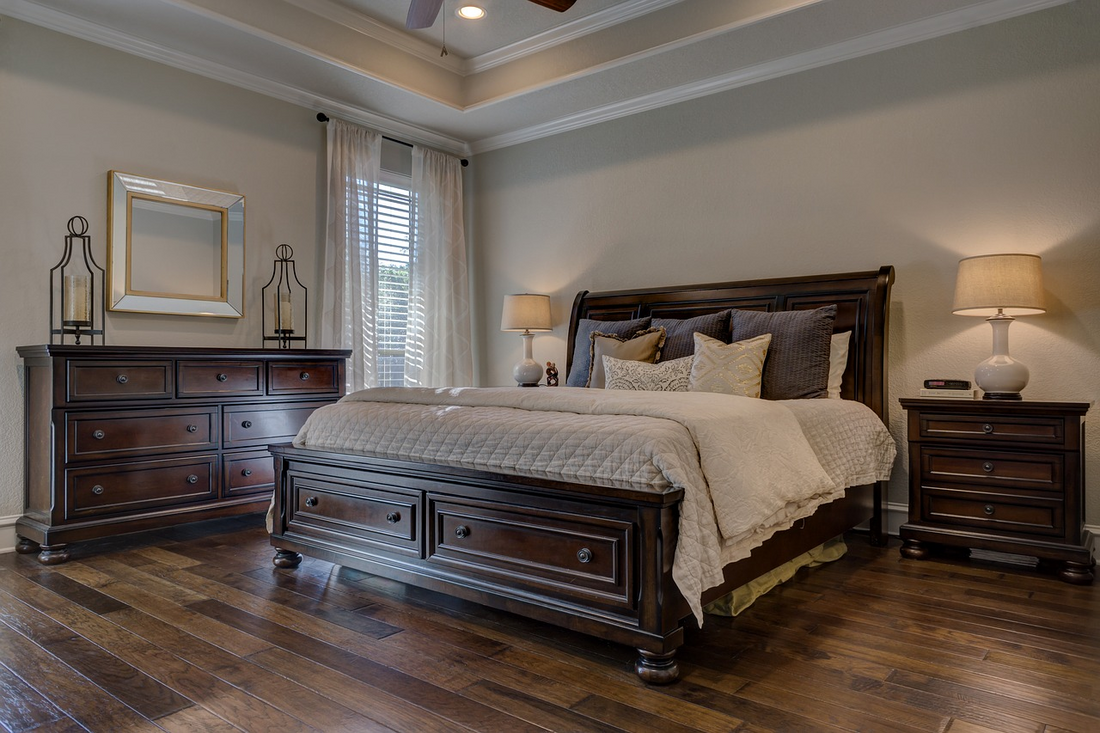
Larger dresser/ night stand
Photo: English Classics
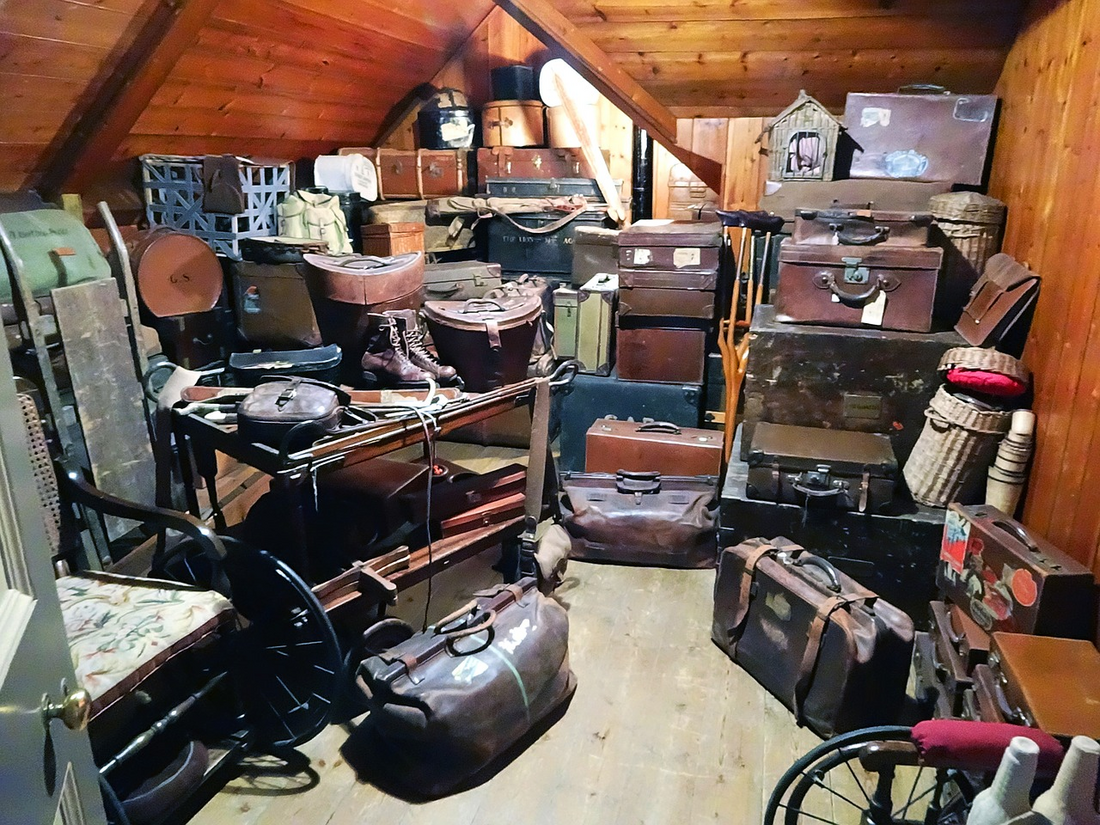
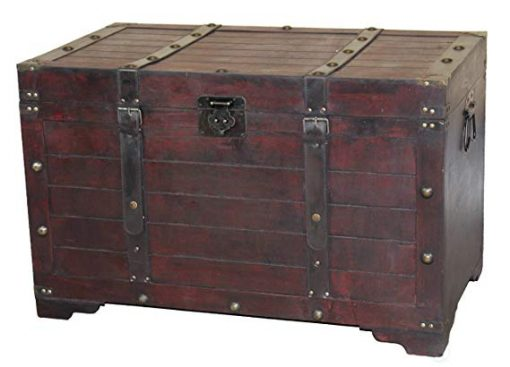
Antique trunk/chest (foot of the bed, etc)
Step 3: Closet Space – Gain Additional Storage Space
We all have spaces that are underserved and/or underutilized. Get organized! Focus on areas like:
For lower beds – lift them with bed risers.
For higher beds – utilize space under your bed
Use additional low profile bins, vacuum storage bags, etc
Move off-season clothing to alternate storage/closet(s)
Utilize basement storage (if dry and mold free)
Utilize coat closets for all “heavy” items like coats, jackets, gloves, scarfs, etc.
Again, bins, storage bags, and vacuum storage bags work well. We use them all the time!


Step 4: Closet Space – Custom Closets
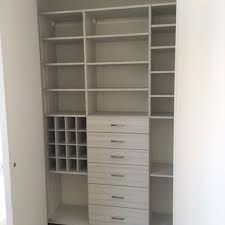
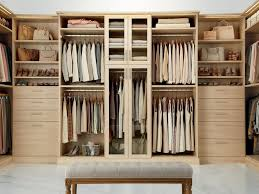
This route may be the most expensive, but it may yield the best results depending on the design. With custom closet solutions, every inch of the closet can be better utilized.
Redesign/retrofit the existing space
Build custom shelving/cabinetry
Custom closet services – California Closets
Custom closet services – Closets By Design
Closet design service, DIY install – EasyClosets
Closet Space- A Real World Example
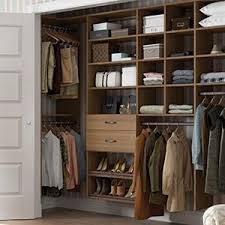
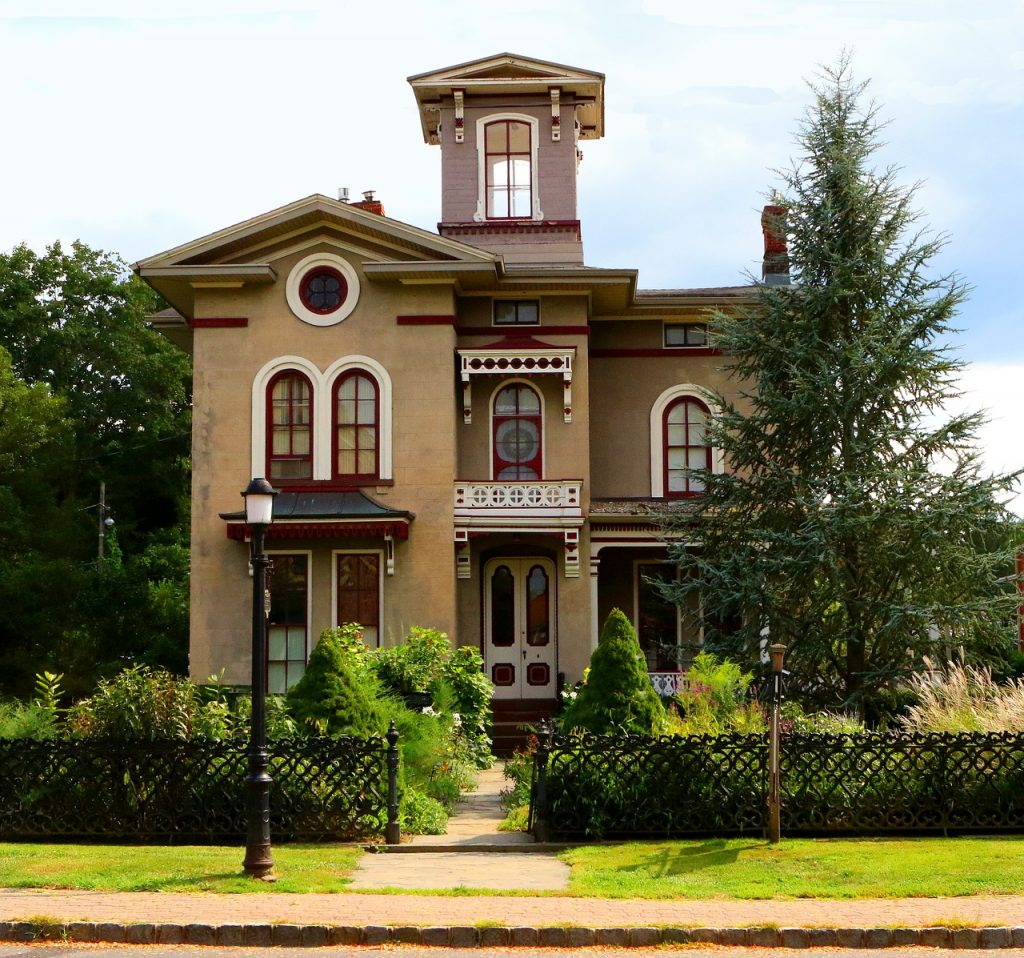
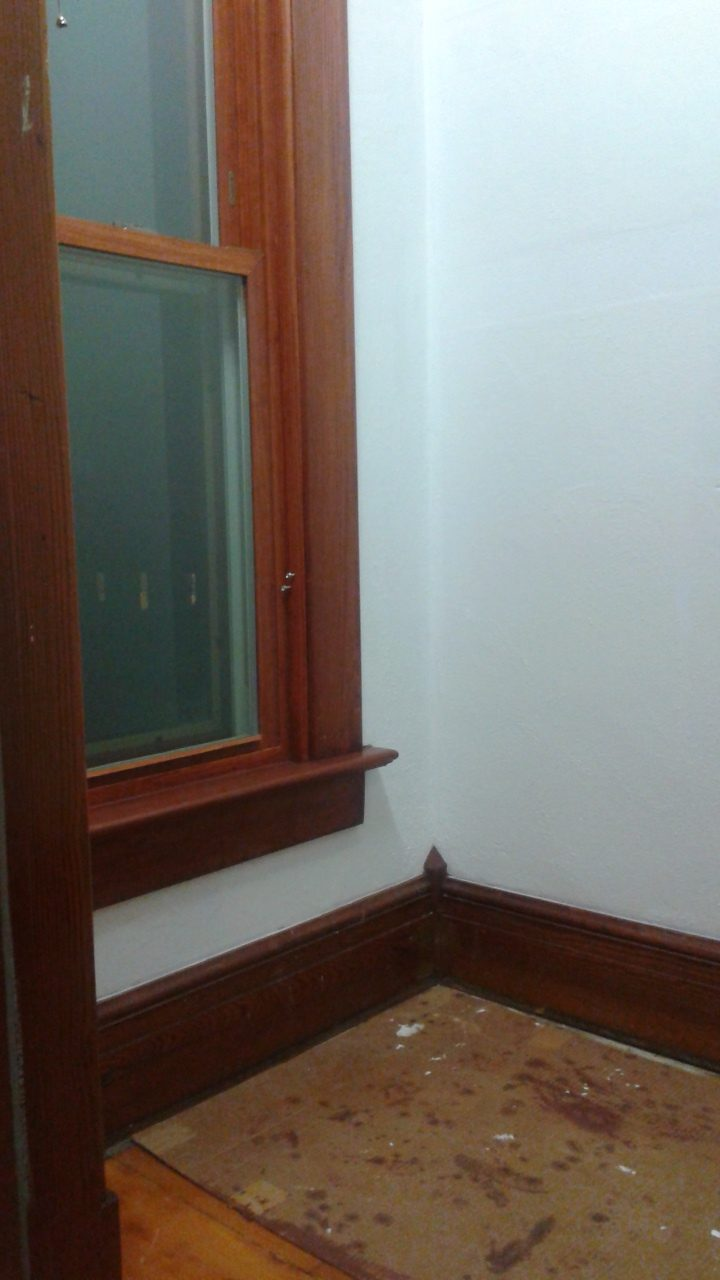
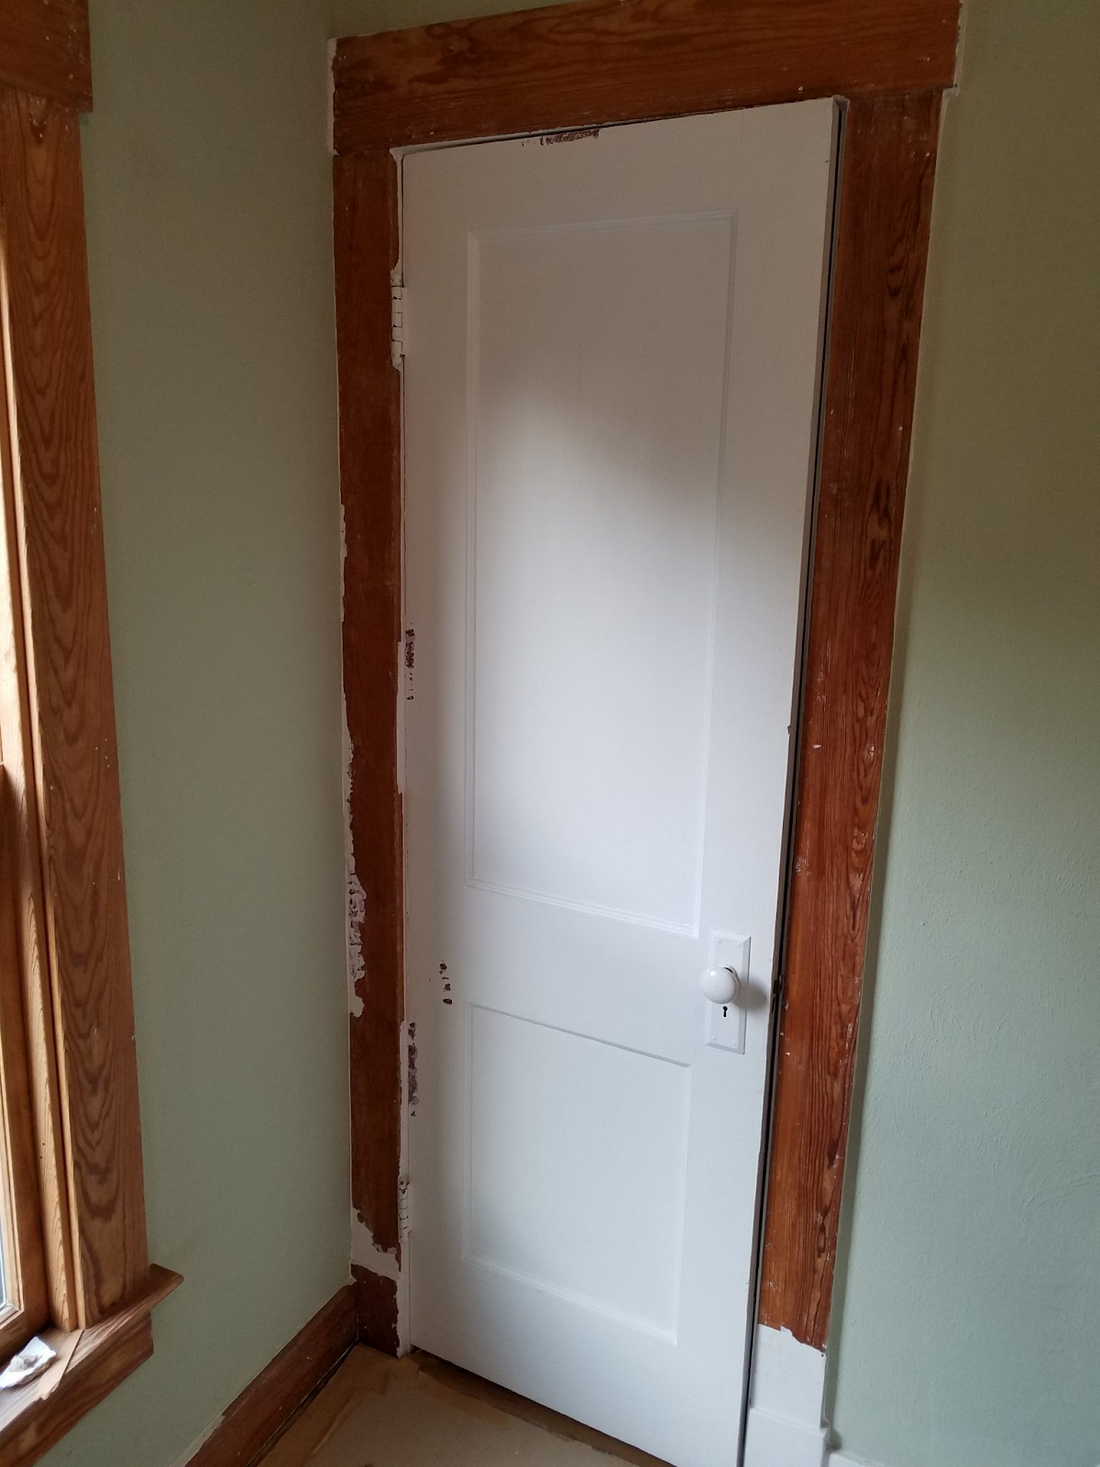
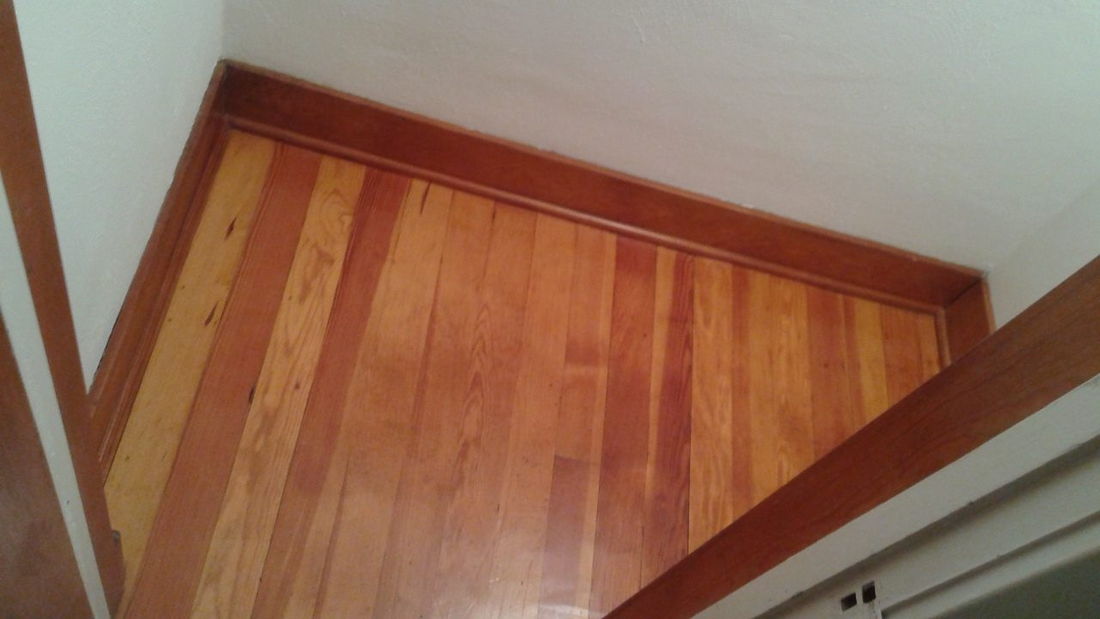
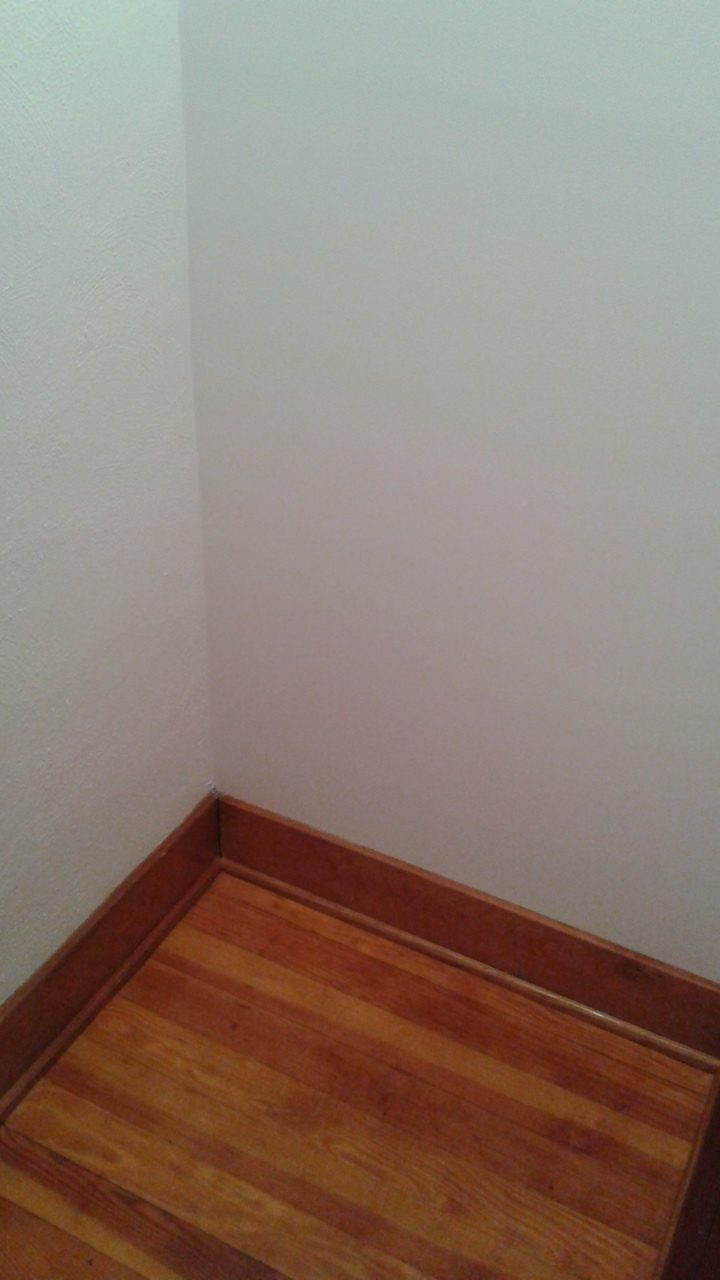
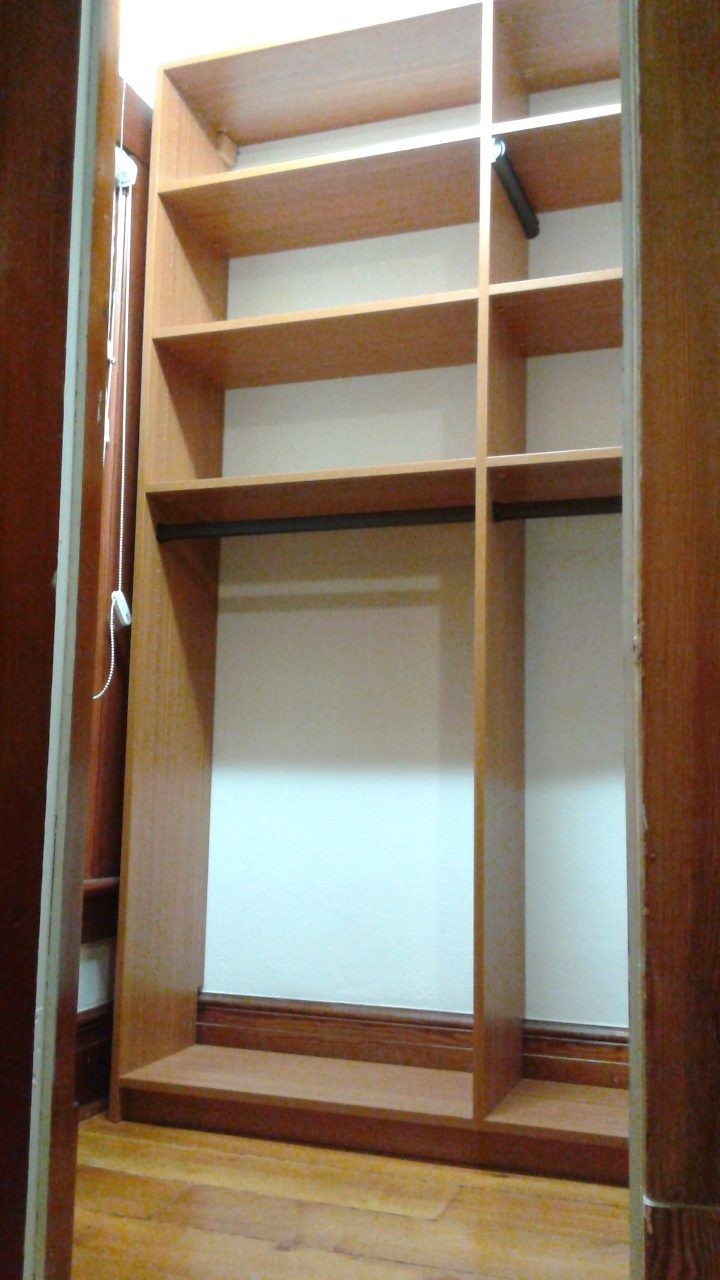
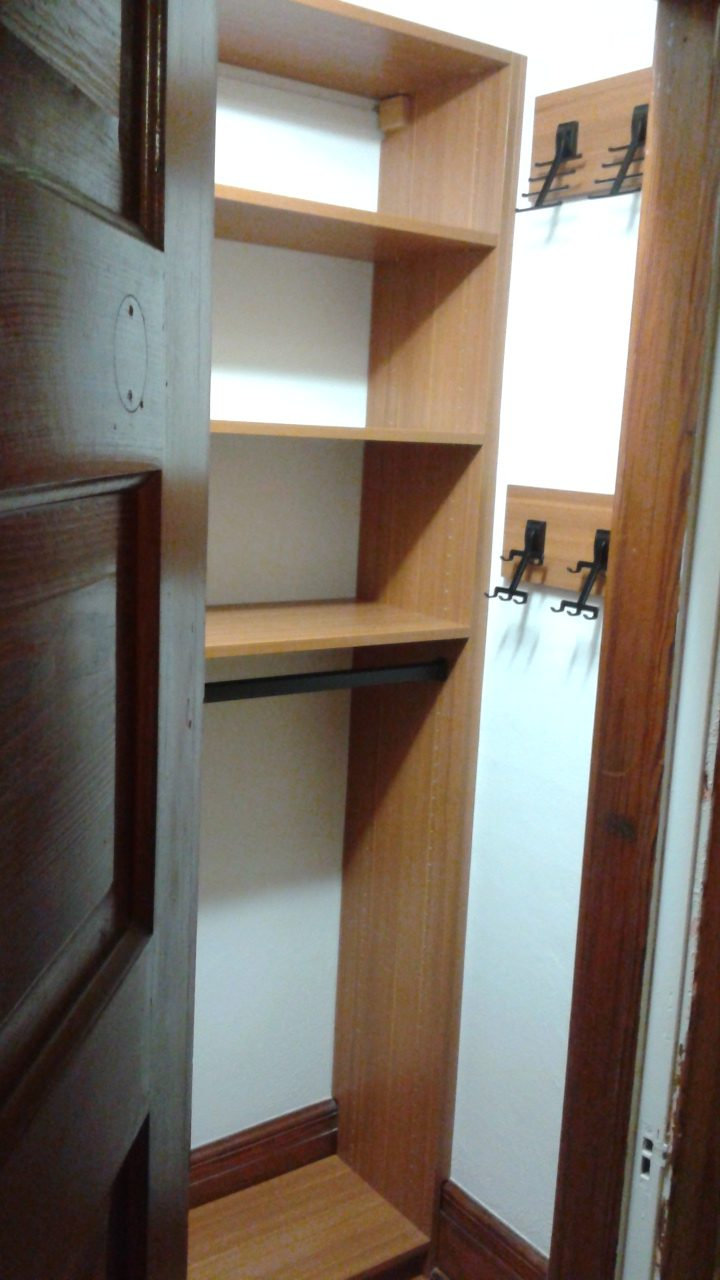
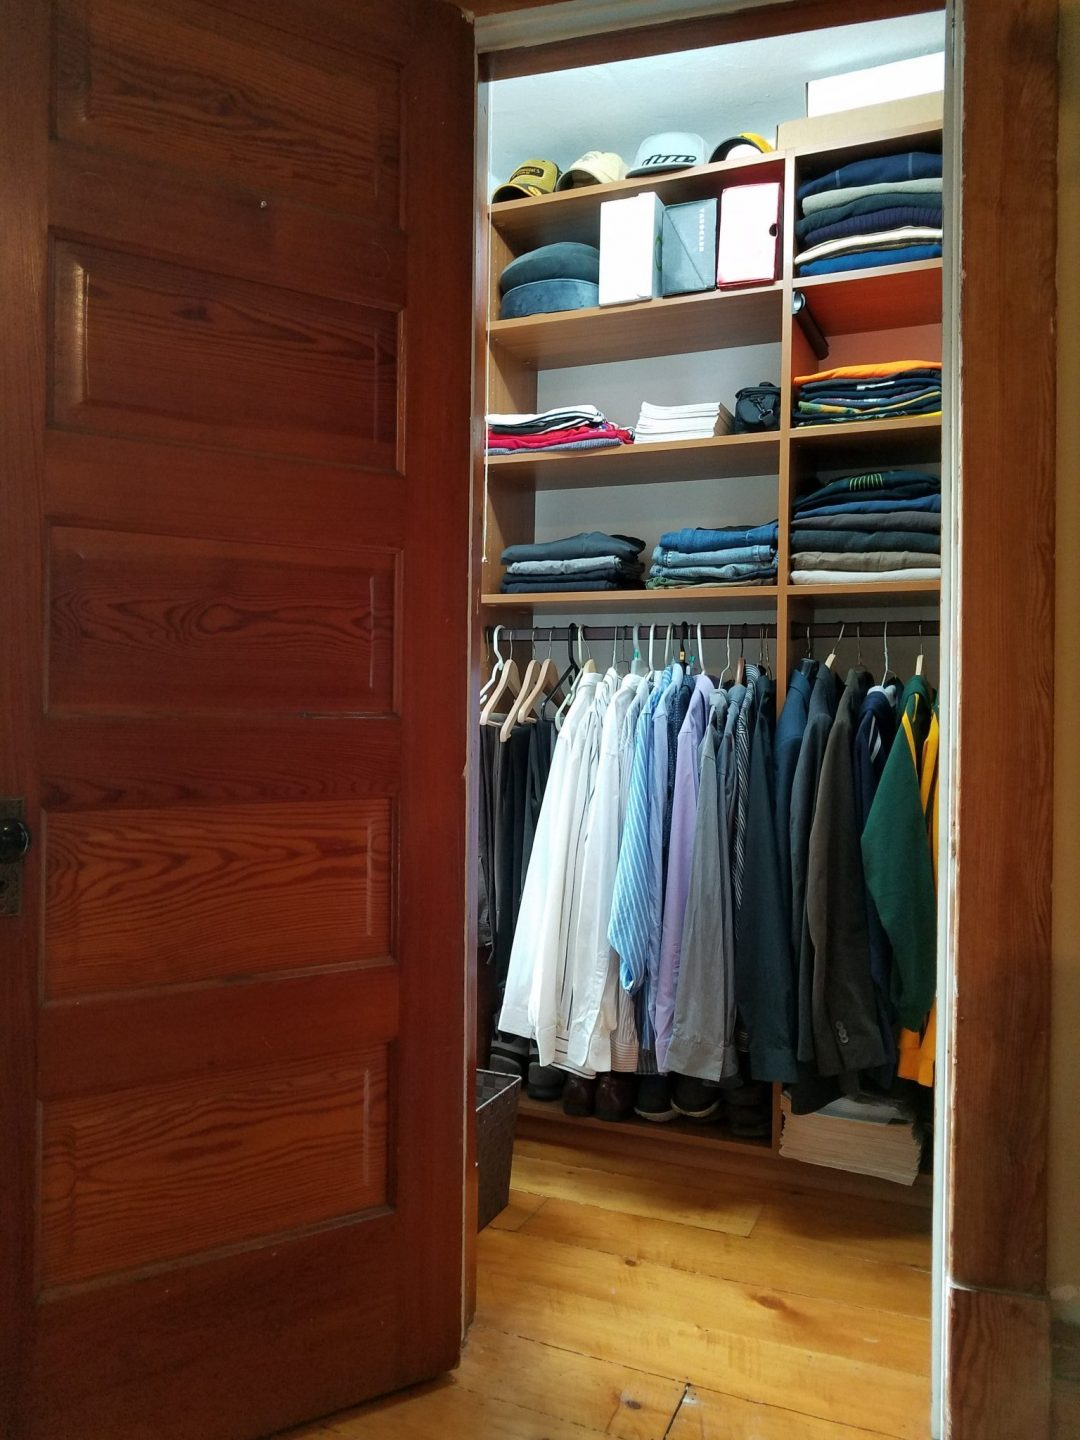
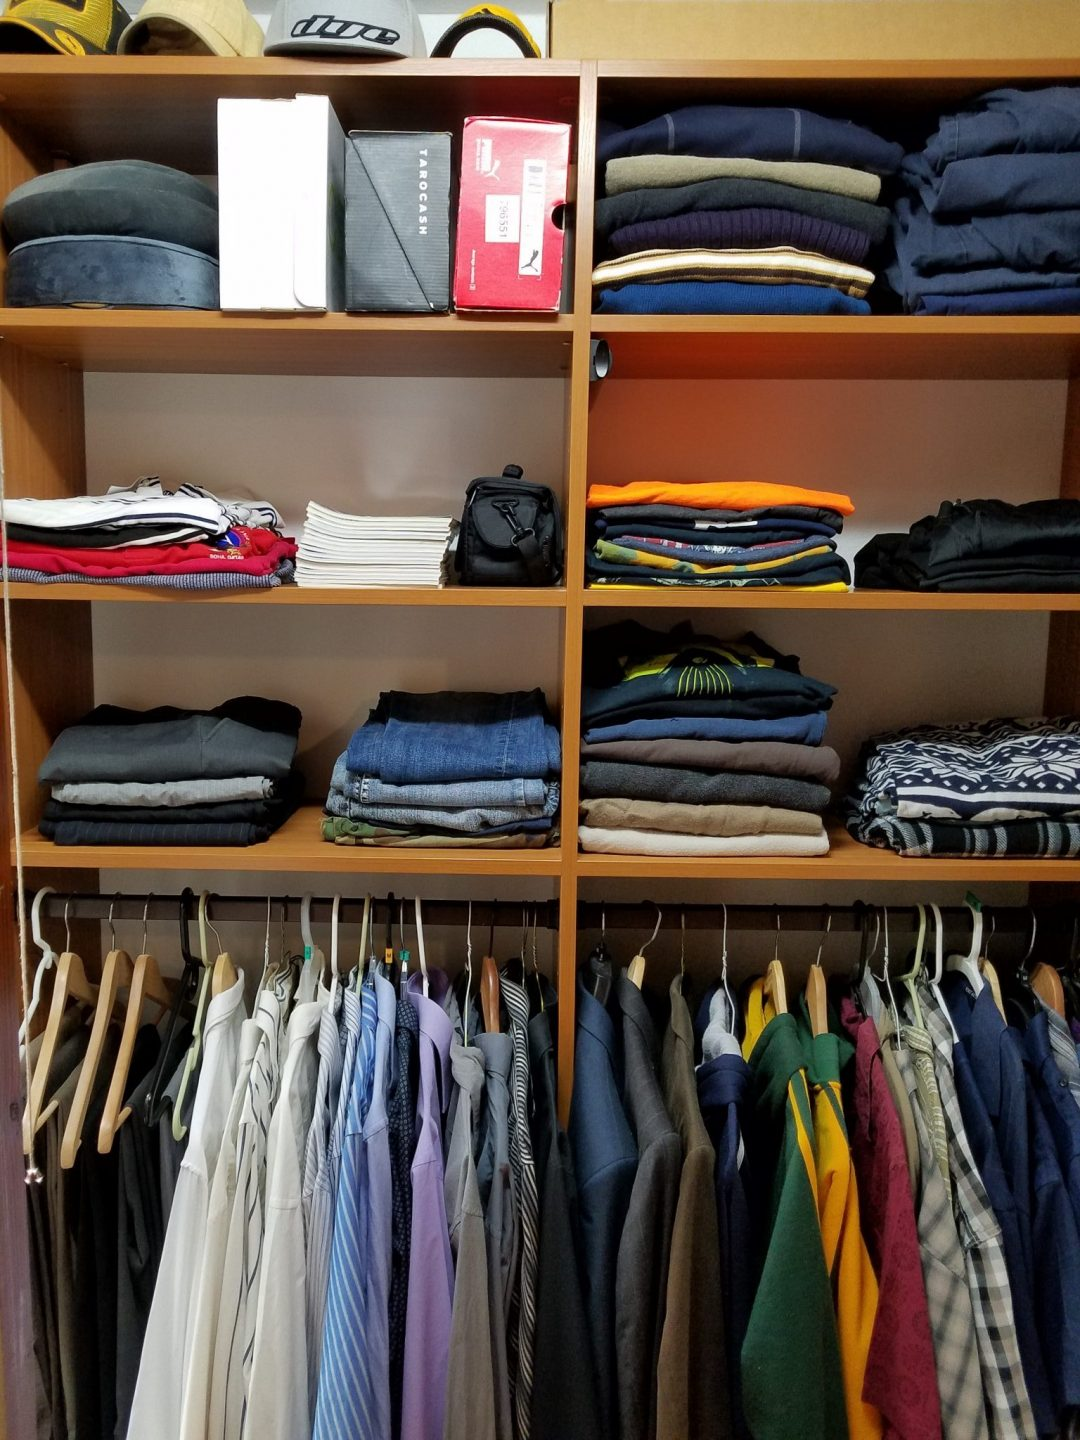
We started out with only two original closets in our c.1890 Folk Victorian. Each closet had one shelf at the top and one hanging rod in the middle…THAT’S IT! We lived with this for 8 entire years, and it’s a wonder we are still sane! So this is how we finally fixed our closets with a complete closet remodel:
Master Closet 1
Master Closet 1
Bedroom Closet 2
Bedroom Closet 2
Bedroom Closet 2
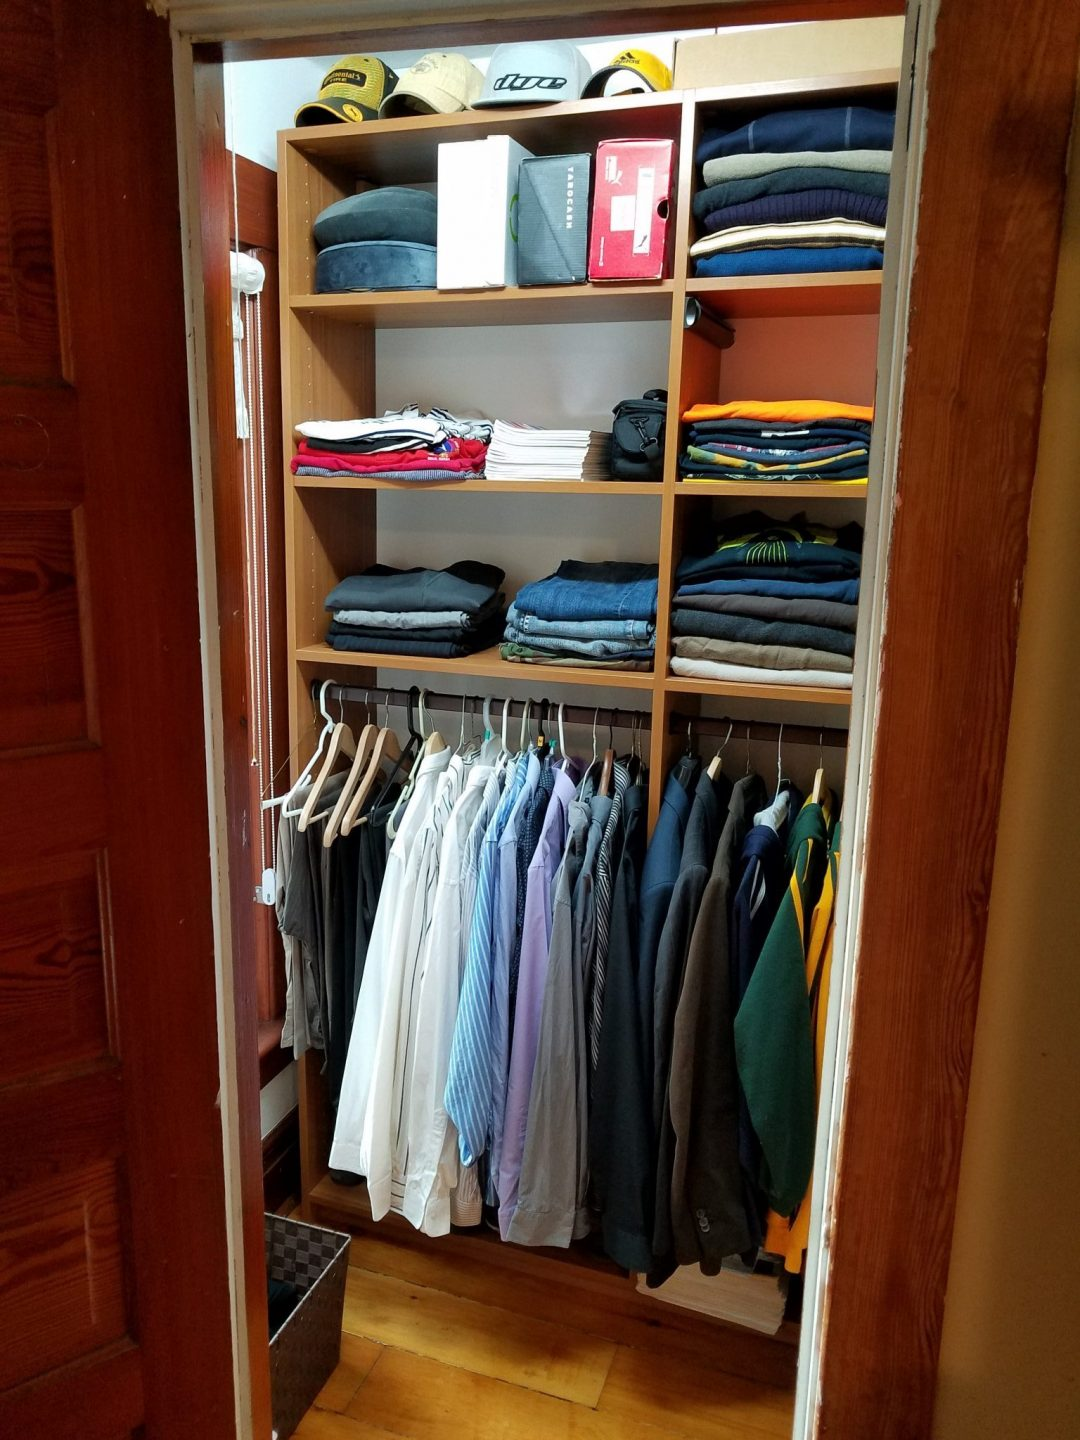
Closet #1 in the Master bedroom (3 feet by 5 feet).
California Closets installed one custom unit on the rear wall.
Two side brackets were installed for neck ties, handbags, belts, etc.
Shelf along the entire bottom for shoes.
Unit was trimmed to fit around the original baseboards instead of “notching” them. Always think logistics! What if they are removed later? Baseboards will still be intact!
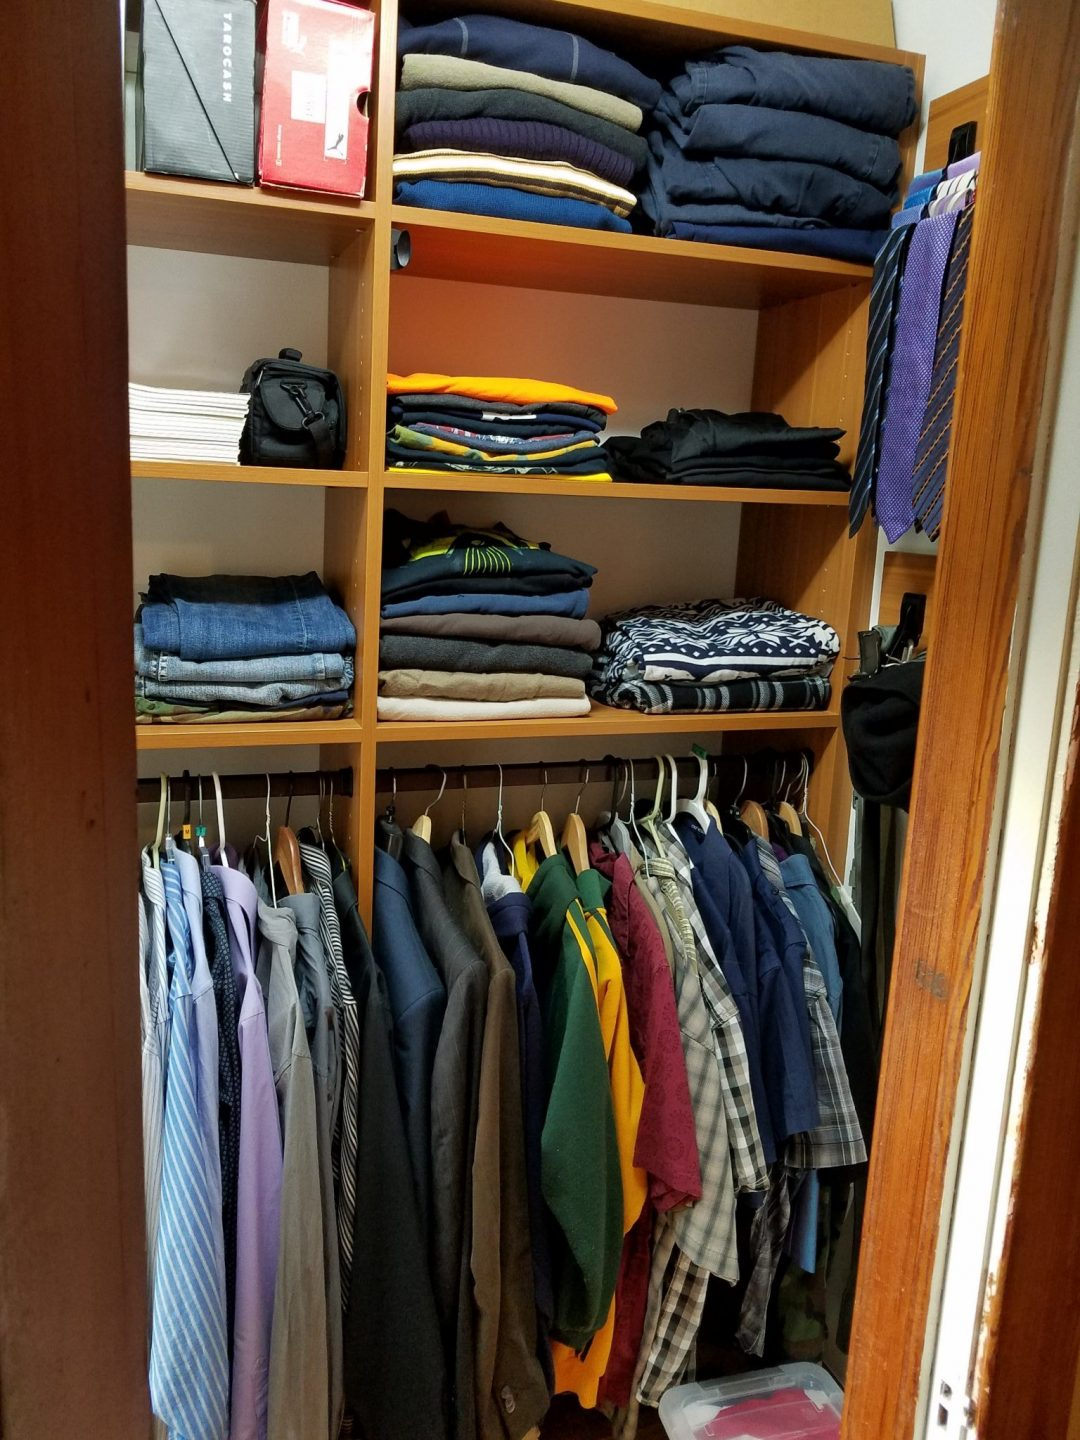
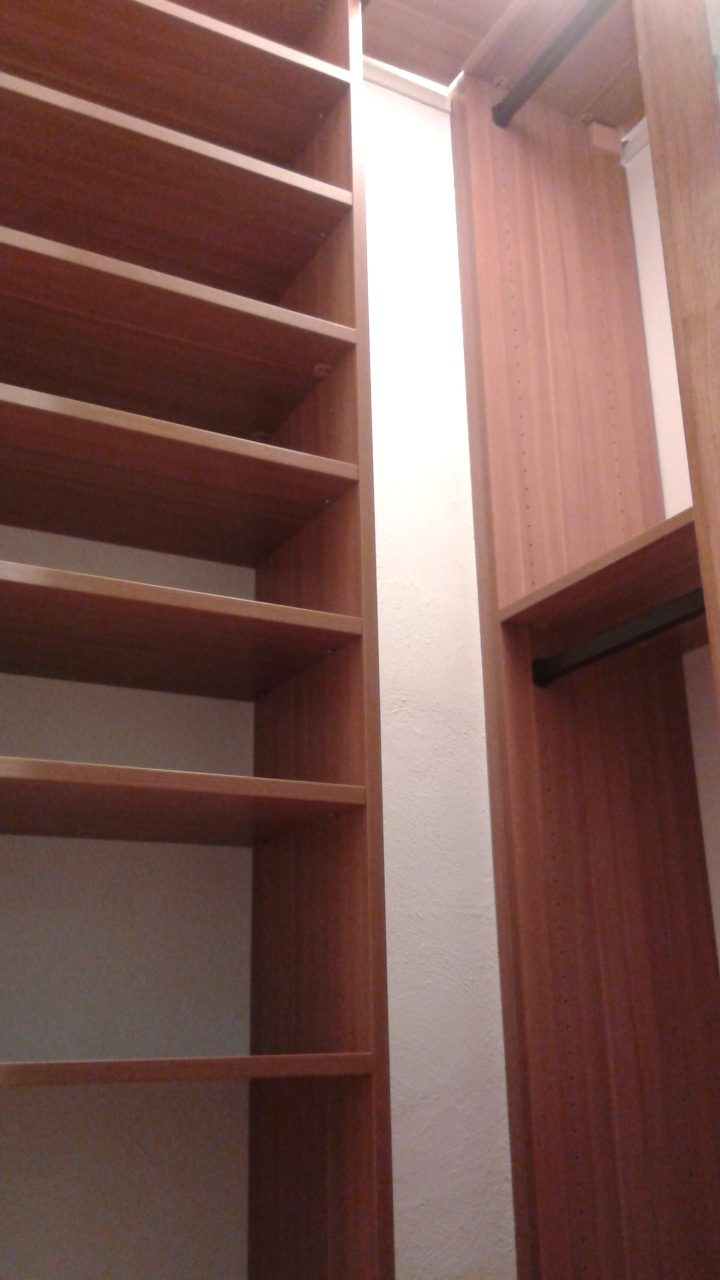
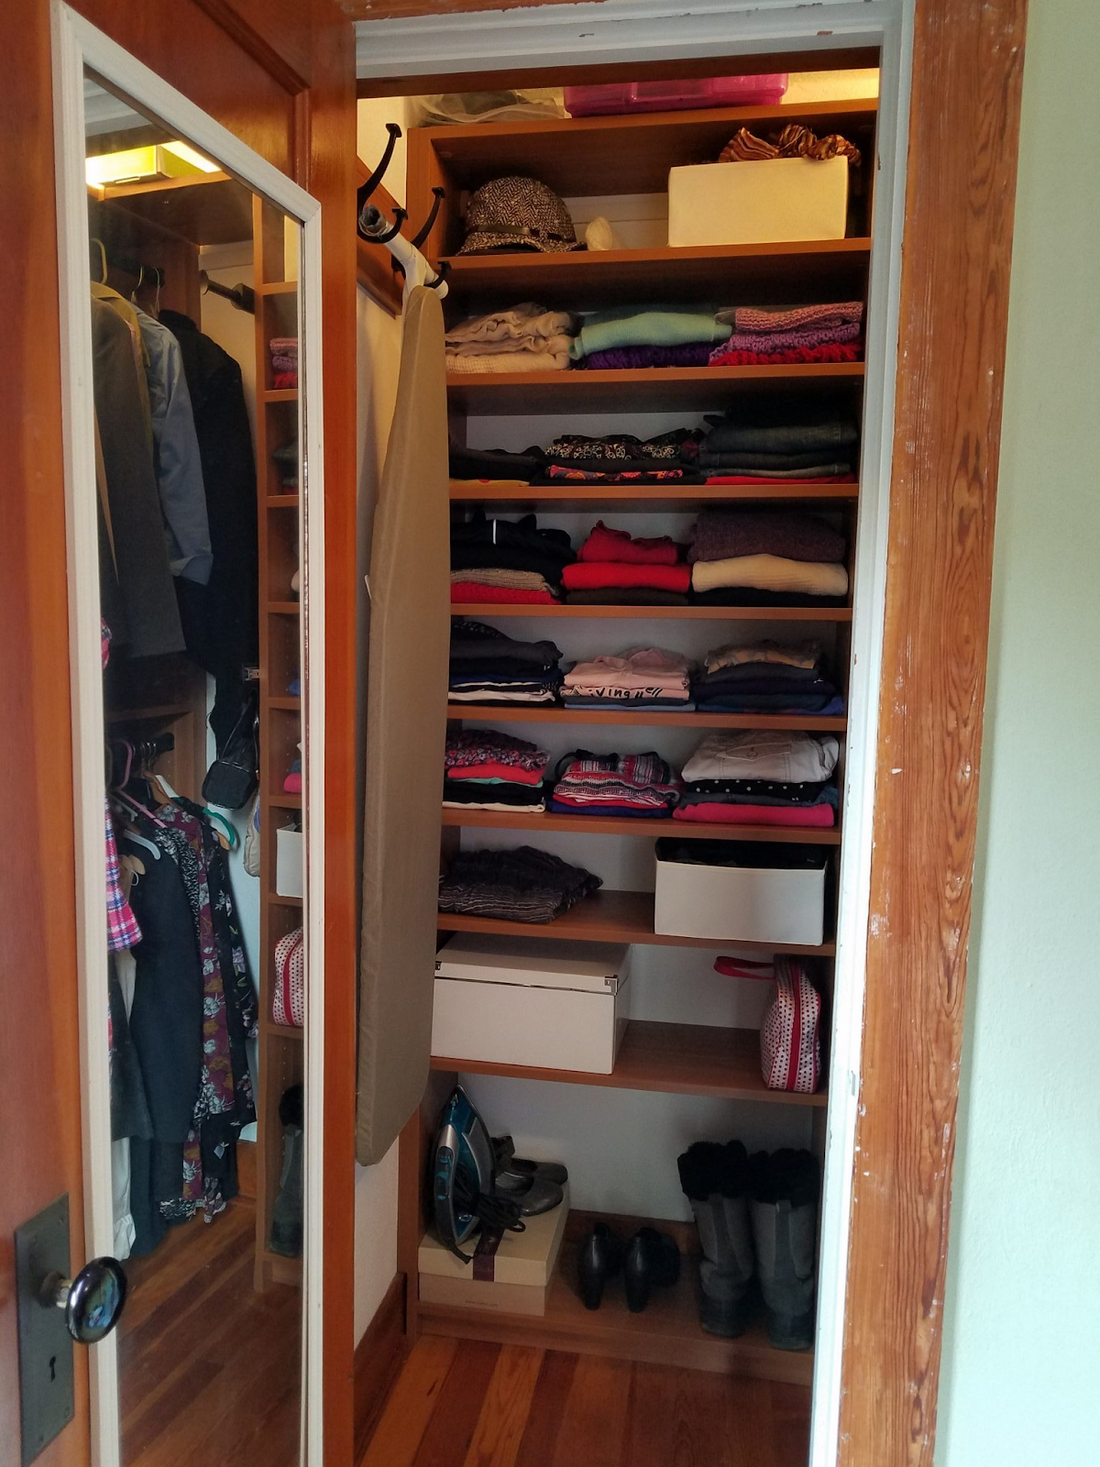
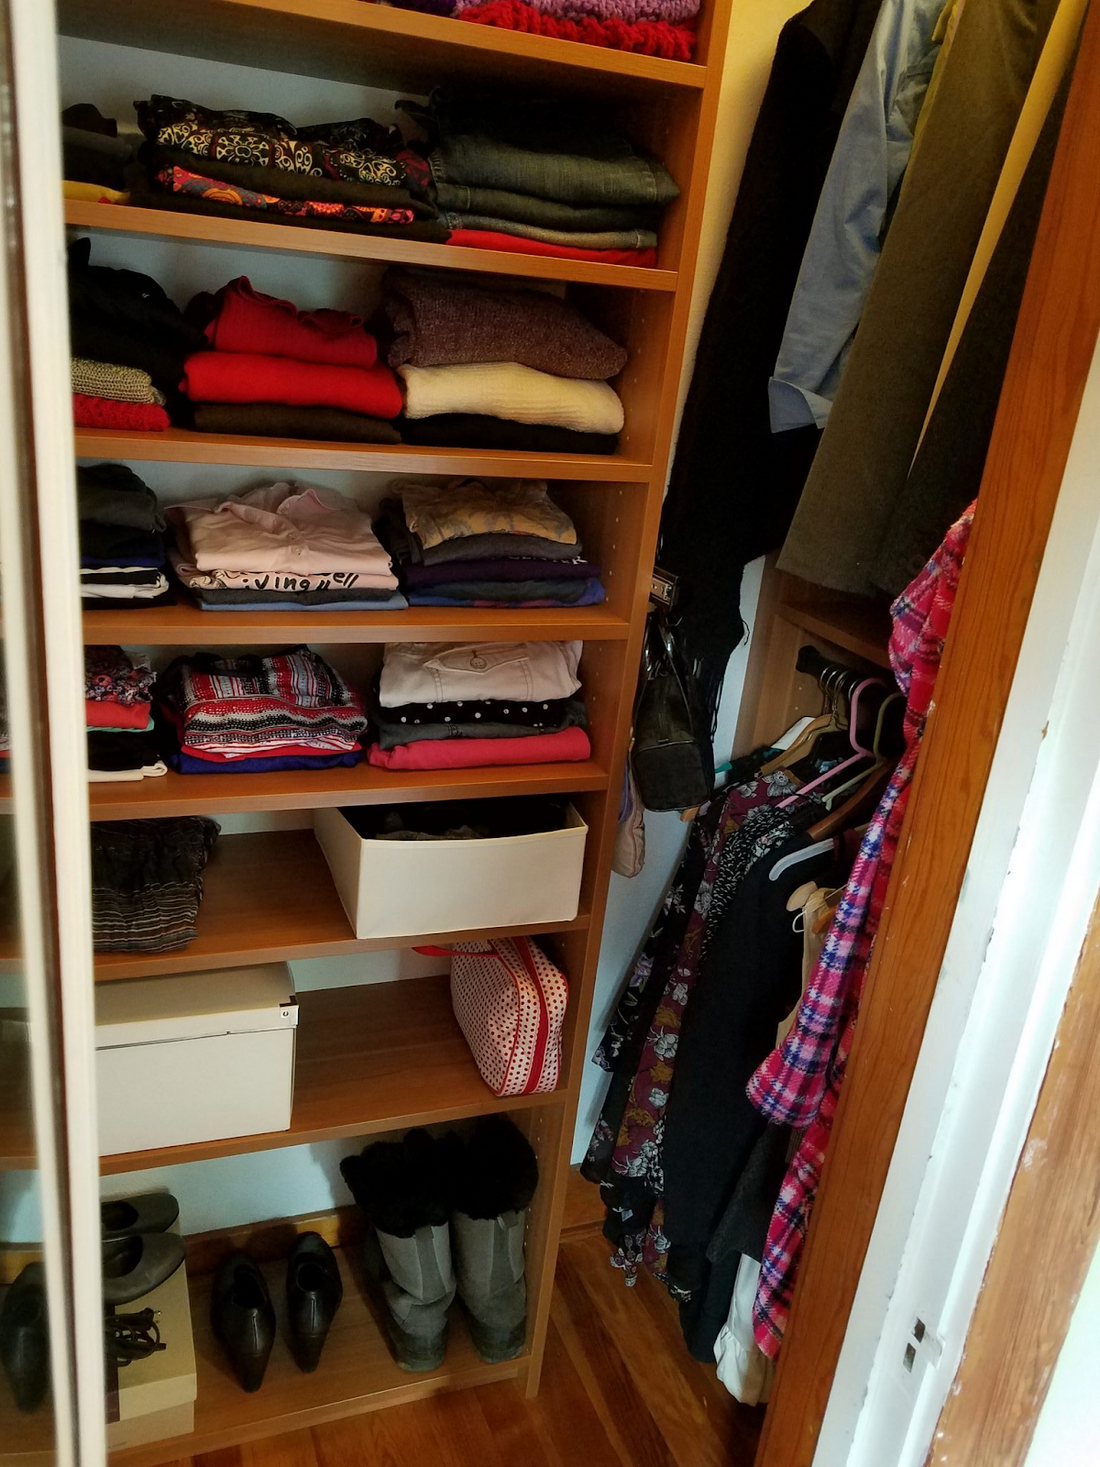
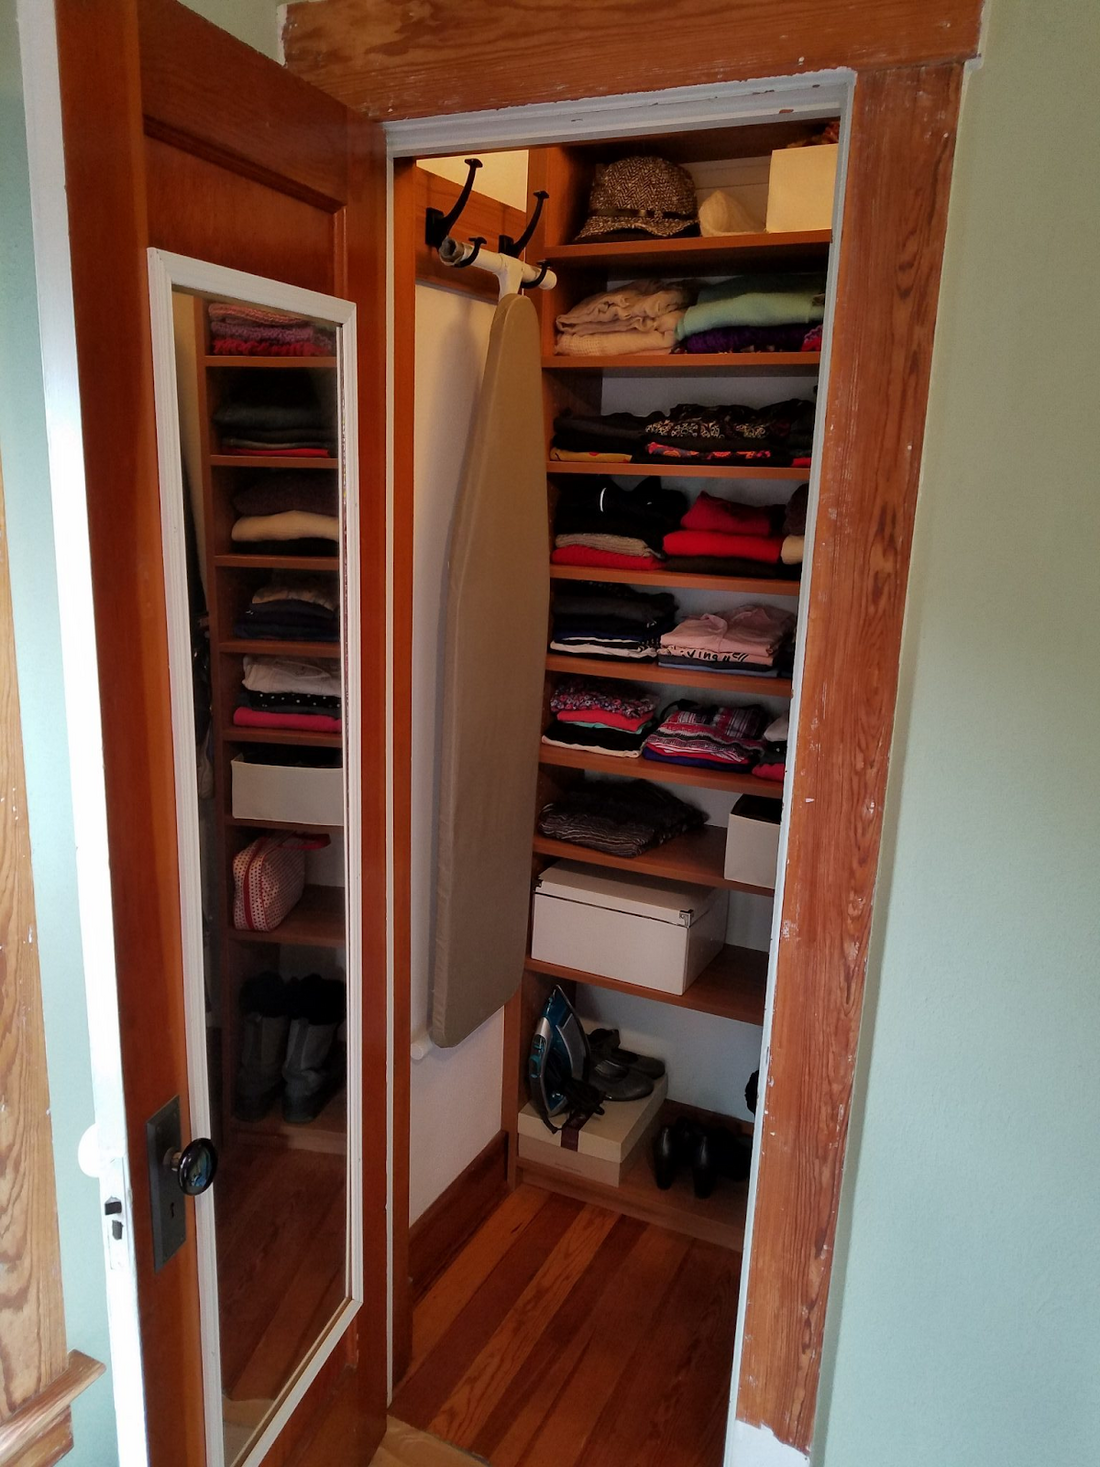
Closet #2 in the guest room (3 feet by 5 feet).
California Closets installed two custom units. One on the rear wall, and one on the right side wall.
Two side brackets were installed for handbags, belts, etc.
A center column runs the entire height of the wall for shoes.
A bracket on the left wall holds the ironing board.
And This Hot Mess!!!
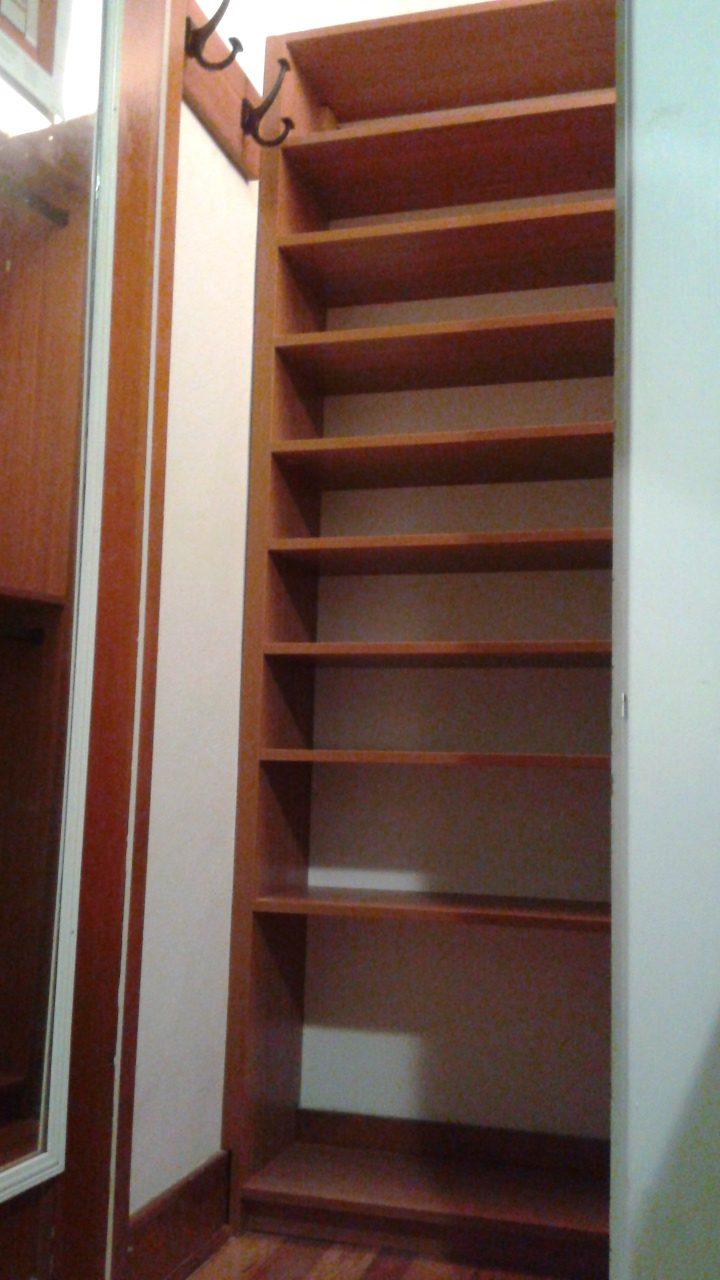
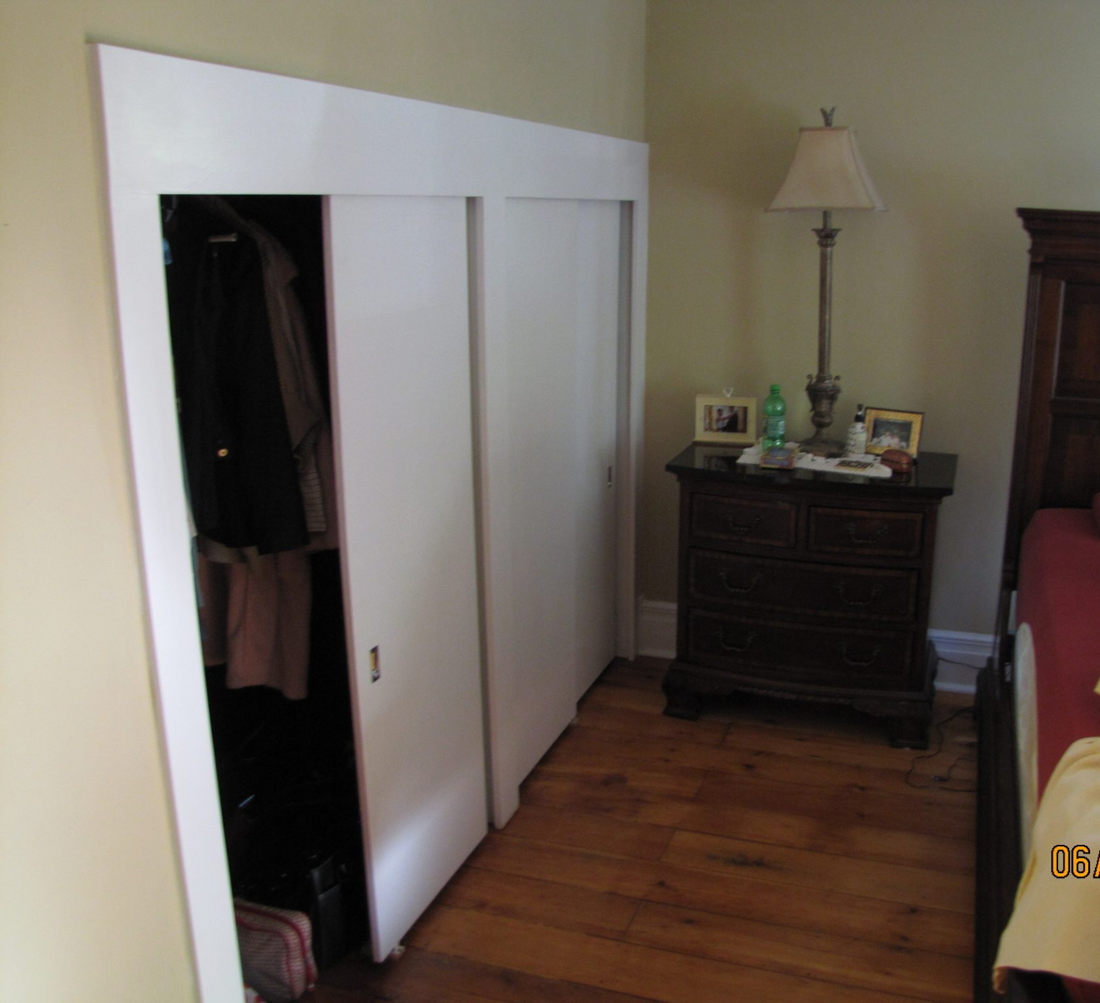
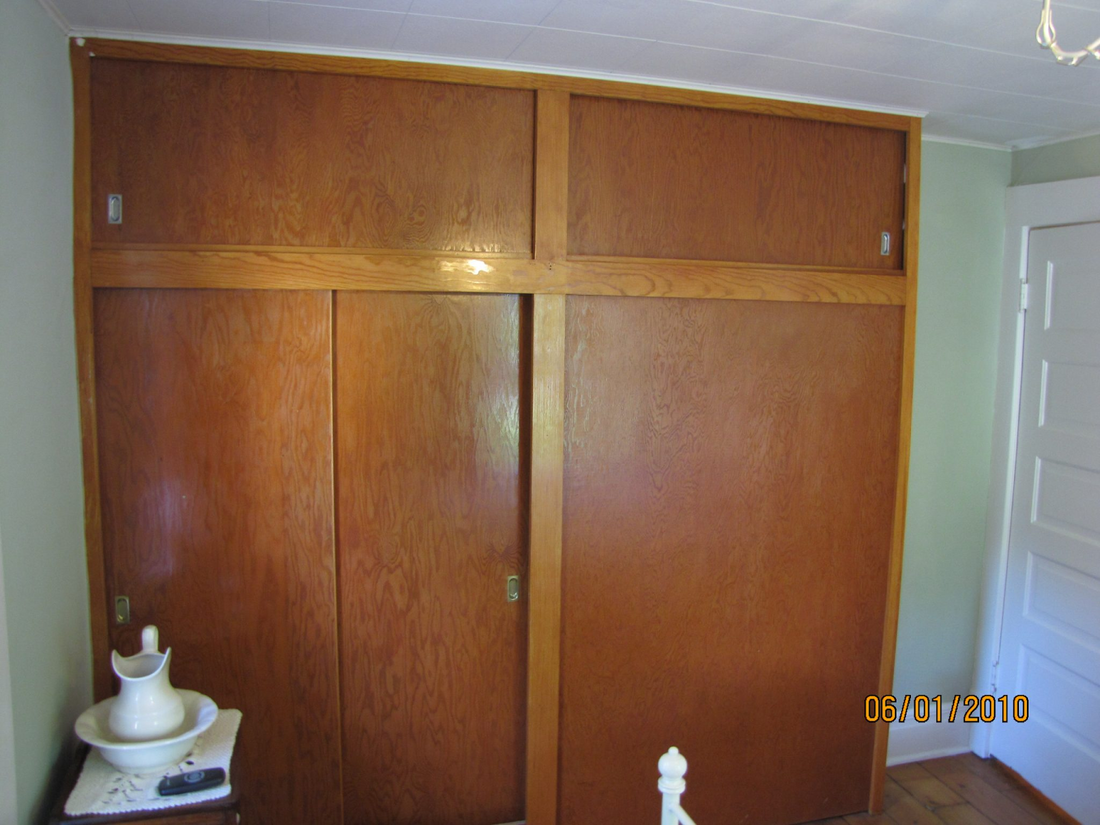
…and then there is this monstrosity! Yes, the wall between the master bedroom and adjacent guest room (which had no closet) was cut open and this is the closet that resulted. They pass straight through to each other!!!
The wife says this HAS TO GO! lol
We’ll be restoring the wall, plaster, and trim.
A cabinetmaker will create a custom built-in for storage in this area.
Master Side – passes through!
Bedroom # 3 Side
Conclusion
Old Houses DO often pose a challenge when it comes to closet space and storage options. After thorough brainstorming, planning, and in our case custom designing, there are usually good answers and options that arise to fit your storage needs.
I hope this information helps You and your Old House!
Best of luck, and keep on Fixing!

For more info visit: www.myoldhousefix.com

Posts may contain affiliate links. If you use these links to buy something, we may earn a small commission (at no additional cost to you). Full disclaimer HERE.






0 Comment(s)