
Updated: 04/29/2023
Hey, let’s have a talk about hardwood floor refinishing! Certainly, it can be a daunting task, but it doesn’t have to be!
There is a famous T.V restoration star that says “she never met a hardwood floor she couldn’t save”! Therefore, no matter how bad your historic or original floors may look…there is a good chance they can be saved with a little hardwood floor refinishing!

Stay tuned while we cover 9 steps that will help you along your hardwood floor refinishing journey, to restore your old floors!
Let’s get to it!
Step 1: Hardwood Floor Refinishing – Initial Assessment
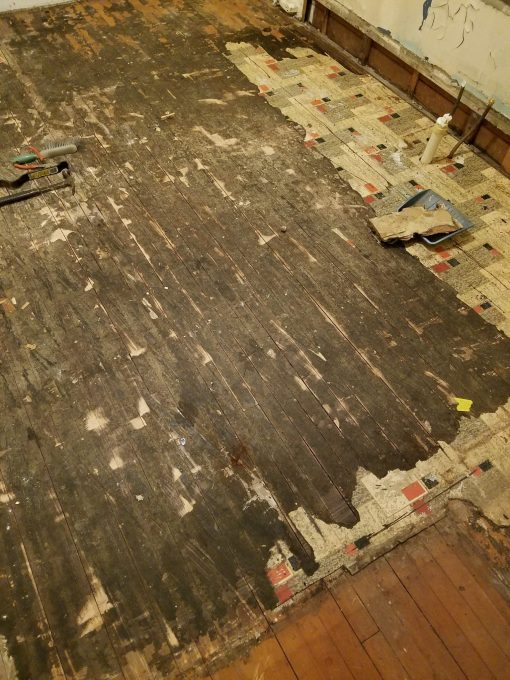
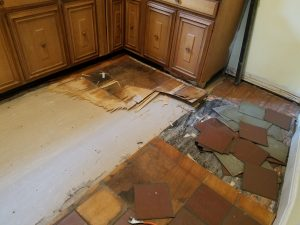
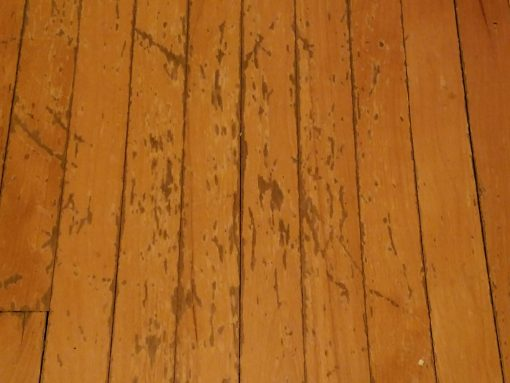
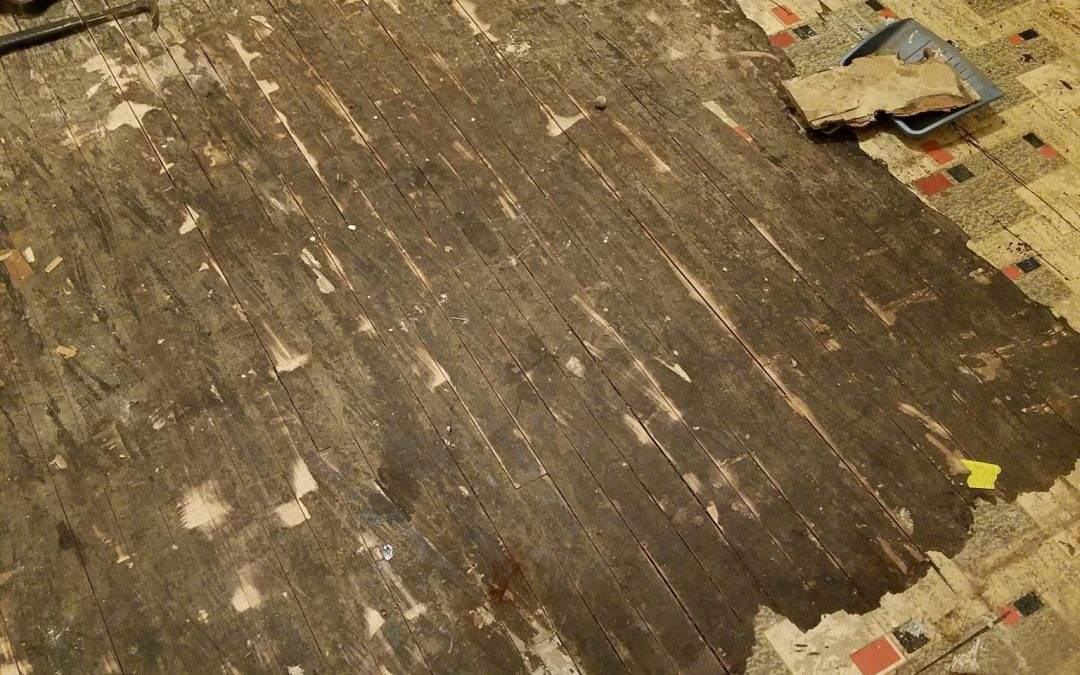
First of all, don’t let your old floor’s current state intimidate you! It may look terrible, gouged, covered in old flooring, or even worse…but don’t give up yet! Assess its current conditio
Here is a handy checklist of some hardwood floor issues:
Checklist
Covered in old flooring materials / adhesive
Painted? How many layers? Lead-based paint?
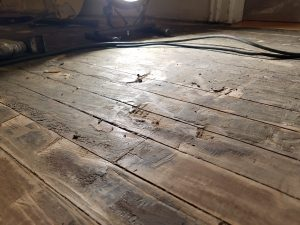
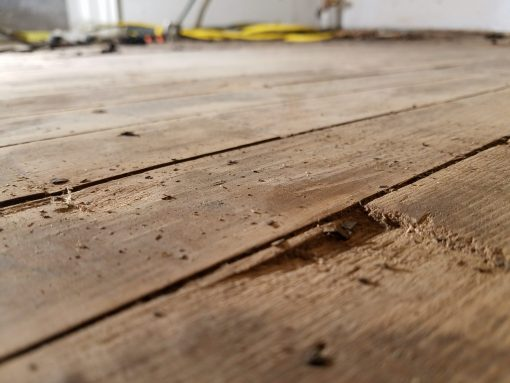
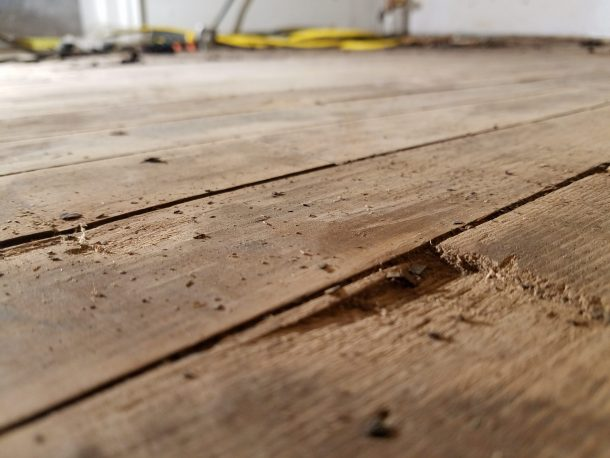
Boards cupped, chipped, cracked, gouged?
What type and how much finish is currently on the floor?
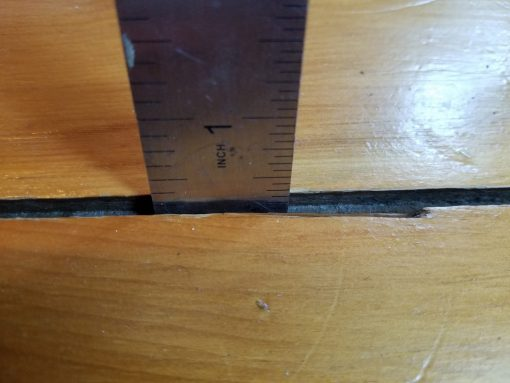
Are your floors thick enough to sand (how much wood is left from top of board down to tongue?
Step 2: Hardwood Floor Refinishing – The Plan
Now the assessment is complete, we know what we are dealing with. Let’s plan accordingly – equipment, safety equipment, sanding grit sequence, stain and/or topcoat.
Considerations
Type/species of wood.
Condition of current hardwood flooring.
Lead paint or asbestos flooring present? If in question, always assume it IS PRESENT, and wear proper PPE, to include work site containment.
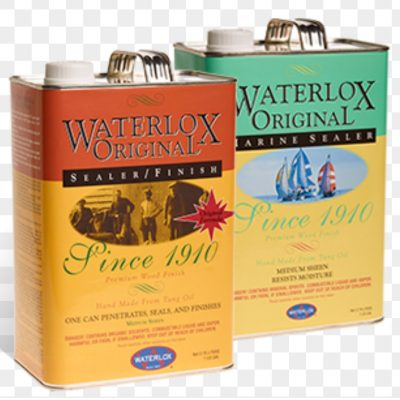
Final finish desired – stain, topcoat only, oil-based polyurethane, water-based urethane, Waterlox, etc.
Your DIY/skill level (again, drum sanders are the best option, but can ruin your floor if not used correctly).
Starting grit is ALWAYS 36 grit for a test area. Why? Finer grits from 36, DO NOT remove wood…only sand scratches!
16 grit is the usual starting grit for shellac and lacquer finishes. Reason: These finishes tend to “gum up” as they get hot, therefore you will need a coarse grit to properly remove all of it, without gumming up the sand paper.
24 grit is the average starting point for many floors.
Sand long enough, and coarse enough to remove ALL old finish and top layer of damaged wood!
Any nails or fasteners (staples, etc) need to be removed or countersunk?
Polyurethanes and urethanes basically cover your wood in a “sheet” of plastic. They are more durable and provide greater protection, but consequently, they can chip and peel if there is ANY floor movement!
If any floor movement is anticipated, you may want to consider an tung-type or penetrating oil/sealer (like Waterlox) to prevent chipping and peeling.
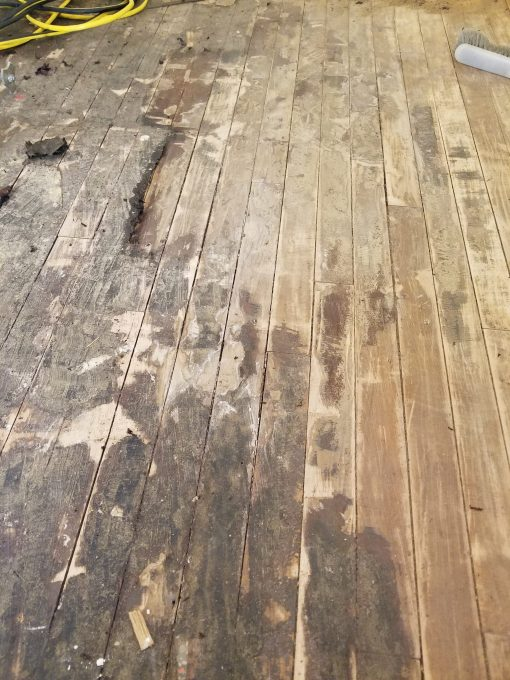
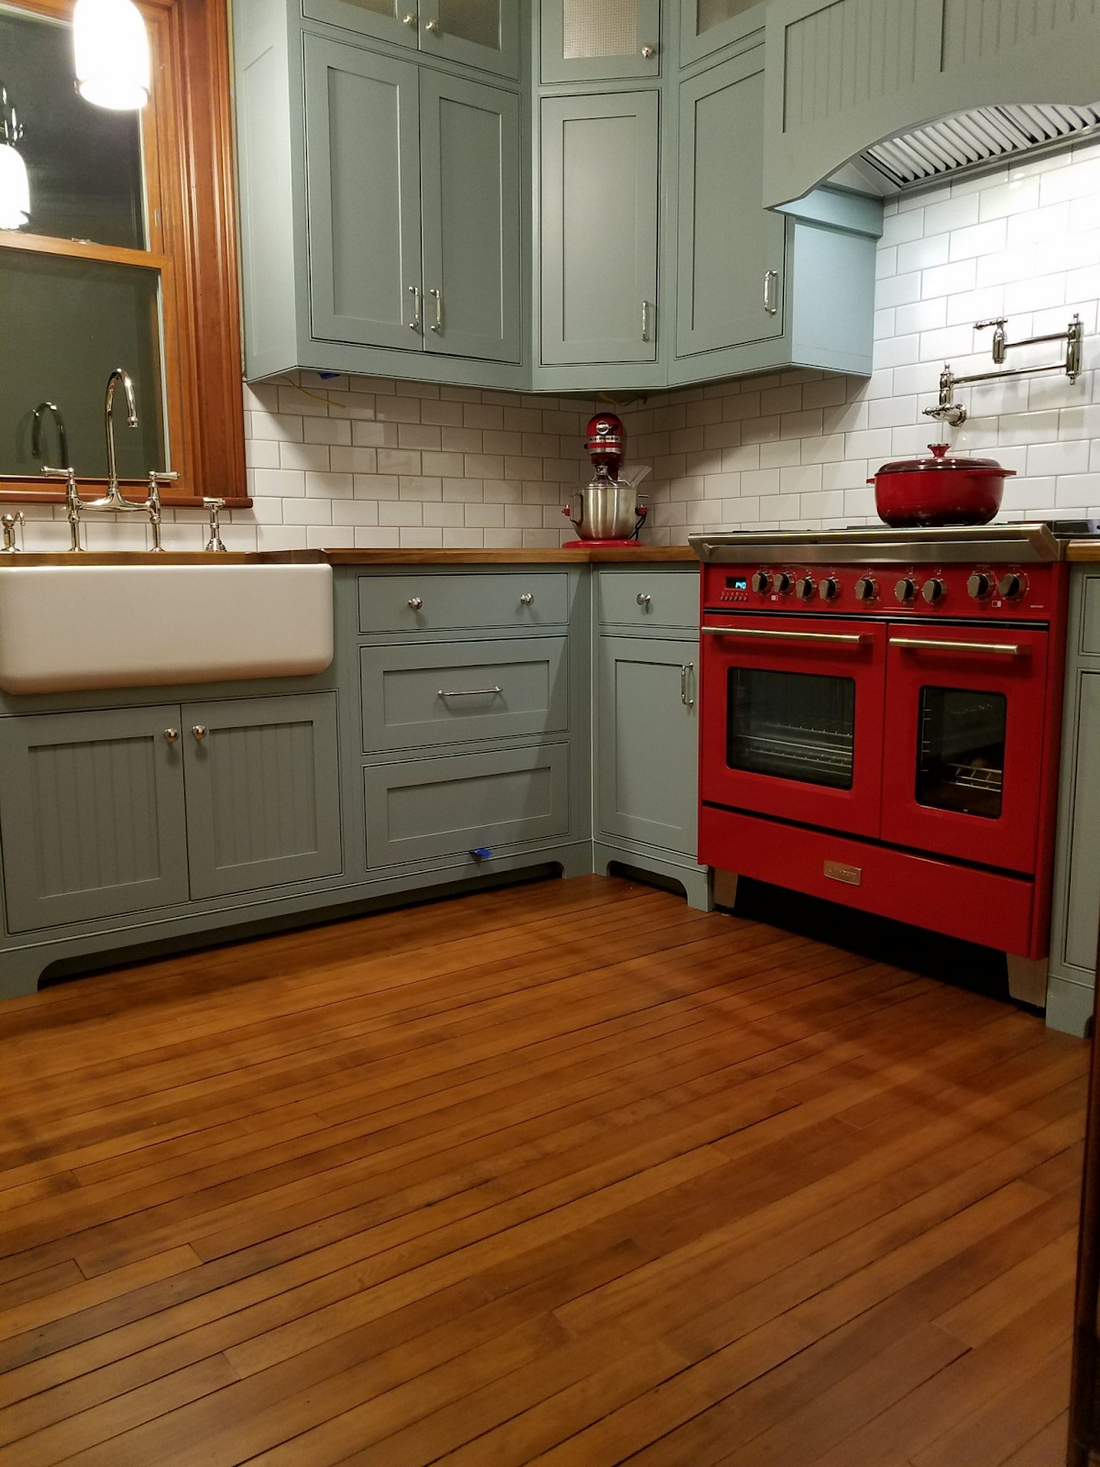
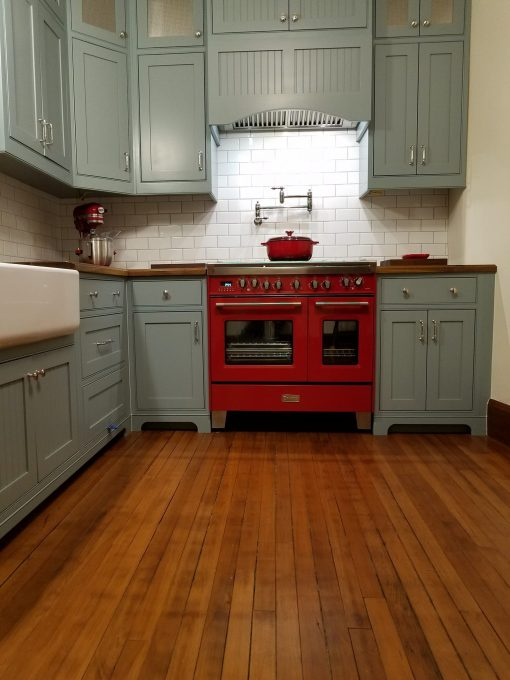
This technical blog will assume the WORST CASE – both condition of hardwood flooring and presence of lead/asbestos. The hardwood floor refinishing from the previous Farmhouse Kitchen Remodel will be used as the example.
Equipment Selection (worst case)
Depends on condition of the hardwood floor.
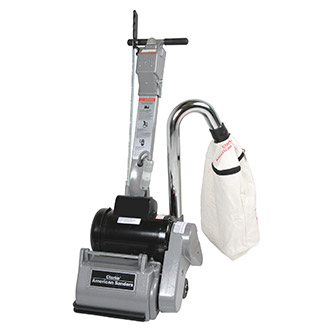
Drum Sander (for aggressive and quicker sanding) – thick finish/varnish/shellacs, adhesives, extreme wear, or floors not sanded in 10+ years. This is the most commonly used sander for restoration work and hardwoods (like oak and maple), due to its more powerful motor, but can also cause the most damage! Uses less paper. – SEE LESSONS LEARNED AT THE BOTTOM
Can be rented from Home Depot, Lowes, etc.
MOHF TIP: Buy more sandpaper than you think you will need (you can return any unused portion). You don’t want to run out at midnight on a Saturday!!!
* PLEASE WATCH THIS VIDEO ON PROPER DRUM SANDER OPERATION *
This video will take a lot of the fear out of using a drum sander. It IS a lot of work, but YOU CAN DO IT!
Sand a Floor with a Drum Sander and Edger
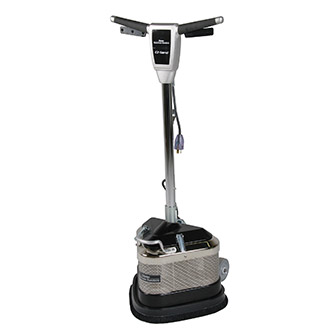
Orbital Floor Sander (less aggressive and longer sanding times) – for floors in really good shape (perfectly flat, etc) that only need the topcoat removed for a fresh application. Easier to use than a drum sander, but not powerful or heavy enough to remove heavy damage, imperfections, or heavy finish layers. Uses a lot more sandpaper.
Can be rented from Home Depot, Lowes, etc.
MOHF TIP: Buy more sandpaper than you think you will need (you can return any unused portion). You don’t want to run out at midnight on a Saturday!!!
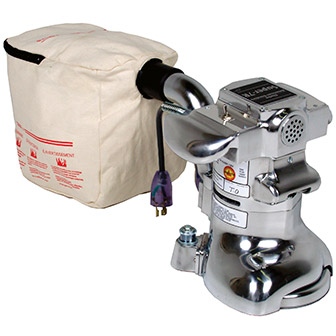
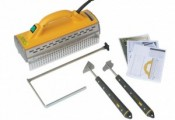
Standard Edger – standard edger to sand up against walls and baseboards. Used after each pass with the floor sander (with matching grit).
Can be rented from Home Depot, Lowes, etc.
MOHF TIP: Buy more sandpaper than you think you will need (you can return any unused portion). You don’t want to run out at midnight on a Saturday!!!
Use the “pencil” trick when running the edger!
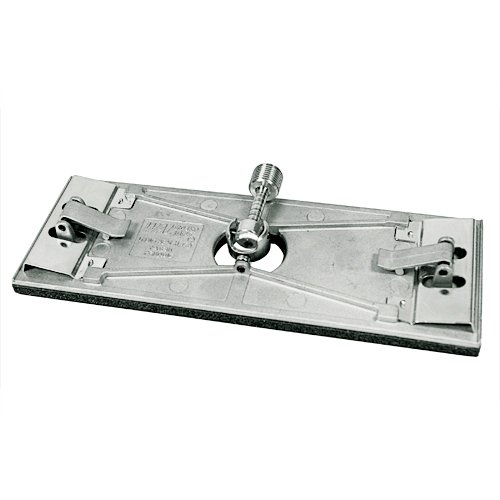
Toe Kick/Radiator Edger – smaller than the Standard Edger and can extend under tight spaces.
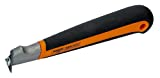
Various scrapers – to blend corners and tight areas. This one is my favorite, but visit our Cool “Fix” Tools page for the entire list!
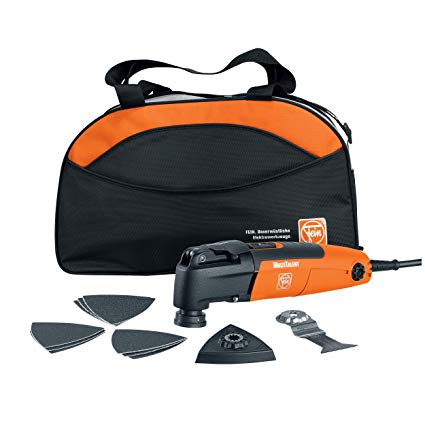
Oscillating Sander – for corner sanding and tight areas after scraping.
Paint / Flooring / Adhesive Stripping tools – Speedheater™, paint scrapers, electric scraper, etc. Note: Water soluble adhesives (test a spot) may be alternatively removed by lightly wetting the area.
See our Cool “Fix” Tools page for scrapers and more.
Speedheater™ Standard 1100 Kit
Personal Protective Equipment (worst case)
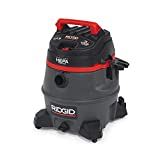
HEPA Vacuum – For vacuuming stray dust (possible lead and asbestos) and sanding media in between sandings – from coarse to finer grits.

Dust mask/Respirator – At a minimum, wear a dust mask. Preferably, a full-faced respirator with dust and/or charcoal filters if stripping and heavy sanding. Remember to practice “lead safe” procedures for lead paint. Note: If lead is suspected or unknown, better to be safe than sorry!

Gloves and Hearing Protection – It’s going to get loud!
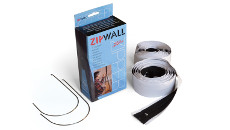
Zip-Walls/plastic – To quarantine the area from the rest of the house (if applicable).
Test Area(s)
Start with the sander and 36 grit paper – Try the worst spot to assess your starting sandpaper grit. If the spot doesn’t clean up perfectly, then 36 grit IS NOT coarse enough!
Try an additional spot now with 24 grit. Then 16 grit if needed, until you find a good match.
IMPORTANT: Did the current finish, flooring, or adhesives quickly “gum up” the sandpaper (16, 24, or 36 grit)? If so, perform the stripping function Step 3. If not, skip the stripping function.
More from Pete’s on choosing the correct grit.
Choosing the right grit to start sanding your floor
Sanding Grit Sequence
Again, assuming the worst case from the previous Farmhouse Kitchen Remodel – cupped, gouged, and warped hardwood floors.
The sanding sequence will consist of the following order and sandpaper grit (drum sander):
16 Grit (slight angle/against the grain). NOTE: You should ALWAYS sand WITH the grain, with ONE exception – when the floor needs major leveling. After this step you MUST come back with the SAME grit and sand it WITH the grain!
16 Grit (with the grain)
24 Grit
36 Grit
60 Grit
80 Grit (final grit for most wood species)
100 Grit (final grit for maple and floors to be stained) – stain shows more imperfections!
Note: This process only removed ⅛” – 3/16” of wood, so don’t panic if you have to go this route.
Additional Resources
Before starting, read these additional resources from front to back, and top to bottom! Every inch of this reference is super important, and you need to know this!
Super Important – Read every page and EVERY link in RED!!!
Step 3: Prep the Hardwood Flooring for Sanding
From Step 2 (Test Area) – Is your sand paper “gumming up” from the finish, adhesives, flooring, etc? IF NOT, SKIP THIS STRIPPING STEP! – IN RED
Getting ready to strip and sand.
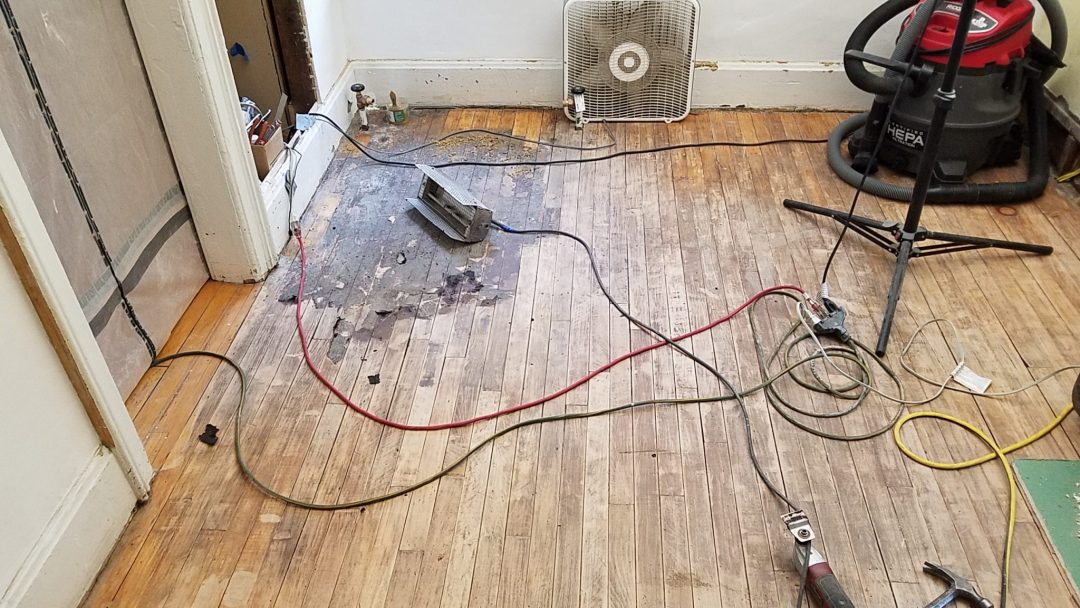
Quarantine the area with Zip-Walls and plastic.
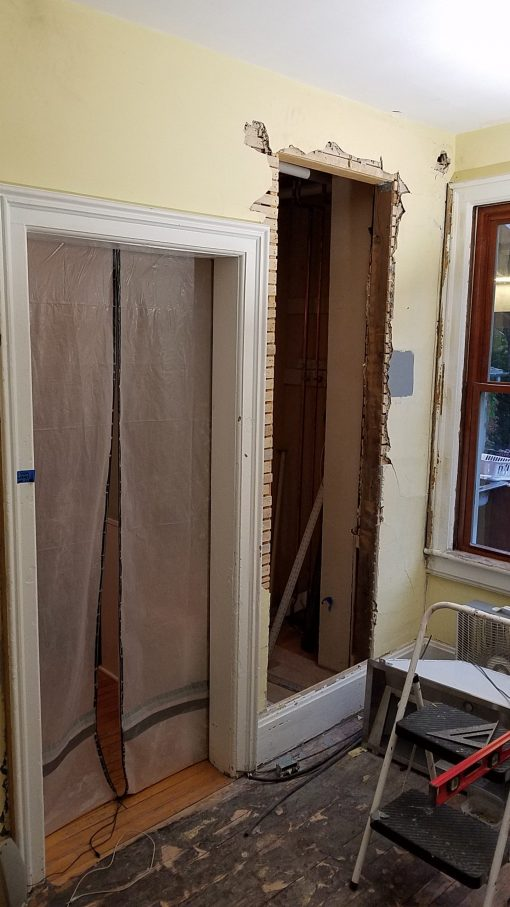
Pull negative pressure in the room.
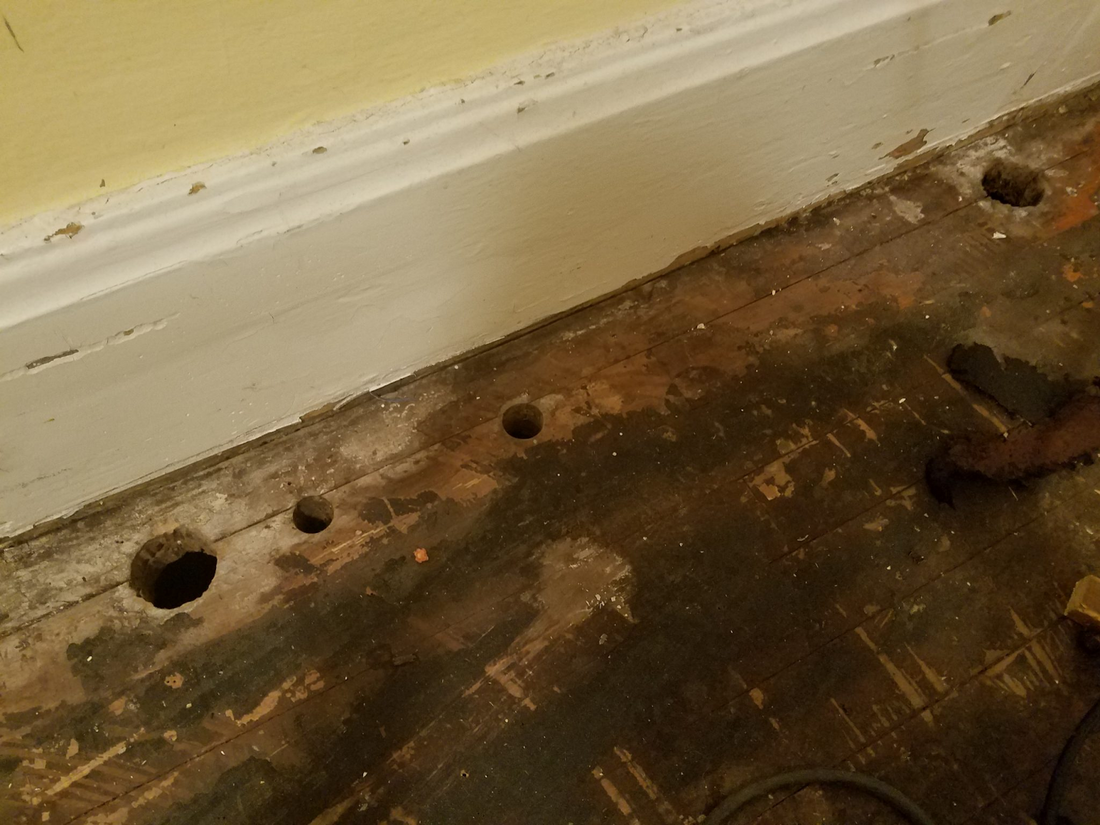
Strip old flooring, adhesives, and paint as needed – scraping, etc. I used my trusty Speedheater™, as I had flooring, adhesive, AND a few layers of lead-based paint to contend with.
Stripping will remove most of the surface contaminants and layers to get you closer to clean, raw wood.
This will also prevent “gumming up” the sandpaper and using dozens of pieces.
Due to performing the “stripping” step, I only used ONE piece of sandpaper for each grit!
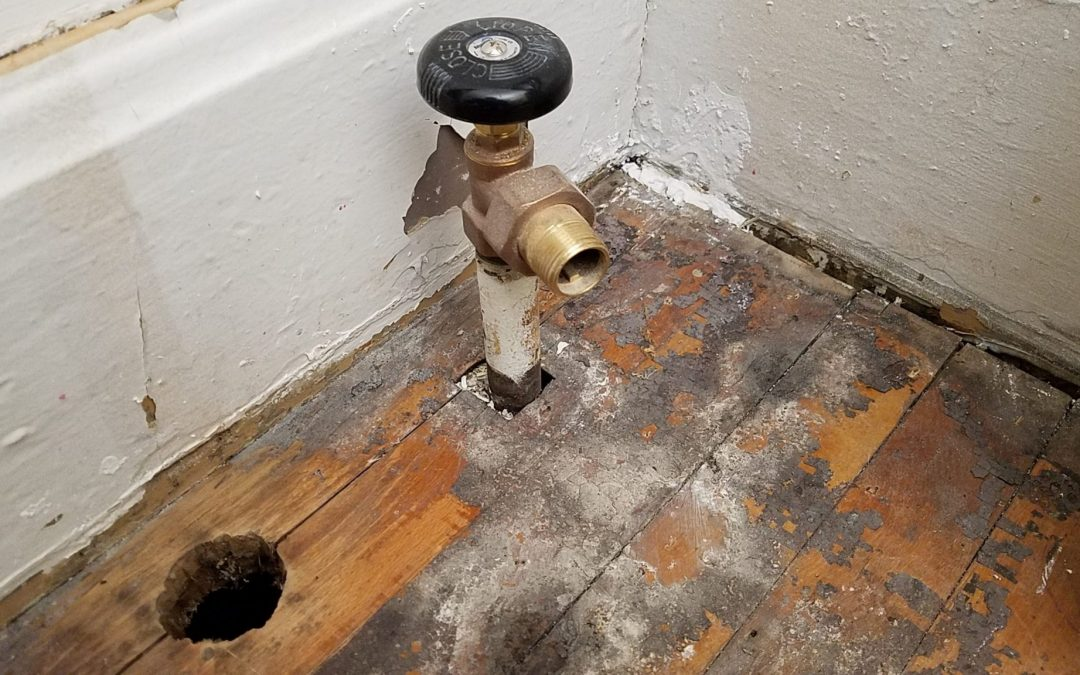
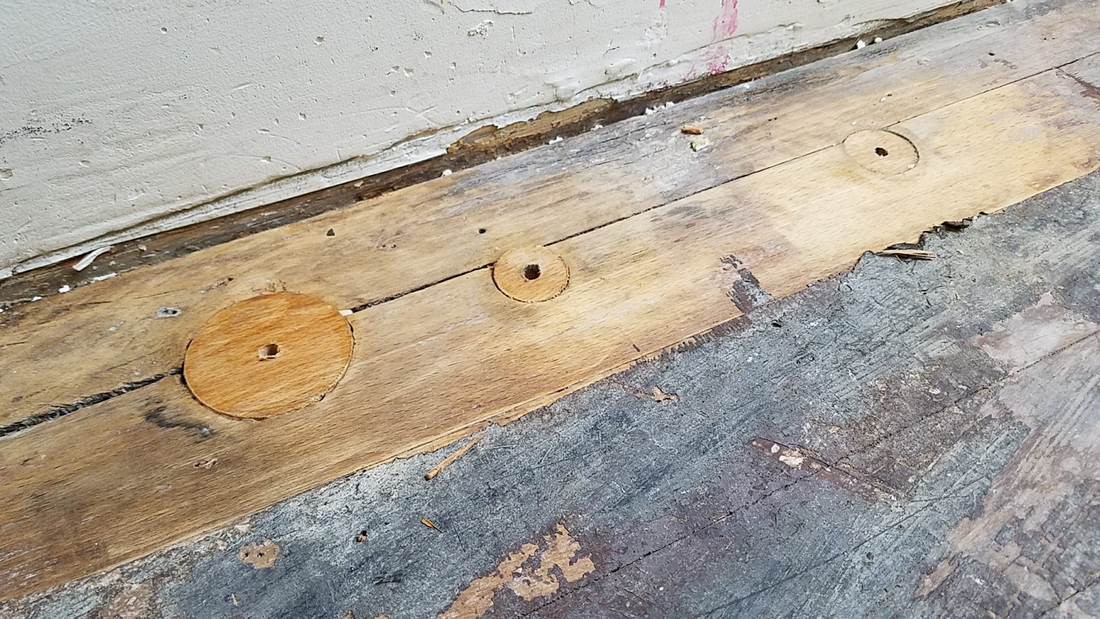
Now is the time to make any wood repairs (holes, etc) or board replacements, so all the final wood is sanded together.
STEP 4: Hardwood Floor Refinishing – Sanding
It’s time to sand your hardwood floors. Again, we are using the “worst case“ example here from the Farmhouse Kitchen Remodel.
Refer back to the top of the blog, and reference the instructional videos as needed!
Again, per the Sanding Grit Sequence (from Step 2). Sand as follows:
Sand the “field” first with 16 grit (slight angle). NOTE: THE FIRST STEP IS THE ONLY STEP WHERE YOU WILL ANGLE SAND!
Come back with another pass of 16 grit (straight/with the grain) to clean up the angled sanding marks.
Use the standard edger and/or the toe-kick/radiator edgers with the same grit – 16 grit, to catch the areas up to the walls, baseboards, and corners.
Vacuum twice so the stray 16 grit media doesn’t gouge the wood as you switch to the finer grit (24 grit).
Continue this same process, as above until complete: 24 grit – 36 grit – 60 grit – 80 grit – * 100 grit (* only if staining oak or maple).
Catch up the corners – the rounded sanding tools won’t sand the corners or around radiator feet. Therefore, you will need dress these areas by hand (scraping, oscillating tool, and hand sanding) to blend in these areas.
Remember to vacuum in between each grit changeover!!!

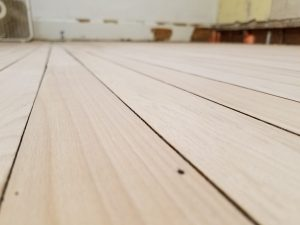
Step 5: Closely Inspect the Floor After Sanding
This is very important! Don’t skip or gloss over this step! It is VERY difficult to see imperfections in bare wood until stain or the topcoat hits it!!!
Get down close as recommended by Pete’s Hardwood Floors, use a flashlight, and check the transitions from the edger to the drum sander (edger can leave swirl marks).
Repair and re-sand as needed – hand sanding. No palm sander! Why? It will “polish” the wood and make that area look differently when finish is applied.
Ensure ALL swirl marks and sand scratches are removed – hand sand with 80 grit!
Step 6: Final Sanding
It's now time to prep the floor for finishing! You are finally in the home stretch!
Hand sand with a pole sander (100-120 grit ) or floor polisher.
Sand it really well to blend both sanding methods (edger/drum sander) together into one.
This serves as a final blend of all the sanding marks, from the edges to the field.
See the video from Pete’s below…
Prepping your hardwood floors for finish
Step 7: Final Vacuum
This ensures all the heavy dust and sandpaper media is removed, prior to the final wipe down.
Vacuum twice with HEPA vacuum.
Step 8: Final Wipe Down
This step ensures all of the finer dust and sanding particles are removed prior to applying the finish.
Wipe the entire floor with a dry, lint-free or microfiber towel.
Use pole sander pad.
Make a few passes to ensure clean.
Change out as needed.
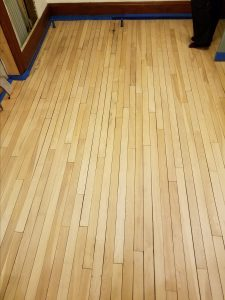
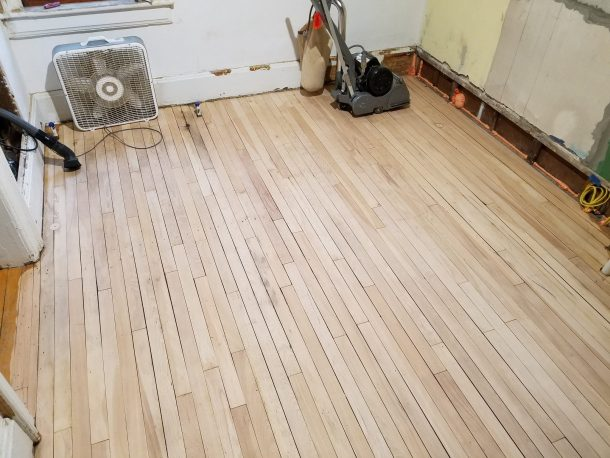
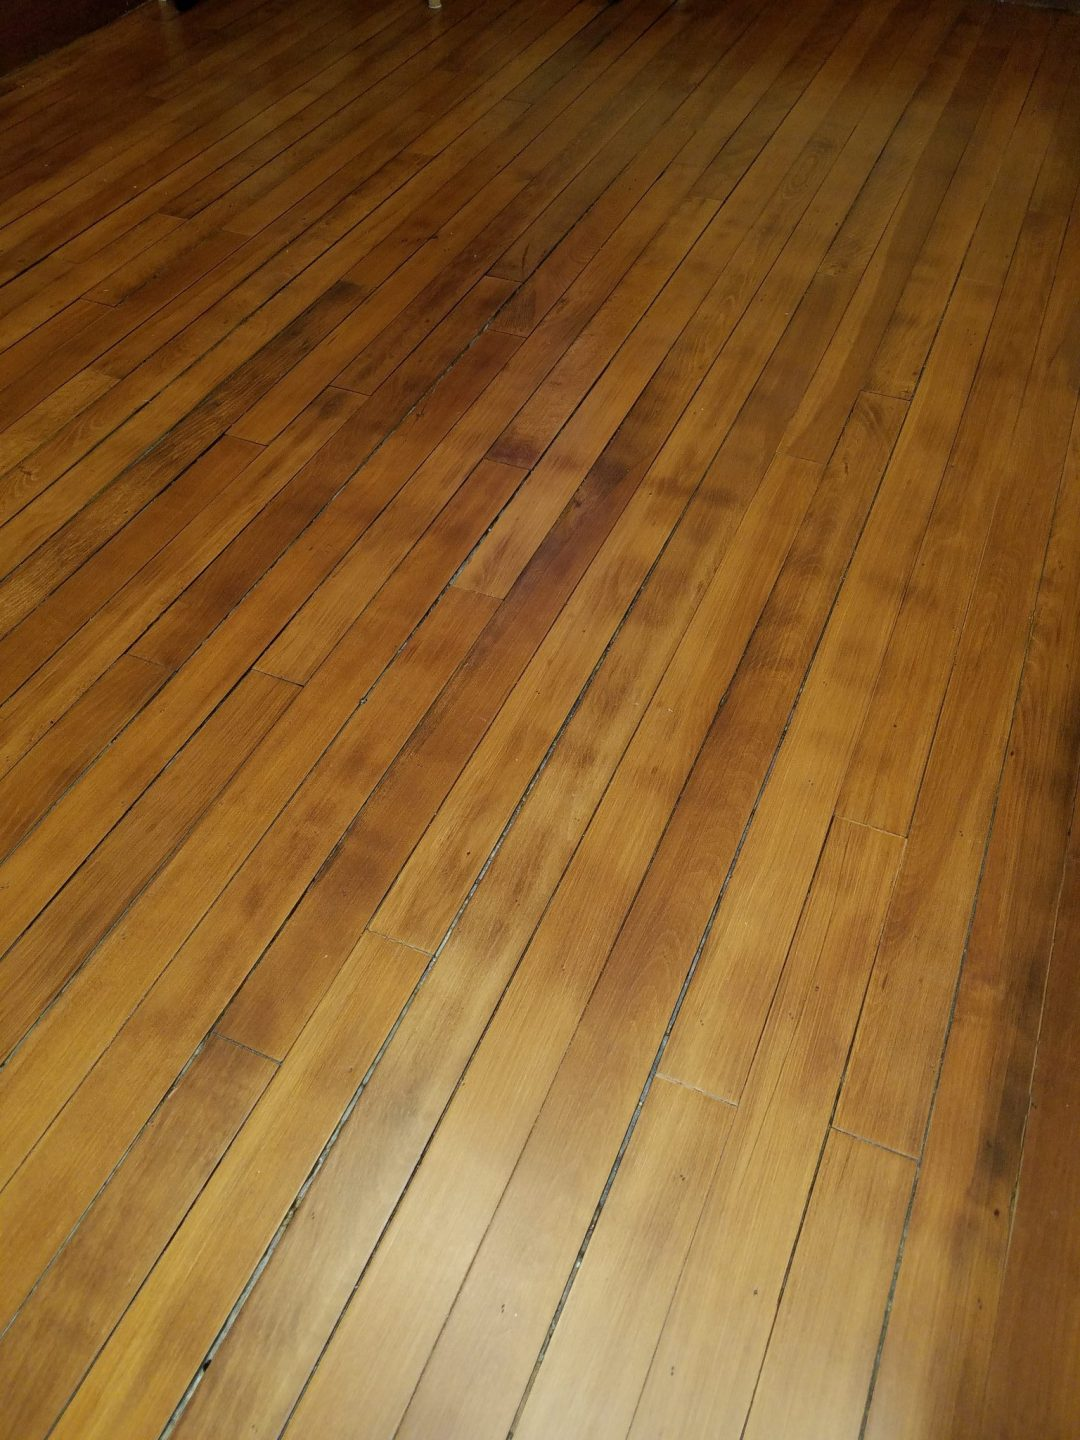
Raw floor, sanded and ready for stain
Step 9: Apply the Final Finish
This is the last step to your hardwood floor refinishing project.
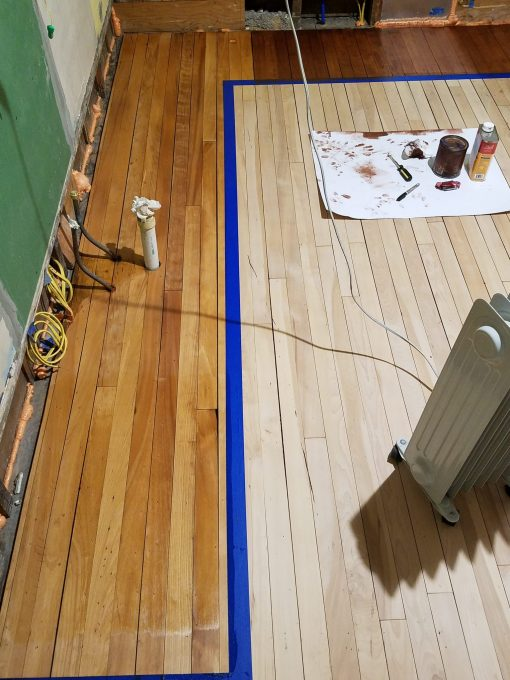
For expectation management, mock up some exact samples (from scrap, space under cabinets, etc) with same species and sanding techniques (especially with wiping stains). This ensures you get the color you want.
The left is un-tinted Waterlox. The top right is various shades of wiping stains.
Lessons Learned
Here are a few hardwood floor refinishing lessons learned from the Farmhouse Kitchen Remodel.
DO’s
First of all, do your homework, be knowledgeable about the process, and have a thorough plan – even if hiring out the work!
Don’t let anyone “STOP” while running a drum sander. Always keep it moving to prevent trenches!!!
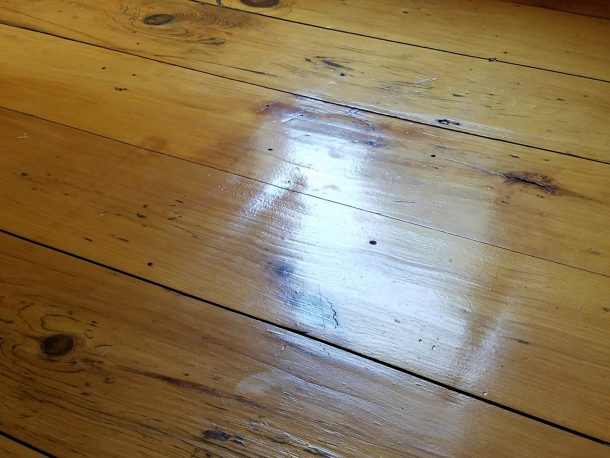
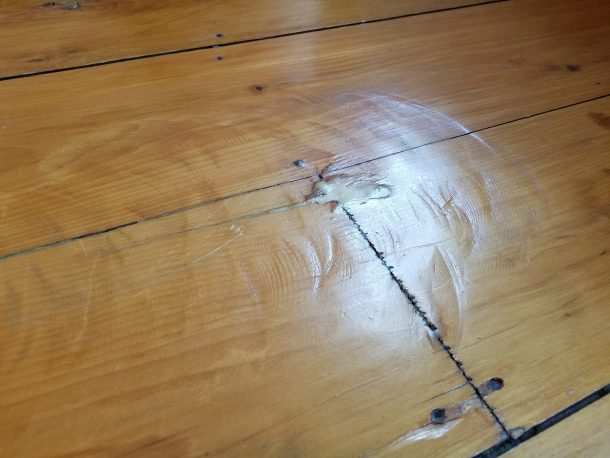
You won’t see these “trenches” until the finish or especially a wiping stain hits it!
Read the entire Pete’s Hardwood Floors Tutorial! It is a treasure trove of information – EVERY WORD!
Pick the correct equipment for the job, especially the sander!
If unknown, always assume lead and asbestos! Practice lead and asbestos safety measures. Wear proper PPE, and prep the work site accordingly!
Be thorough on floor prep and sanding…VERY thorough! Look for swirl marks, scratches, etc prior to top coat. Use the “pencil marking” method as described above at Pete’s Hardwood Flooring.
Mock up final finish samples on the same type of wood – for expectation management BEFORE you go “LIVE”.
Finally, consider final finishes based on the Pete’s Hardwood Tutorial and per the condition of your floor. Example – Our old, rustic, and “squeaky” floors still move a bit through the seasons and from walking, etc. If any floor movement is anticipated (individual boards), you may want to consider a tung-type or penetrating oil/sealer (like Waterlox) to prevent chipping and peeling. Remember, urethanes end up as one “solid” sheet of plastic. This is not good, if you have individual board movement! – SEE BELOW
DON'Ts
First of all, don’t skimp or gloss over any prep work. Be thorough!
When a drum sander is required, likewise don’t try to use a lightweight orbital floor sander!
Don’t wait until staining or top coating to find out you still have swirl marks or sand scratches still present!
Don’t let a floor refinisher do this to your floor!
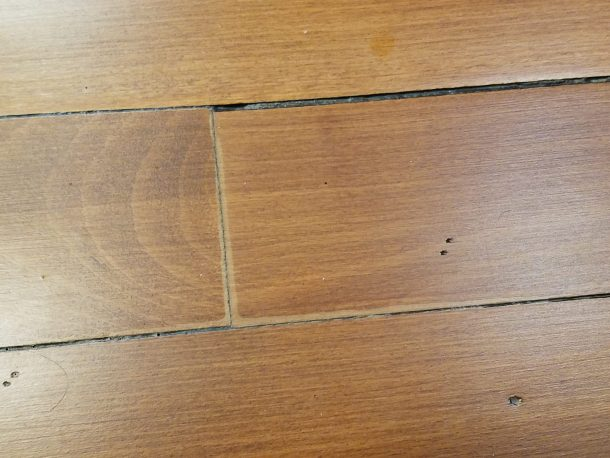
Forget to countersink any nails or fasteners.
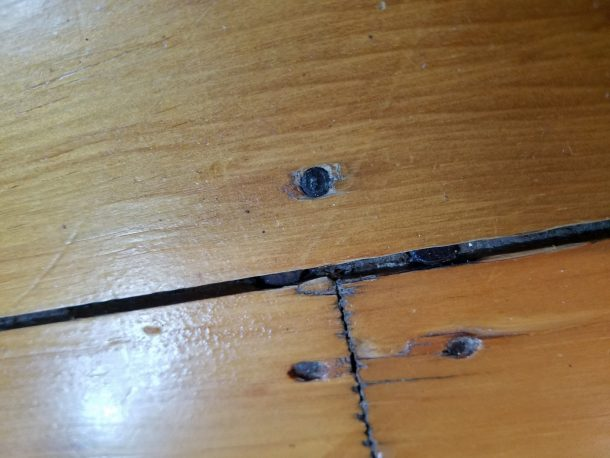
Forget to pull all staples. Don’t fill the holes, as they add character.
Assume any “fillers” for holes and patches will absorb the final finish the same as the wood! Test first!
Assume your final finish will look ok on your newly sanded floor. Once the first coat goes on, however…it’s TOO LATE to decide you don’t like it or the color! Above all, mock up samples ahead of time – small scraps, under where cabinets will cover, etc.
Fill wide cracks between boards/planks. As the wood expands and contracts through the seasons, consequently the filler will crack, fall out, and make a huge mess. Leave the gaps…its character!
Conclusion
Again, no matter how bad your current hardwood floors may look, with some hard work, there is a very good chance that they can be saved! With a little reading, knowledge, and elbow grease, you can turn your old floors into a work of art! I hope this technical blog helps your restoration work and makes hardwood floor refinishing a little easier for you!
Best of luck, and keep on Fixing!
For more info visit: www.myoldhousefix.com
![]()
Posts may contain affiliate links. If you use these links to buy something, we may earn a small commission (at no additional cost to you). Full disclaimer HERE.


0 Comment(s)