
Updated: 04/29/2023
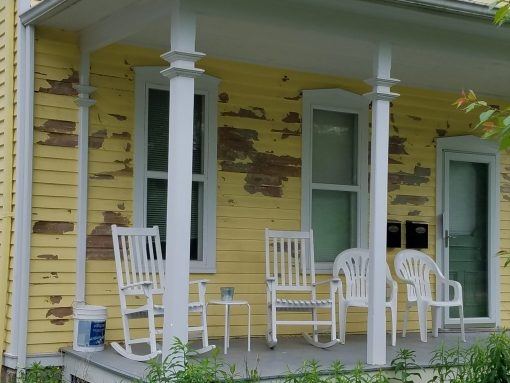
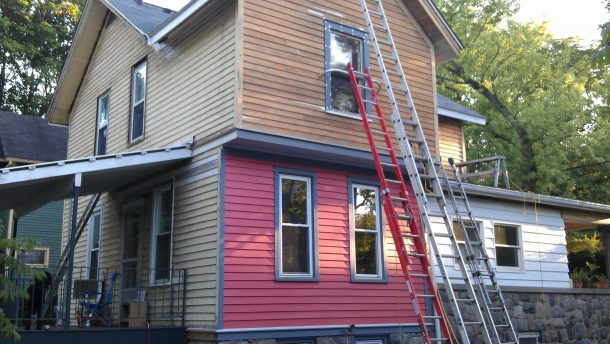
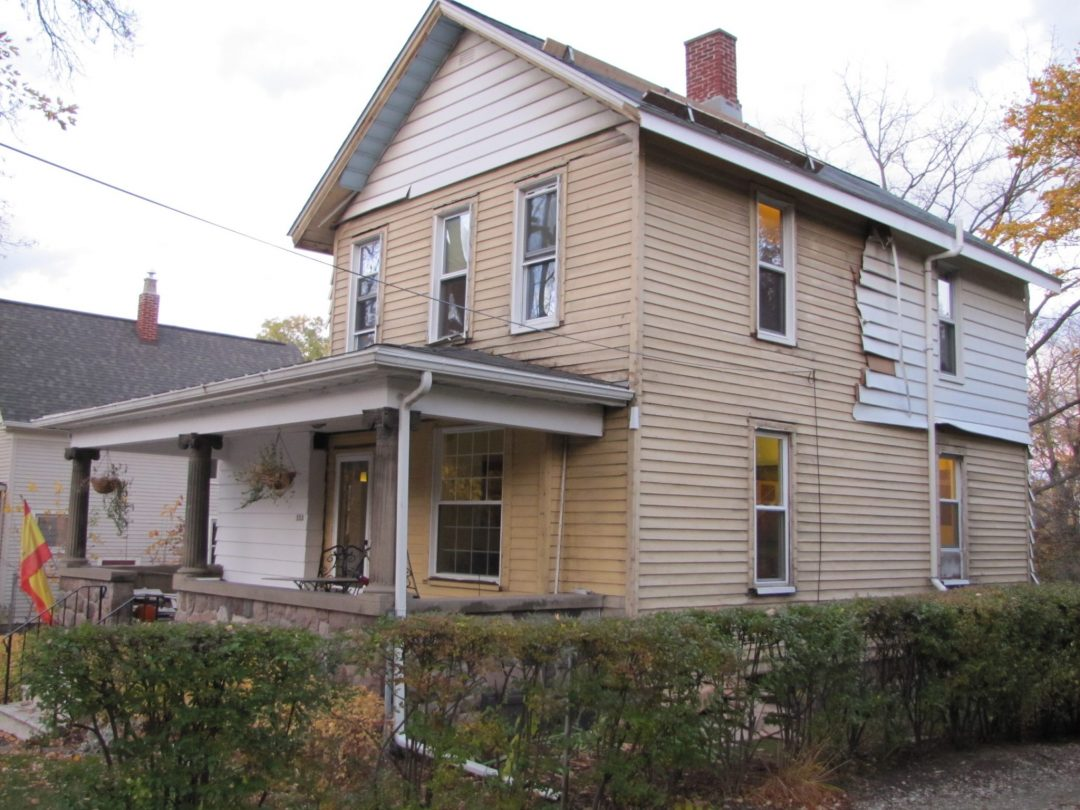
First of all, if you are reading this and looking at the above picture, maybe you can relate to exterior paint failure! The feeling of “this is going to be expensive”. The feeling of frustration! What went wrong? Or just maybe, why is this happening…AGAIN? (especially if your paint is less than 5 years old). Sound familiar? Then you will definitely want to read this to the end!Its no joke! Exterior paint is very expensive and labor intensive to apply. Most exterior paint pros agree that a good paint job is 2/3 prep and 1/3 paint application. Therefore, it is critical to get it right the first time. This will prevent rework and increased costs down the line.
Also, I am not a fan of “planned obsolescence” and I am not a painter by trade, so the goal here is to lay out a plan that extends the life of your exterior paint job. The result? Hopefully, you won’t be calling your painter every 2-4 years for a “repaint
Therefore I’ll be honest, and I see way too many exterior paint jobs failing after only a few years!
After two years
Do you want to know the 9 Critical Steps to ensure a quality exterior paint job that will last? Keep reading, as we’ll be covering the following:
1) Common Exterior Paint Problems
2) Causes of Exterior Paint Failure
3) Exterior Paint Resources
4) Exterior Paint Preparation – 9 Critical Steps
5) Exterior Paint Do’s and Don'ts
…just like a good exterior paint…My Old House”Fix” has you covered!
Let’s dive in!
Common Exterior Paint Problems
Like anything else - Fix it early
While issues such as light “crazing” (small jagged interconnected break patterns), “solvent blistering”, “wrinkling”, and “intercoat peeling” (from improper cleaning/prep between coats) of exterior paint are generally considered minor, therefore both can usually be remedied by a good sanding and repaint. Additionally, these failures aren’t usually tied to moisture issues. Consequently, our focus here will be on the more serious exterior paint failures, which usually require total paint removal.
Did You Know: When paint builds up to a thickness of approximately 1/16″ (approximately 16 to 30 layers), one or more extra coats of paint may be enough to trigger cracking and peeling in limited or even widespread areas of the building’s surface. This results because excessively thick paint is less able to withstand the shrinkage or pull of an additional coat as it dries. – National Park Service
Another good reference for historic homes, classes of failures (I, II, III), and a ton of additional resources can be found in the National Park Service – Preservation Brief 10
Exterior Paint Problems
First of all, there are many types of exterior paint defects and exterior paint problems. The most common types of paint failures, which usually require total paint removal, are listed below.
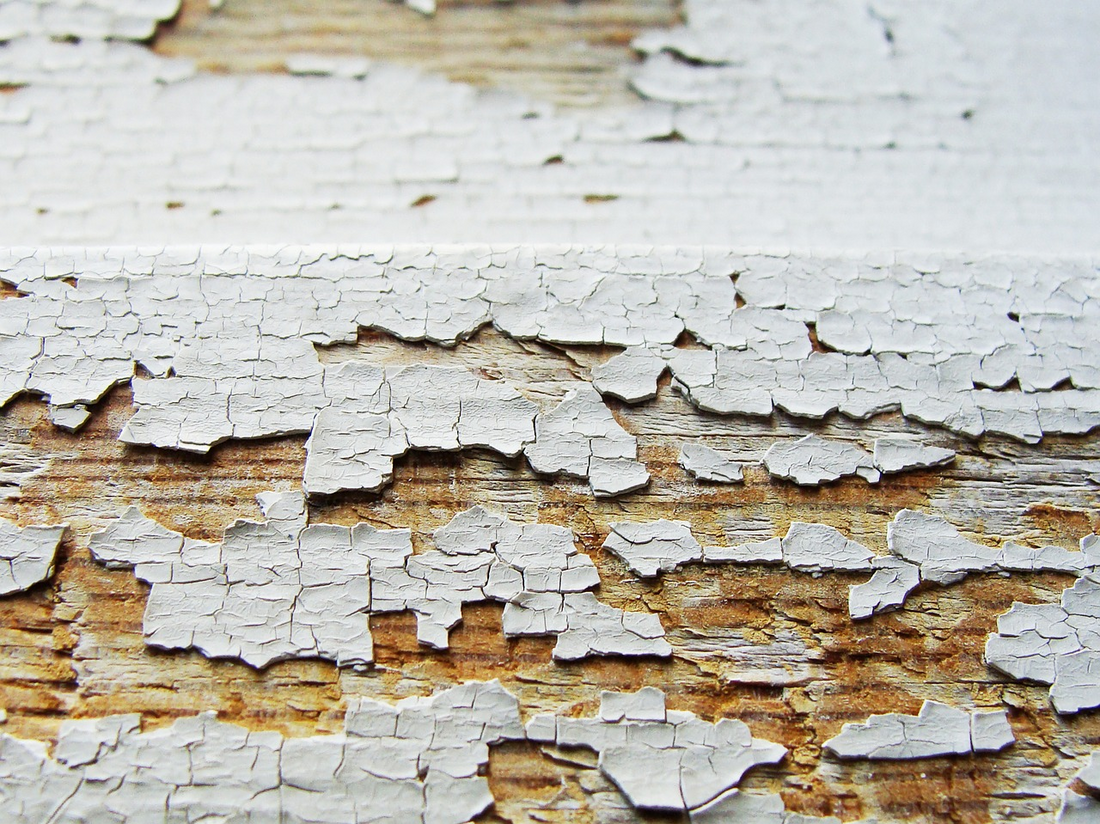
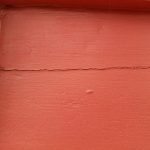
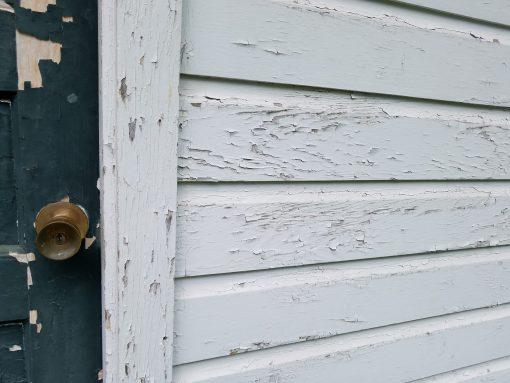
- Peeling Paint – We’ve all seen it! Small pieces, up to large sheets of “expensive” exterior paint falling off your house!
Peeling exterior paint
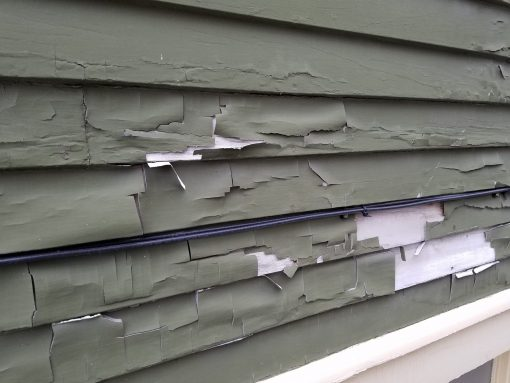
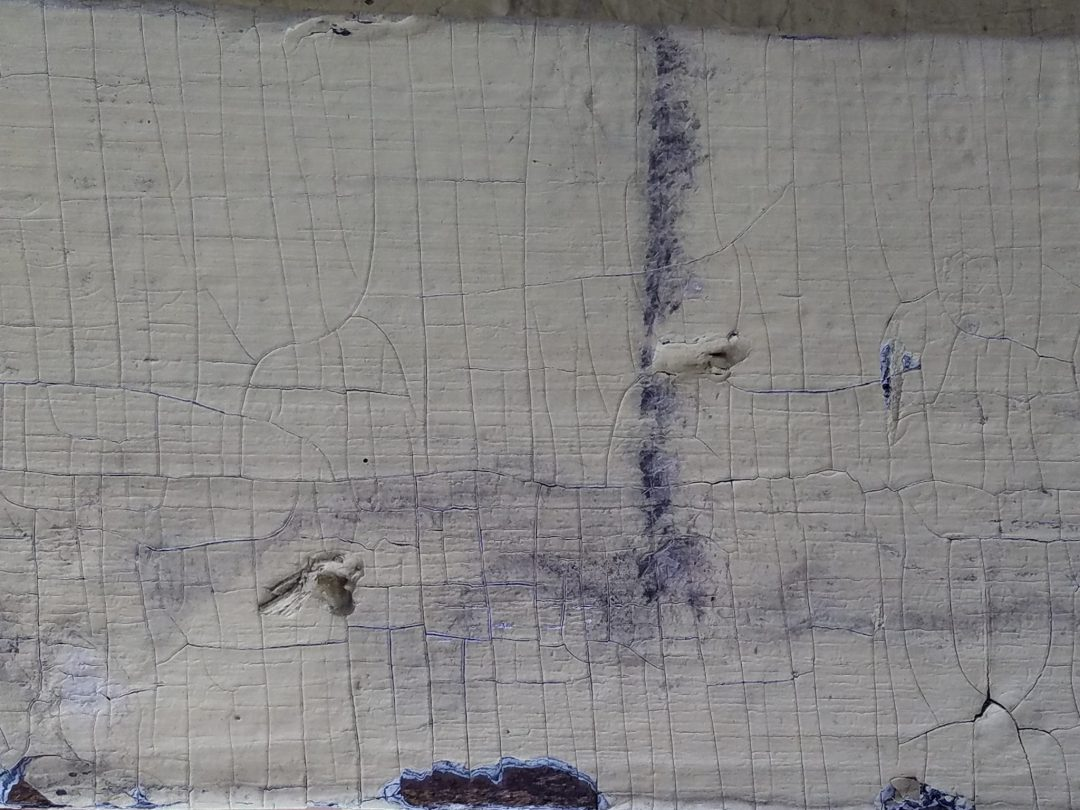
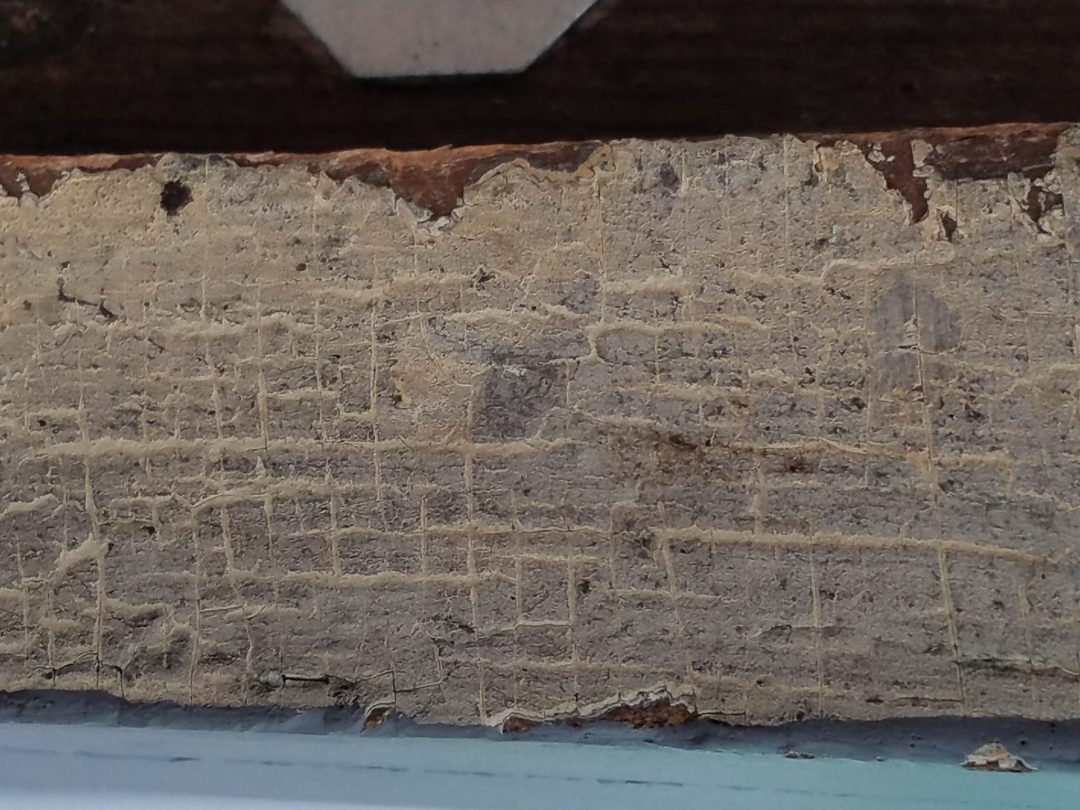
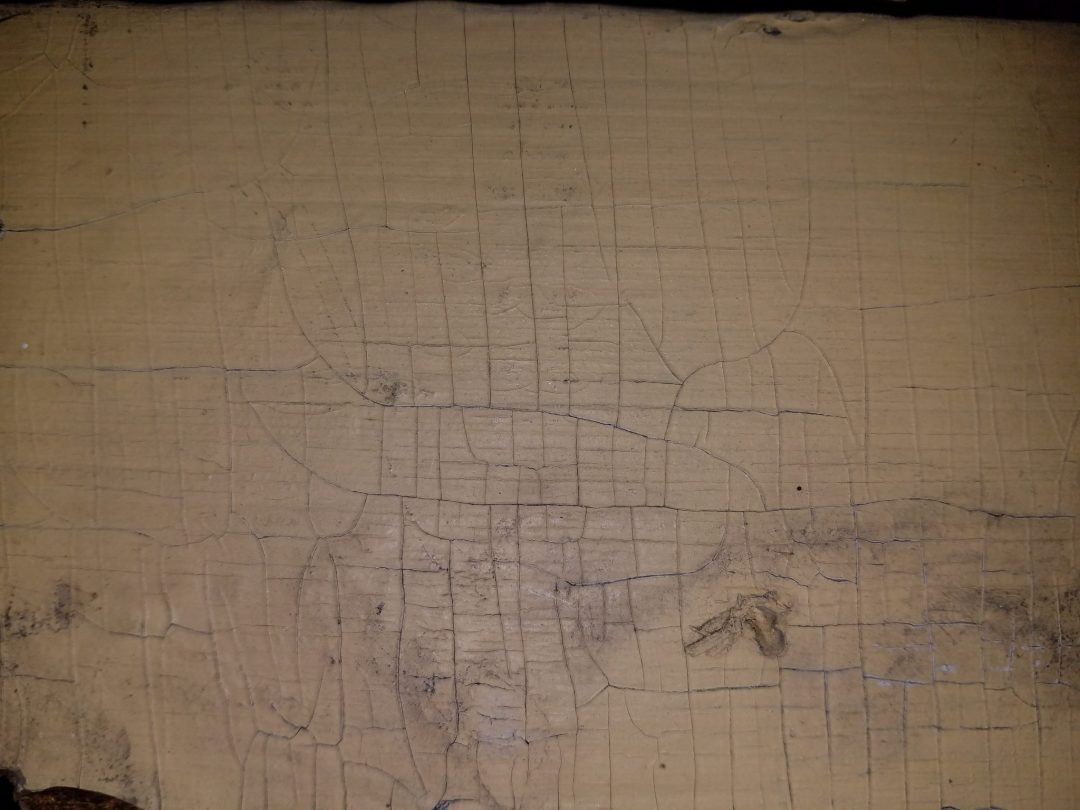
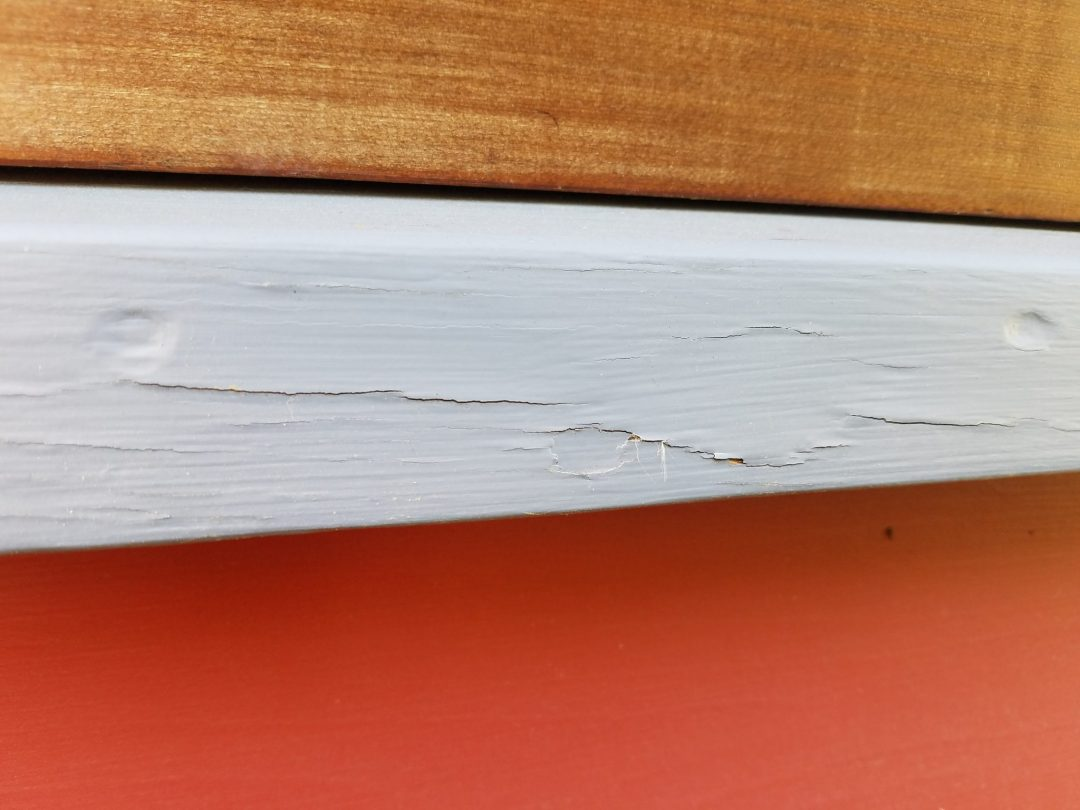
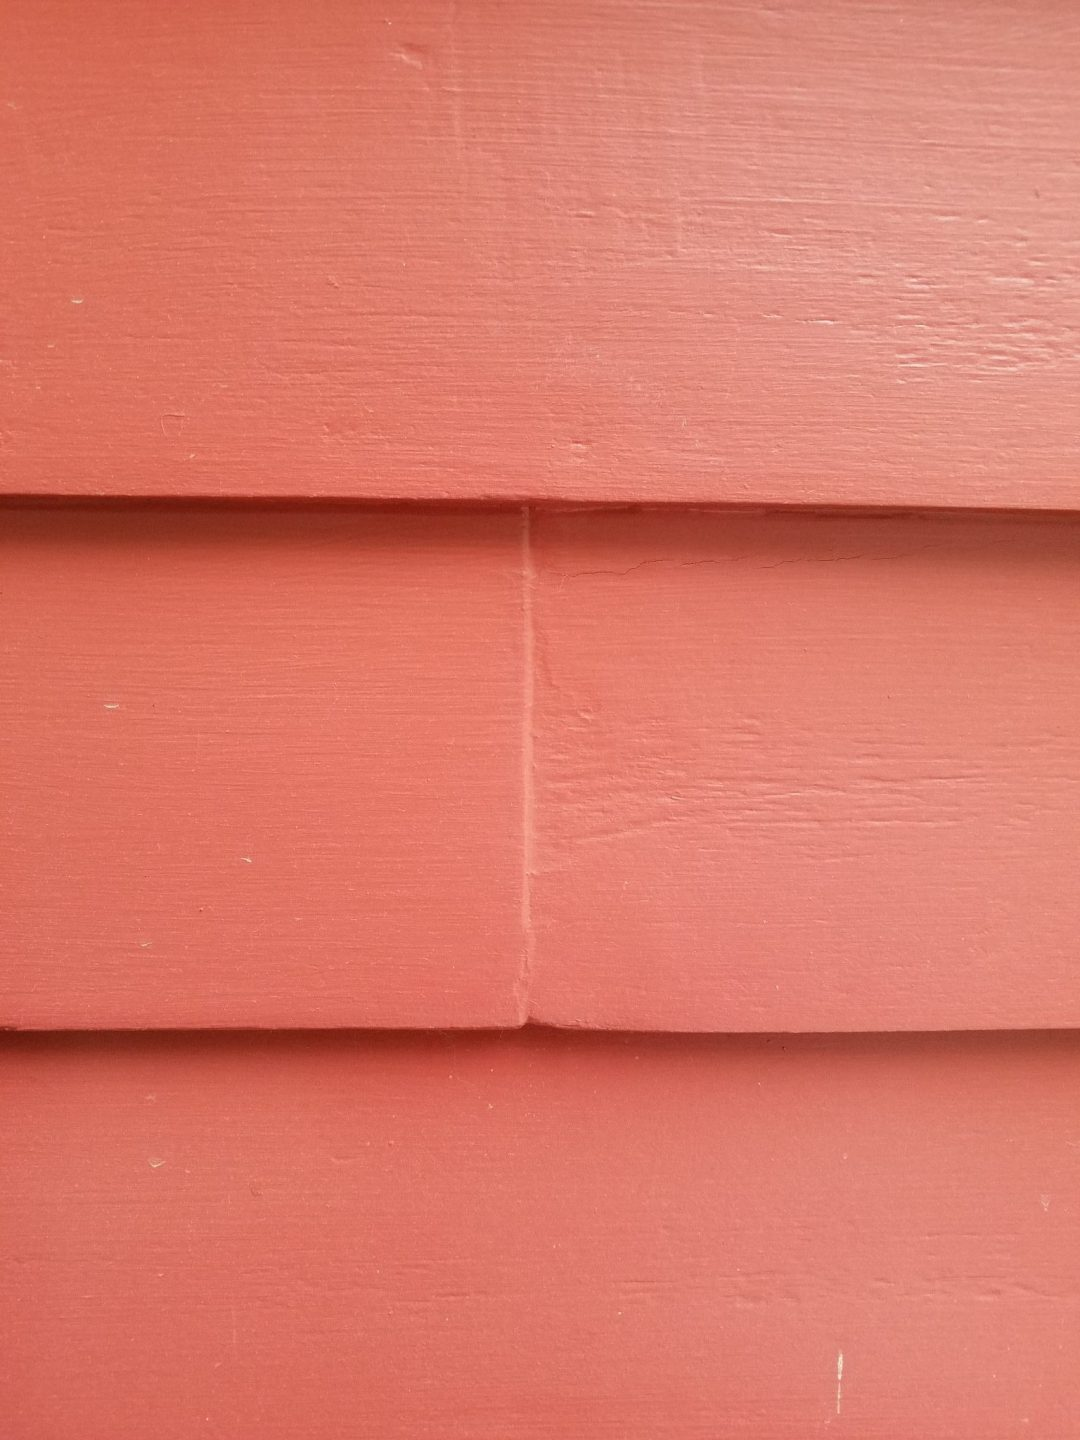
- Alligatoring and Cracked Paint – The advanced stages of “crazing” where the bond between exterior paint layers has been broken, while moisture is able to penetrate, and eventually causes cracks down to the wood (causing wood swelling and more cracking).
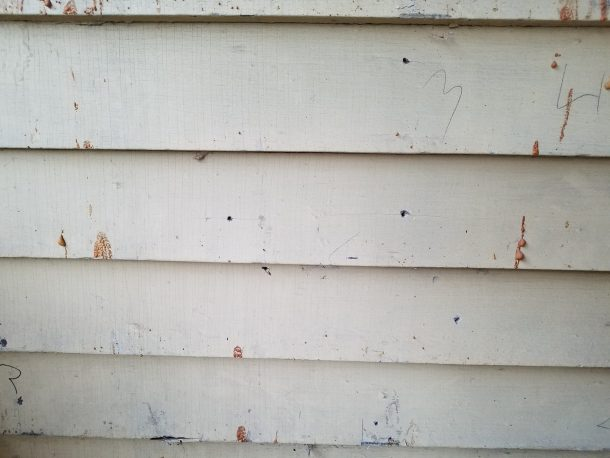
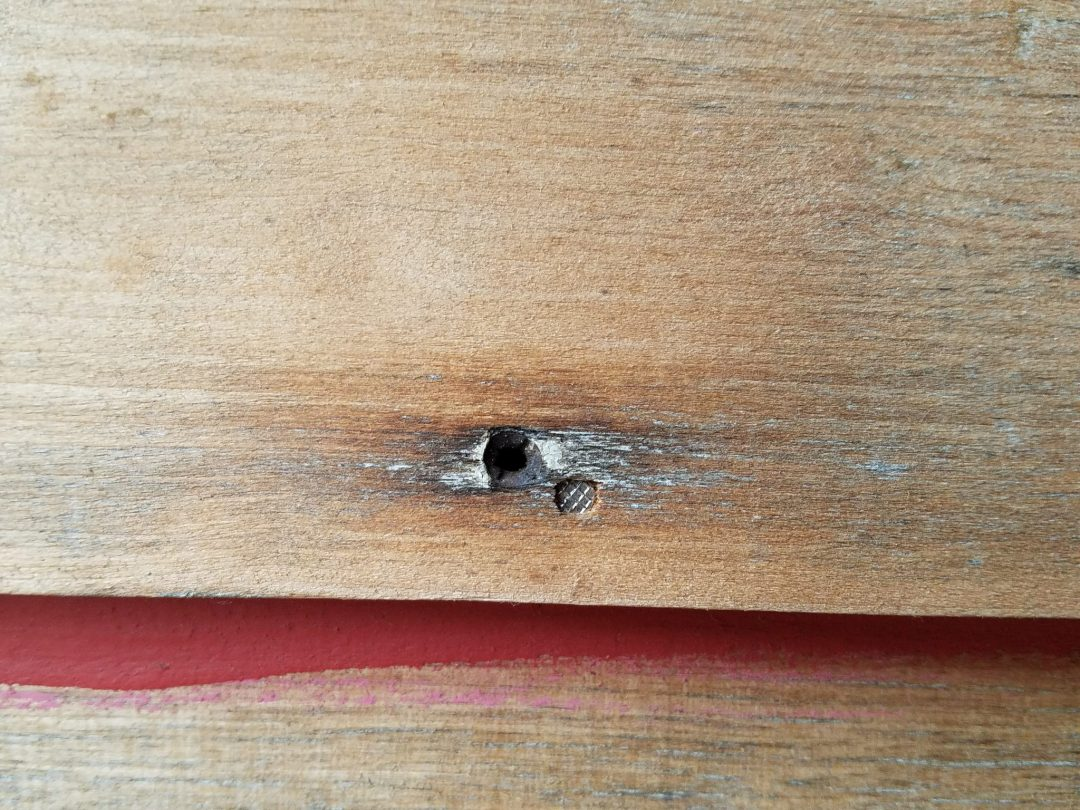
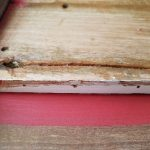
- Rust and Discoloration – Caused from old nail heads rusting.
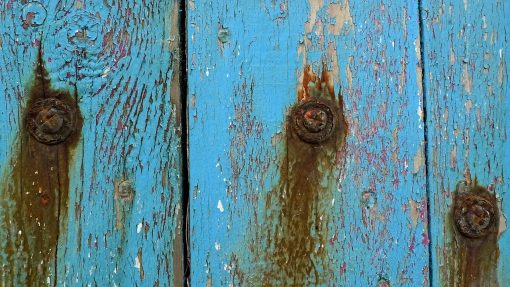
Rust
Causes of Exterior Paint Failure

Exterior Paint Problems and Solutions
According to our friends over at This Old House, the most common reason for paint failure is moisture! By Exterior OR interior means, moisture can creep into your walls, siding, and paint in many ways. This leads to wood rot and/or paint failure.

As a result, the list is long for sources of excess moisture: overflowing gutters, poor drainage, ice dams, missing caulk, rain splatter, improper exhaust fans in humid locations (think bathrooms, basement, crawl spaces, and kitchens), improper attic ventilation, improper soffit vents, and the list goes on.
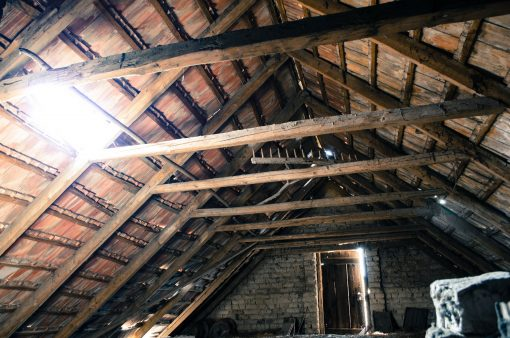
Attic check
CAUTION: There is no sense in repainting without dealing with moisture problems FIRST. The follow-on coats of paint will only fail, just like the current paint.
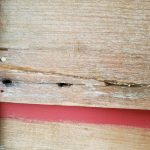
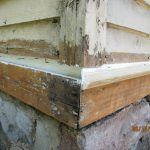
- Peeling Paint Cause – Generally caused from poor paint adhesion (improper surface cleaning/prep), moisture issues (interior/exterior) mentioned above, and from painting over bare wood while it is still wet. Moisture collects behind the paint and breaks adhesion from the bottom layer.
Most noteworthy, this happened to us, as a result from a heavy summer rain. The upper surface of the wood tested dry, yet the core was not! Consequently, the trapped moisture caused the exterior paint to fail almost immediately.

Solution: Remedy all current and future sources of moisture (interior/exterior). Ensure the wood is completely dry before continuing on to prime and paint! You can check the wood with a moisture meter – there are two types 1) pin (sharp pins stick in wood). This type measures a very shallow depth of just the pin – why we thought our wood was dry. 2) The pin-less type (link above), and reads up to 1.6 inches deep!
- Alligatoring and Cracked Paint Cause – Caused by allowing advanced “crazing” to occur to the point that it causes total paint failure. In advanced stages, the exterior paint will also start to “flake” as it fails.

Solution: Correct “crazing” while minor. Repair by preventing it from advancing to major paint failure (cracking, alligatoring). In addition, thoroughly sand the surface and repaint (to reseal the surface). The minor cracks will still show through, but the surface will be sealed and protected.
- Rust and Discoloration Cause – Water and moisture penetrates the paint layers, and/or nails work loose or “pop” out. The result is cracked paint and rusted nails.
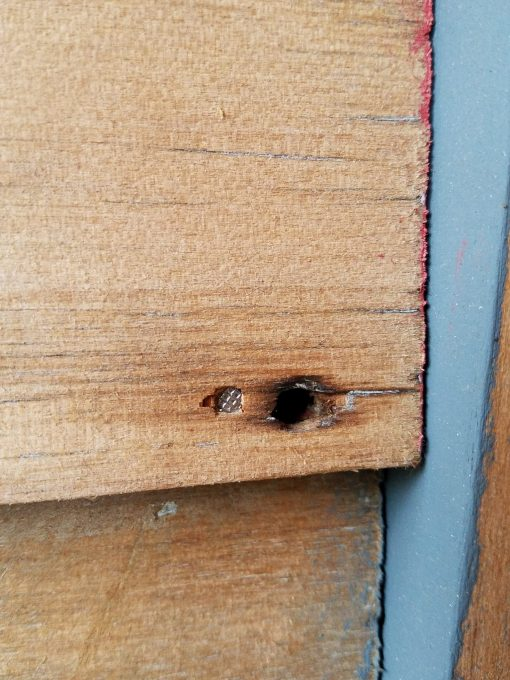
Solution: 1) Remove nails and replace with stainless steel, or corrosion-resistant nails. 2) Sand the nail heads, countersink, prime, caulk/patch nail holes, sand smooth, and repaint.
Finally, there are many additional examples and causes for exterior paint failures – from blistering to incompatible paint types. If your issue or problem wasn’t on the list above, rather, check out the exterior paint resources below.
Exterior Paint Resources
Pictorial Dictionary of Type/Cause of Paint Failure
Sherwin-Williams Problem Solver
This Old House Paint Discussion Board
Top Ten Paint Problems and How to Fix Them
12 Reasons Your House Paint Failed
Exterior Paint Preparation

As mentioned above, most exterior paint pros agree that a good paint job is 2/3 prep and 1/3 paint application. Just like the foundation of a house, this is THE most important step to ensure a solid foundation for your paint! If your paint has failed, however, be weary of a painter that will only “scrape as needed“. This will only knock off the loose paint, and the existing problems will remain. It may cost more up front to strip the wood, but probably cheaper in the long run – paint lasting 10+ years vs every 2-4 years!
Exterior Painting Preparation – 9 Critical Steps for Success!
So, how many coats of paint? What gets caulked? The following steps are critical to the longevity of your exterior paint job! Here are the proper steps to strip (to bare wood) and paint a house’s exterior.
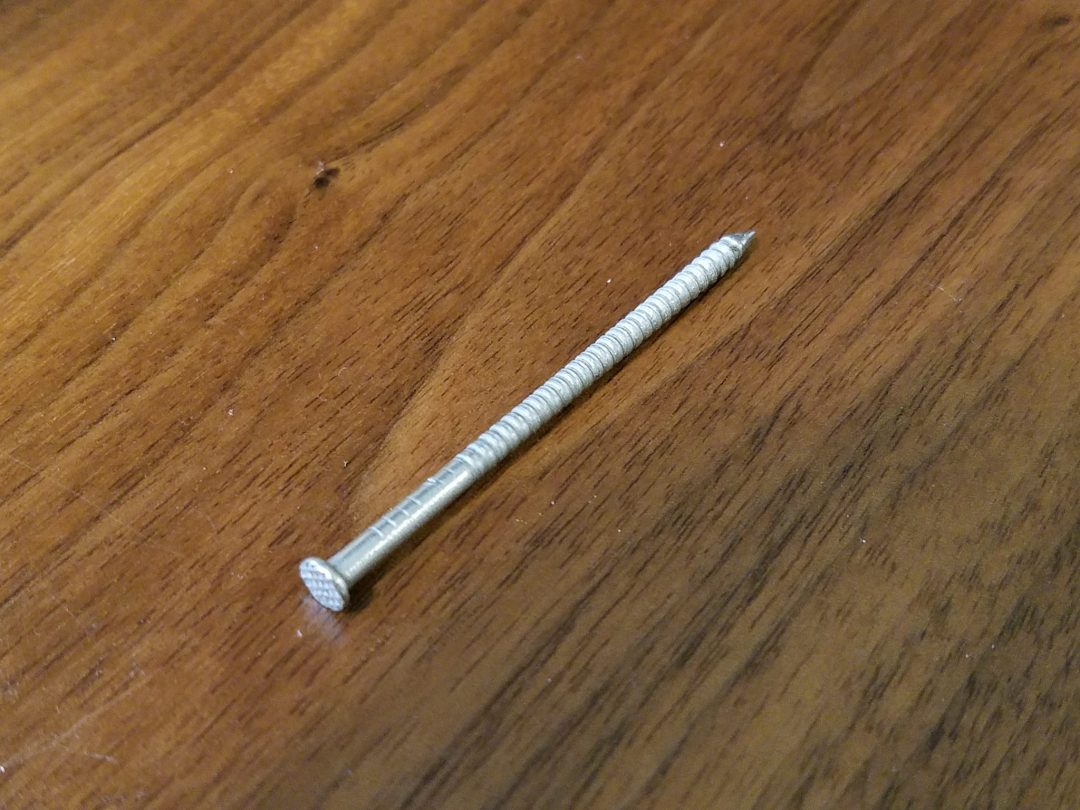
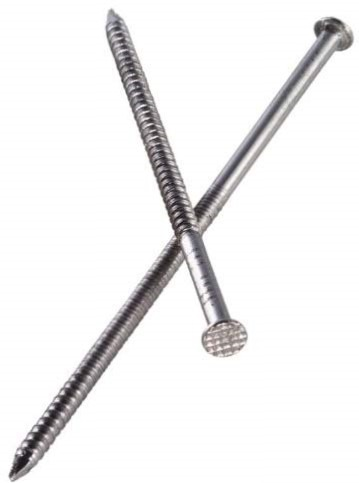
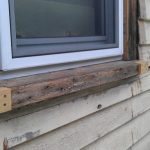
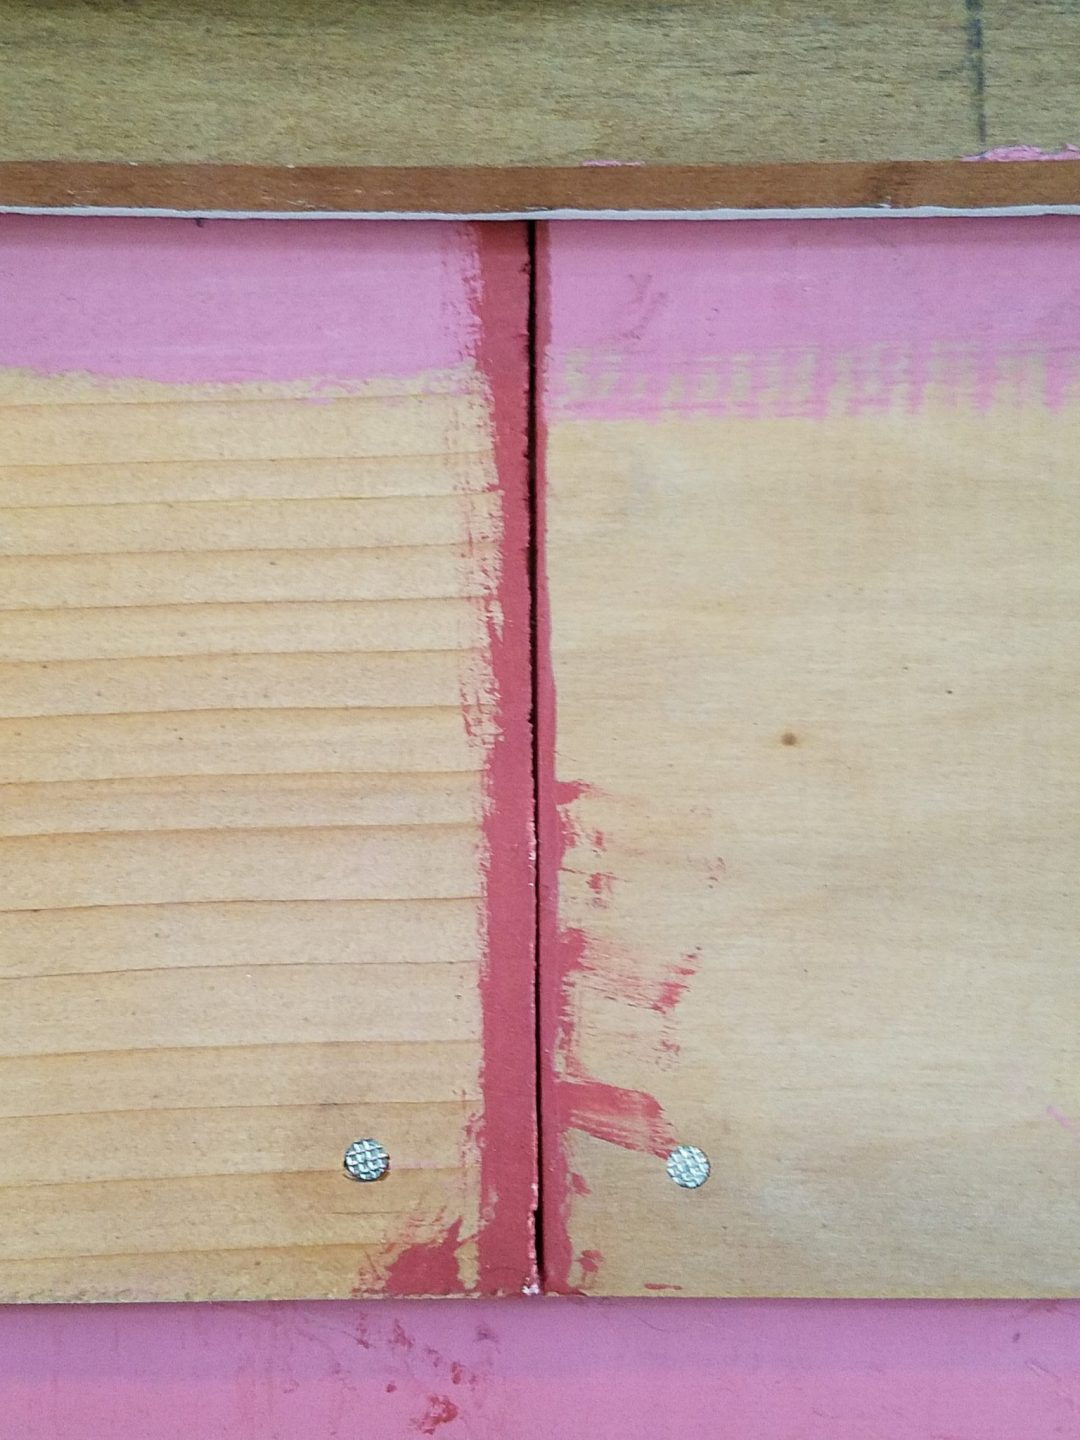
1) Set nails and/or re-nail ( 2″ stainless steel). Find them HERE. Note, if you are able to pull the old nails out and re-nail with new, this is the best option to prevent "nail pops". It's highly likely the nail and/or the hole is worn so bad that the nail will just back out again and destroy your new paint job.
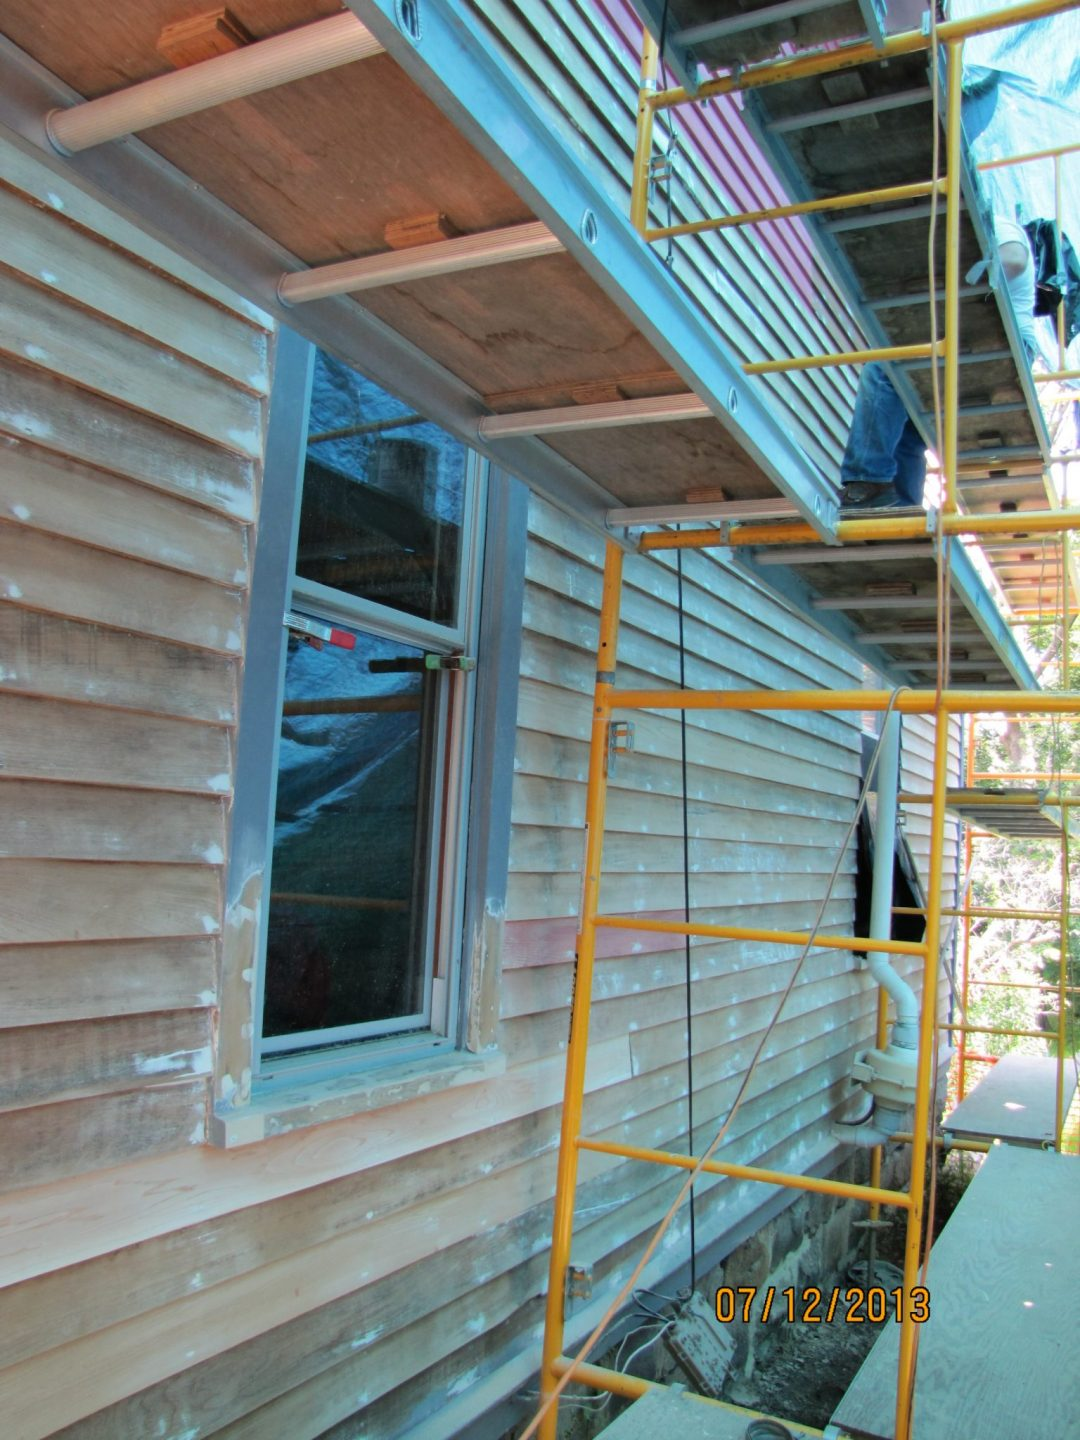
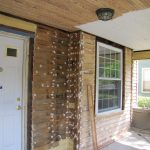
2) Strip siding/clapboard to bare wood – we prefer the Speedheater™ – see the review and info for the Top-2 best scrapers in my tool box HERE. The Speedheater™ Standard 1100 Kit creates no harmful clouds of dust, or the lead vaporization associated with heat guns.
You may recall that we also used the Speedheater™ to restore the trim on the Farmhouse Kitchen Remodel
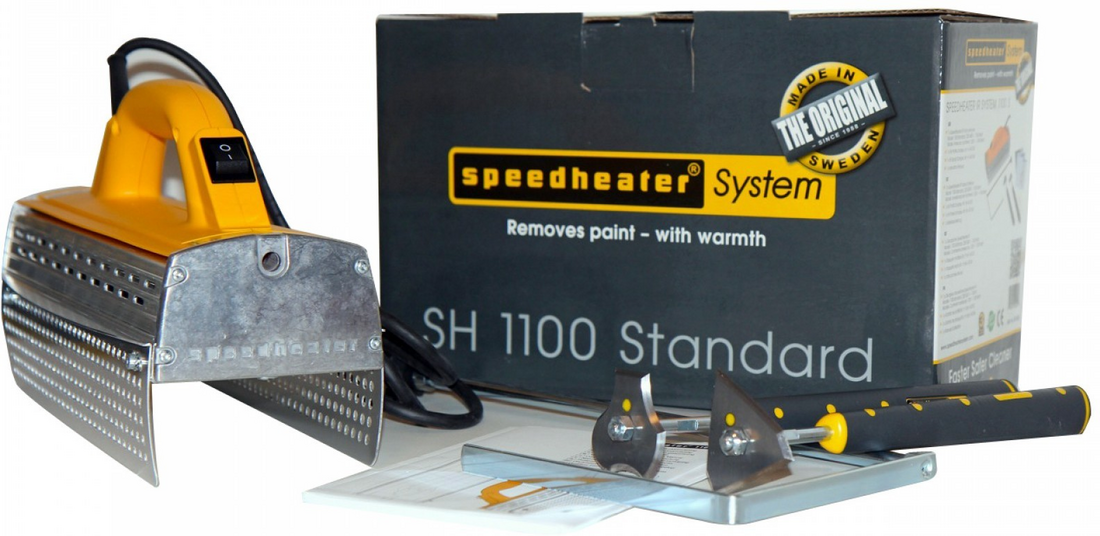
Speedheater™ Standard 1100 Kit
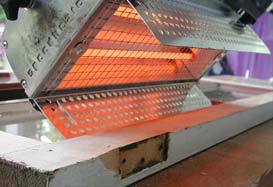
Speedheater™ Demo
Speedheater System Review: Easy Exterior Paint Removal
* * * FOR MORE INFO ON SPEEDHEATER PRODUCTS, GO TO ECO-STRIP WEBSITE
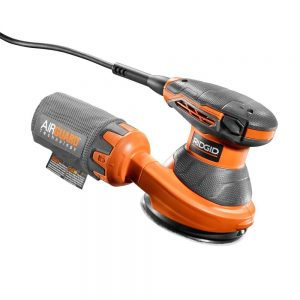
3) Sand with orbital sander and HEPA vac – 60, then 80 grit. I use the Rigid HEPA Vac and Rigid orbital sander.
4) Perform wood repairs – Patch nail holes with window glazing putty or caulk. It stays flexible unlike wood epoxy made for other wood repairs. For splits – re-pin/nail if possible and caulk the linear cracks. Why? Epoxy and standard patch materials will just crack again! Trust me! A good elastomeric caulk like Tower Tech is much more flexible for wood expansion/contraction.
Glue/Epoxy will V-Out/Glue repair Caulked repair –
re-crack better for cracks
New wood patch New trim-prime all Epoxy
Sides
Glue/Pin / Caulk Patch nail holes
after primer
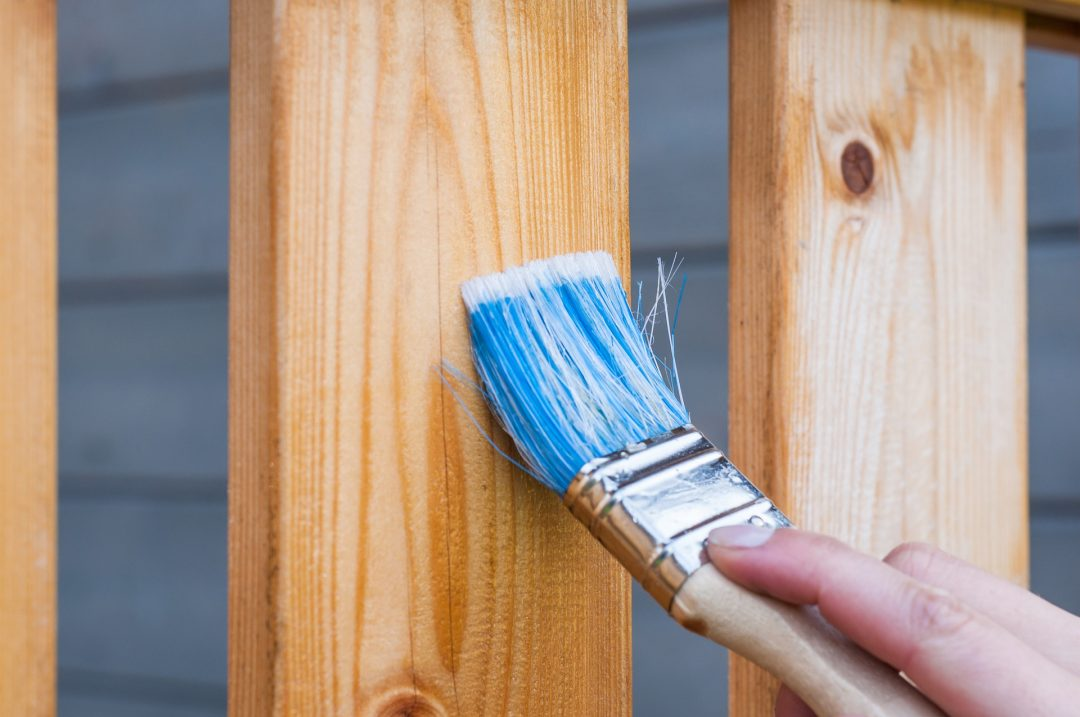
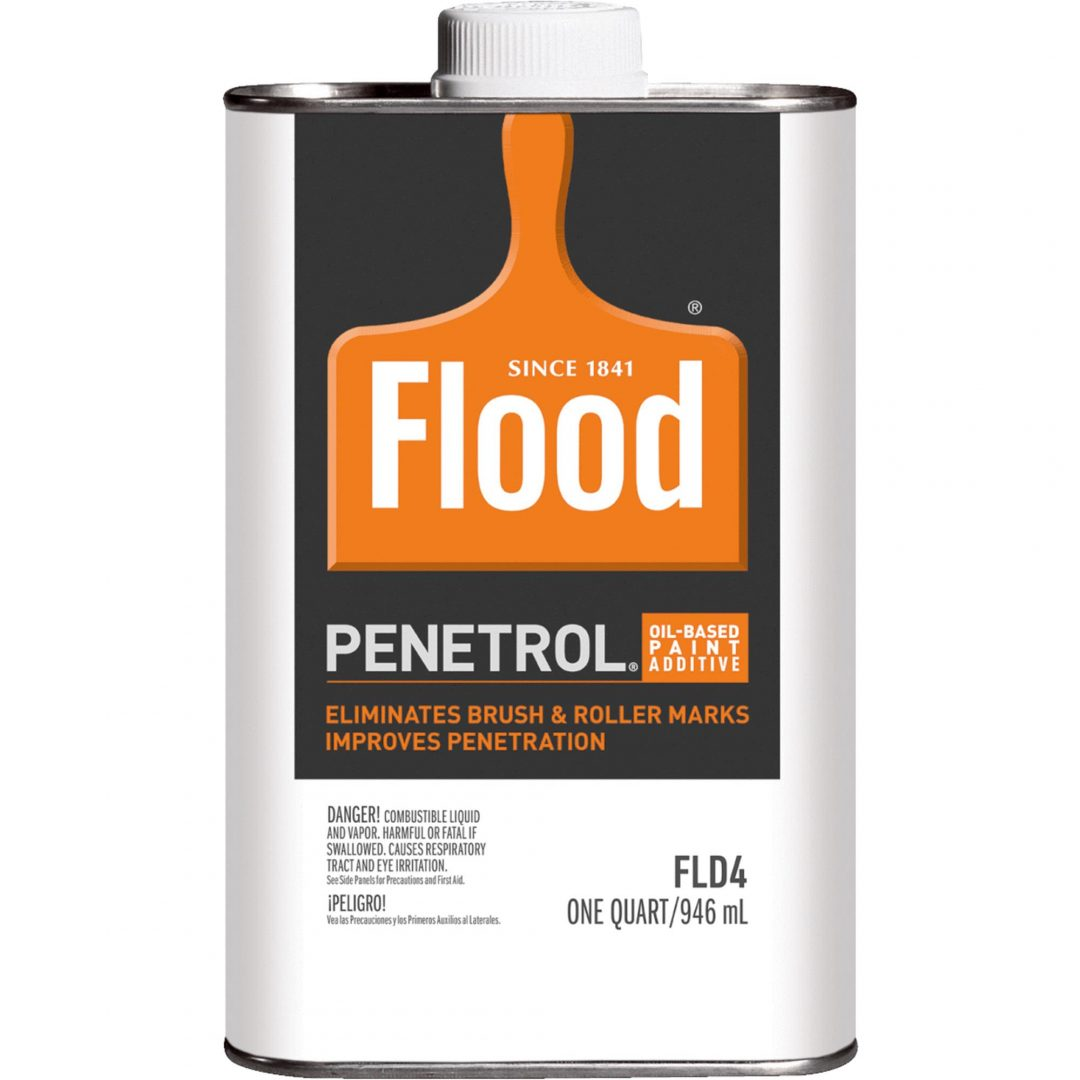
5) THIS IS THE MOST IMPORTANT STEP! Bare Wood Pre-treatment: 50/50 mix of Flood Penetrol and Turpentine. Brush on ONE wet, flooding coat of pre-treatment (>70°F) . Wipe excess after 10 min. Note: I cannot stress this enough! Your old wood is DRY, and needs a conditioner to help the primer “bite” deep. Dry wood will suck the oil out of your primer, therefore leaving a mass of poorly adhered “solids”!
NOTE: This step was Pioneered by preservationist John Leeke, from John Leeke’s Historic HomeWorks.
6) Once pre-treatment is tacky (5-15 min based on conditions), and prime as usual with 1 coat of oil-based primer.
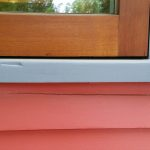
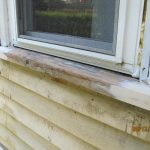
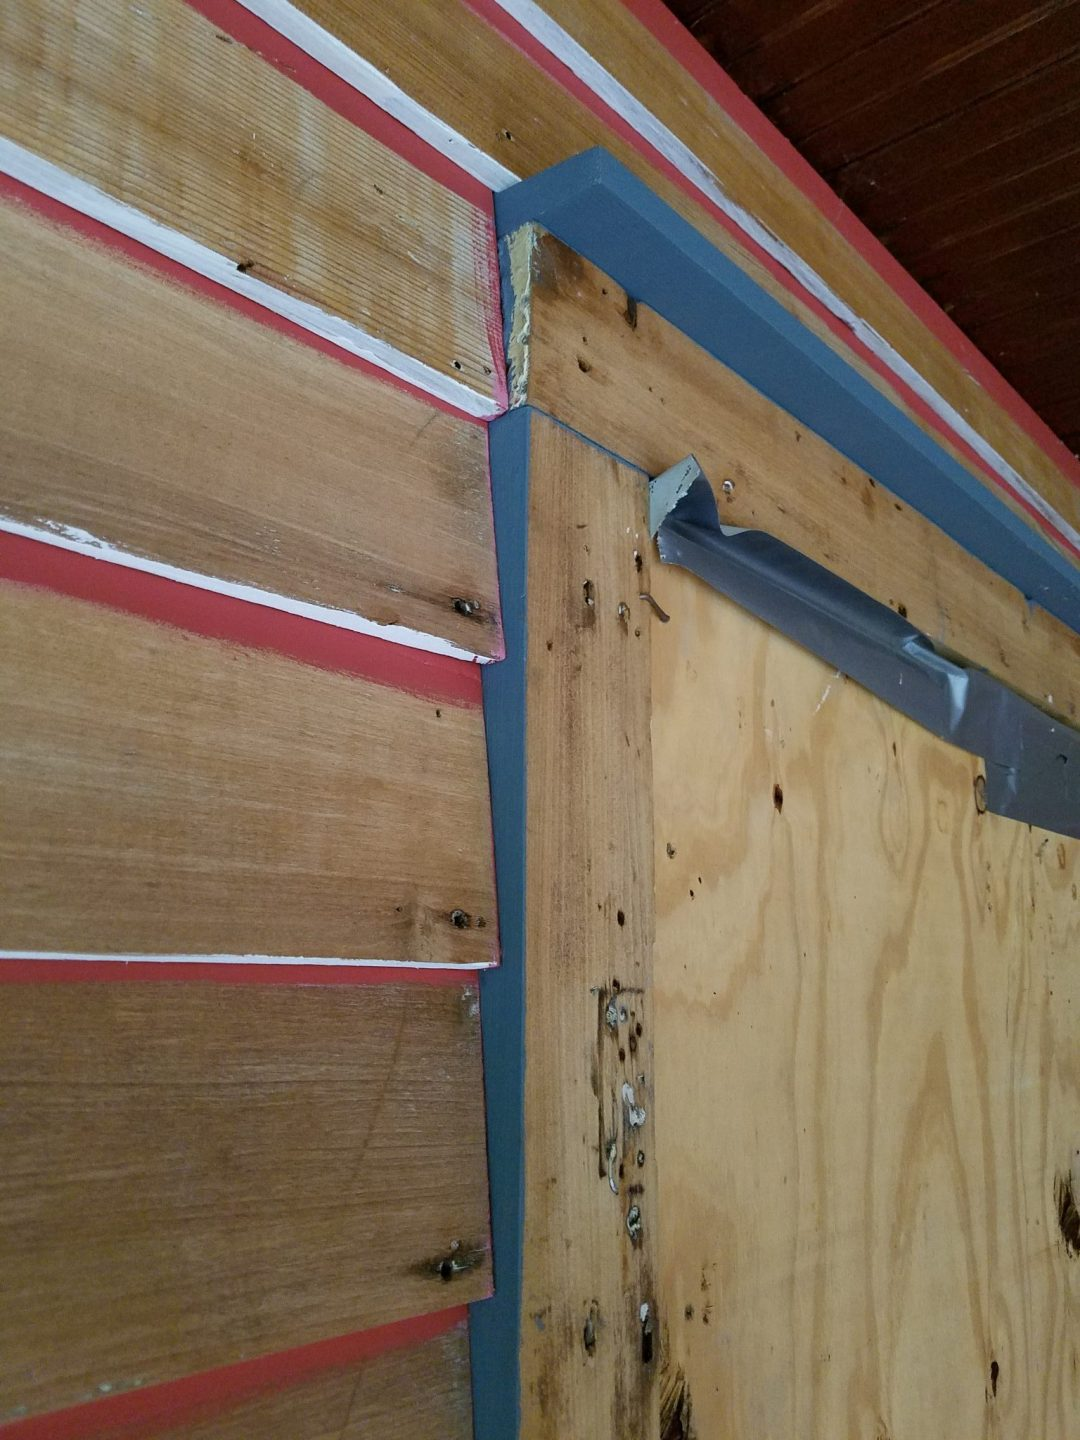
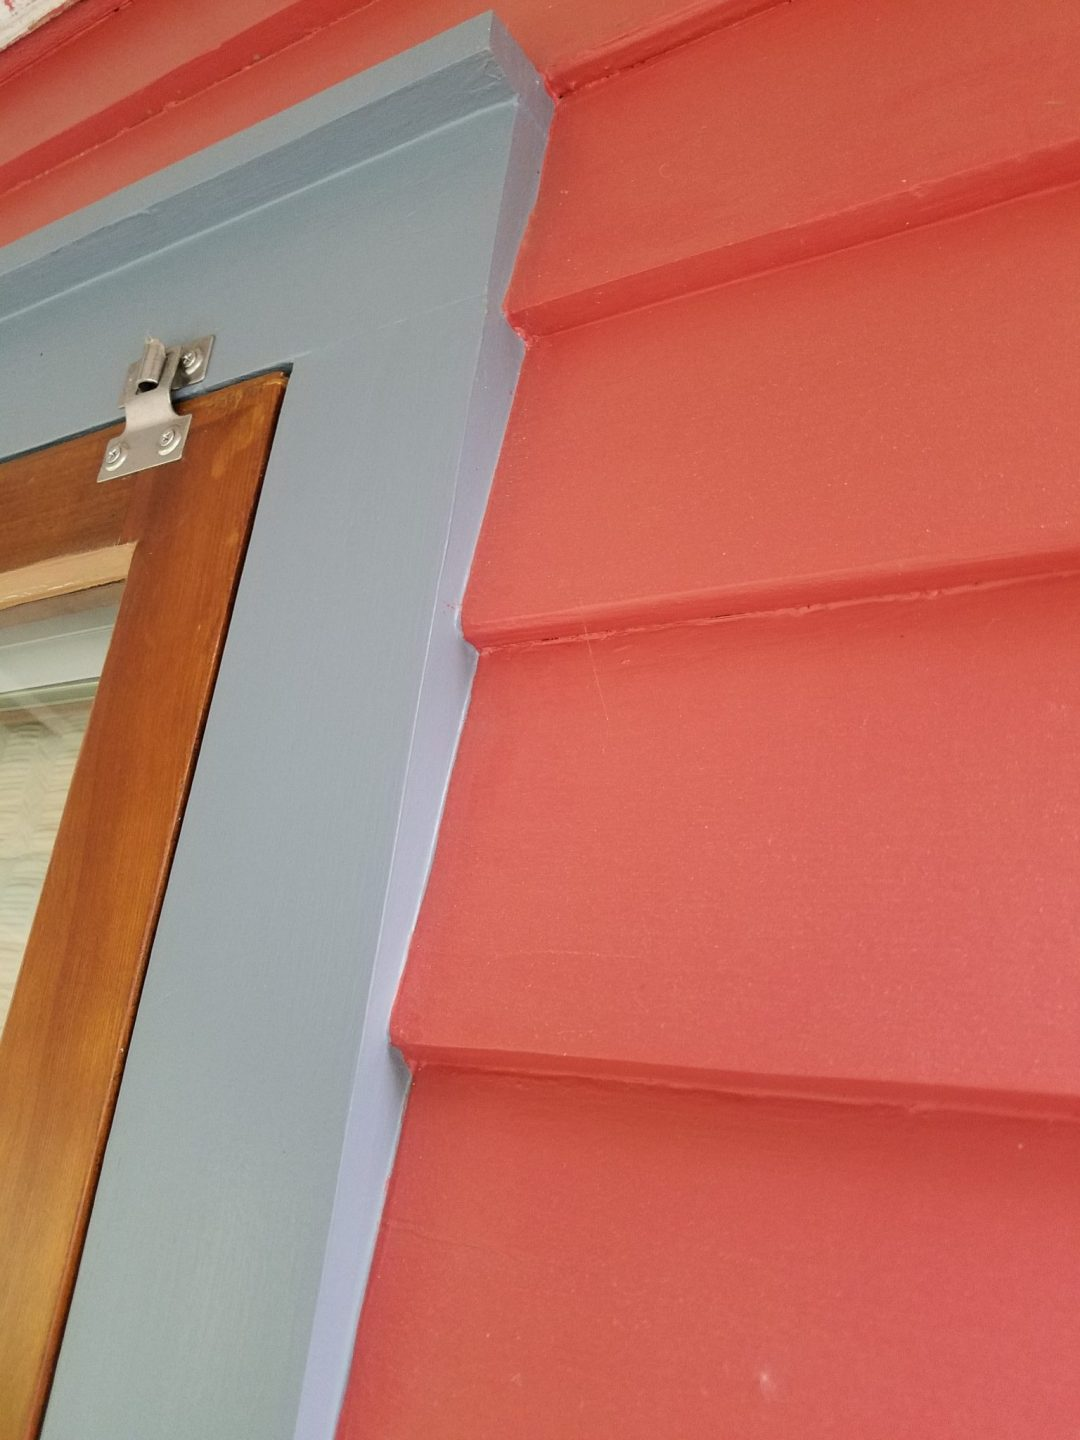
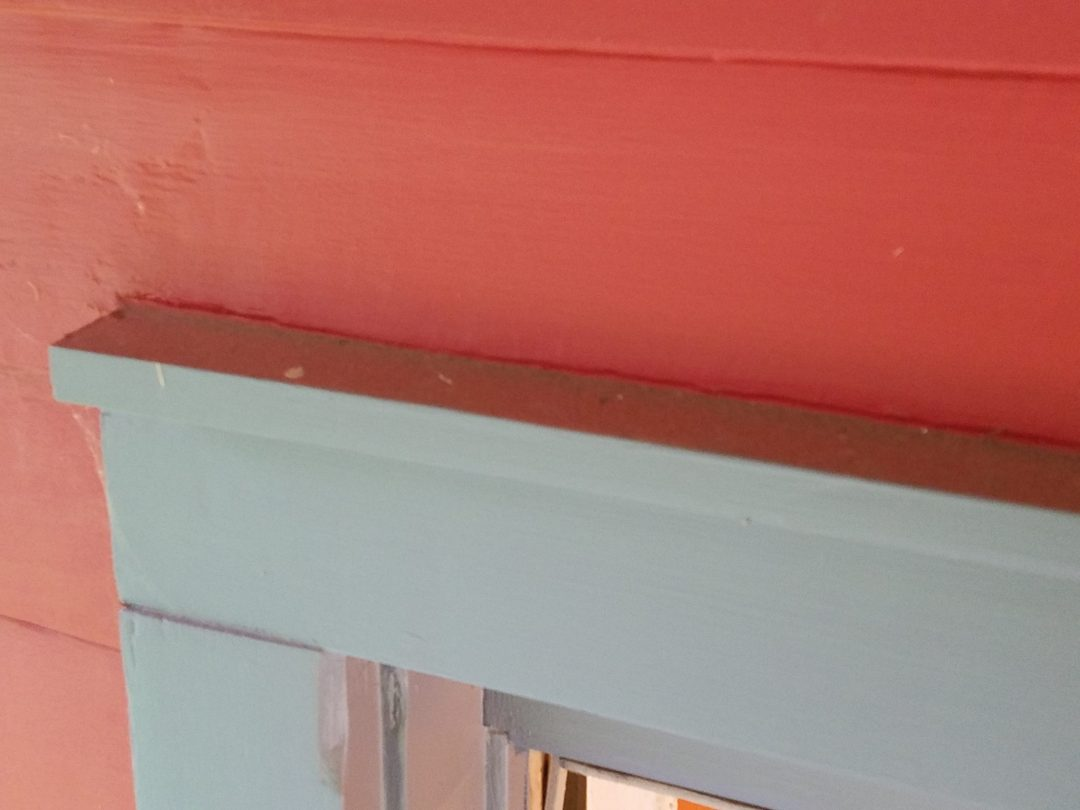
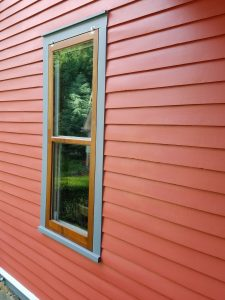
7) Caulk all vertical gaps – Caulk vertical joints between boards runs and trim. Vertical ONLY! If you don’t have flashing, its also OK to caulk the top of the drip caps – where top window trim meets siding (pictured here). Use a good elastomeric caulk like Tower Tech.
8) Apply second coat of oil-based primer. Scuff between coats to ensure good mechanical bond for the next coat. This also removes debris.
9) And finally, apply 2 coats of latex paint. Scuff between coats to ensure good mechanical bond for the next coat.
Conclusion
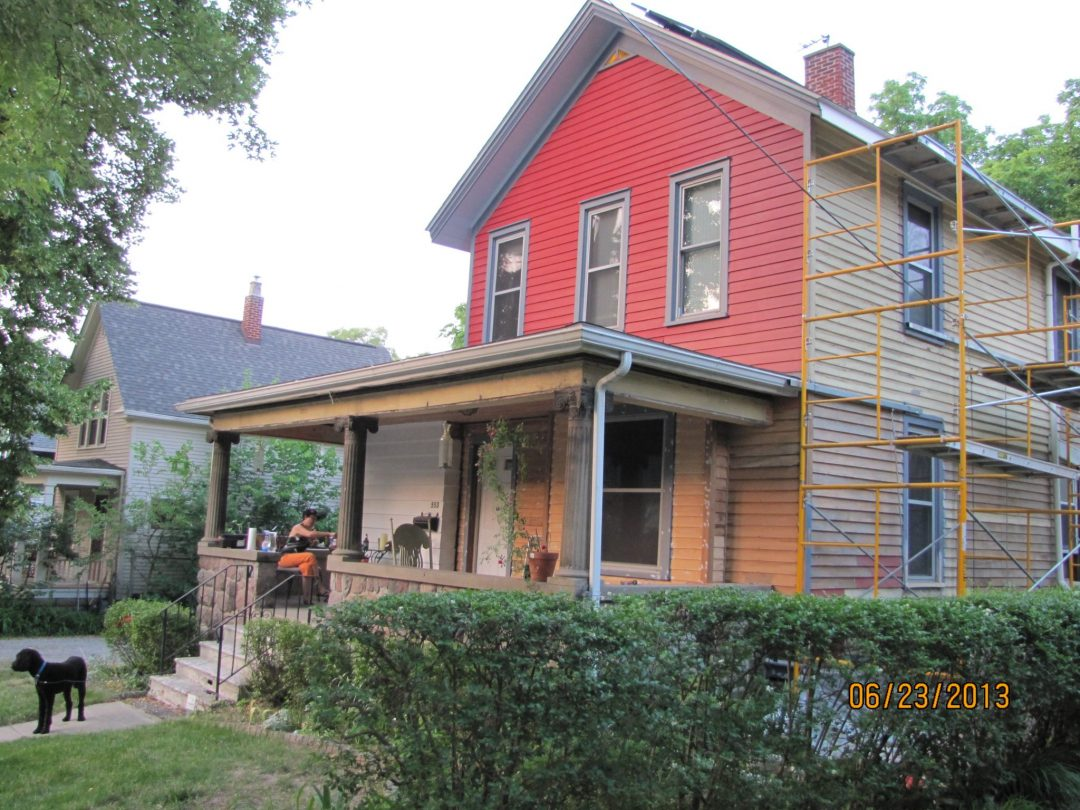
In conclusion, 10 years in, and we have no exterior paint peeling! Don’t get me wrong, the paint job isn’t 100% perfect…no paint job is. We do have a few problem spots as mentioned above from the rain storm, and where we performed case studies on crack repairs – caulk, glue, pin/nail, PC Woody epoxy, Ready-patch, etc. Most of all, we ended up with a sound base, in which to build the paint layers upon. In addition, the pre-treatment ensures a deep adhesion of the primer into the wood and helps to seal and preserve it.

Exterior Paint Application Tips
Should I pressure wash my house before painting? What about lead paint? Still a little weary on how to paint a house right? The following exterior painting preparation tips, are a handy list of exterior house painting tips that will help you plan for success along the way, and clear up a few myths.
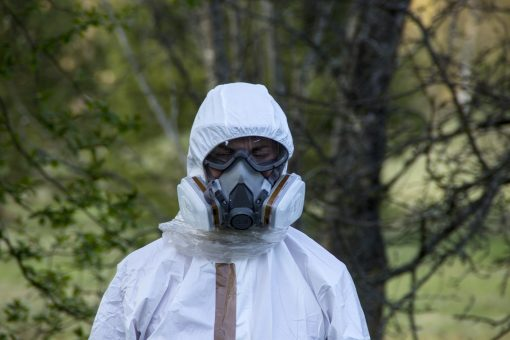
CAUTION: Be sure to practice “lead-safe” procedures from start to finish – drop cloths to catch paint chips, dust mask/respirator, HEPA vac, orbital sander (with dust collection), etc. For more equipment info read HERE.
* NOTE – A “light” wash of the exterior is not needed when stripping all paint to the bare wood.
DO’s
Practice “lead-safe” procedures from start to finish!
Wear the correct Personal Protective Equipment (PPE).
Take enough time to prep the surface thoroughly before painting.
Do you have to wash a house before painting? If washing/cleaning the surface prior to painting/prep, wash “gently” with pressure washer or low flow hose. Don’t saturate!
Painting AFTER “light” power washing: Make sure wood is completely dry (not just the surface) before repairs, priming, and painting are performed.
Ensure the wood to be repaired/painted is “sound”, in good condition after sanding, and not rotten.
Replacing wood: Repairing “old growth” is best. If you need to replace, prime all SIX sides to prevent this

No primer on edges
- Stripping Paint – Hand scrape to strip paint and/or use a minimally invasive method such as the Speedheater (infrared heat), to minimize lead paint vaporization, fire, and wood damage. If completepy failed, you must strip and sand back to “sound” wood.
- Use a bare wood pre-treatment!
- Paint application by “brush”. Paint is forced into the wood grain better than via a light “spray”.
DON’Ts
- Disregard use of Personal Protective Equipment (PPE).
- Skimp on surface preparation. The paint job is only as good as the prep! Remember 2/3 prep and 1/3 application!
- Allow lead paint (dust, chips, flakes) to contaminate the surrounding environment.
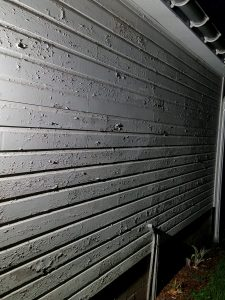
- Attempt to remove paint by “aggressive” pressure washing

Pressure washer damage!
- Attempt to remove paint using any type of media blasting.
- Repair, prime, or paint wood that is damp or wet.
- Make repairs, prime, or paint over wood that shows sign of graying, rot, or damage.
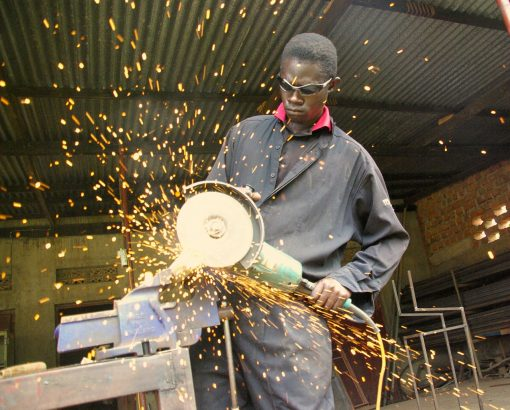
- Attempt to strip paint using any type drill/grinder operated rotary tools. Damage WILL occur. Yes, although sanding will fix, but MUCH wood will be removed i the process. Wood grain is linear NOT circular!!!
- Don’t prime dry, bare wood without a pre-treatment.
- Don’t apply paint via “spraying”. Its quicker for the painter, and QUICKER when he will return!
Lasted 2 years before peeling
I hope this technical blog serves as a guide and reference, to help you achieve the best, and longest-lasting exterior paint job possible.
Best of luck, and keep on Fixing!
For more info visit: www.myoldhousefix.com
![]()
Posts may contain affiliate links. If you use these links to buy something, we may earn a small commission (at no additional cost to you). Full disclaimer HERE.


-(3).jpg)
0 Comment(s)