
Updated: 12/21/2023
The finish line is close as we arrive at the last phase of execution for our Vintage Kitchen Remodel. The Kitchen Remodel - Part 4 finished up installing the kitchen cabinets, restoring the original trim, and the original maple floors are ready for stain. It's time to wrap up all the major details, from farmhouse sink installation, to a “pressed tin” ceiling look that we will accomplish in a very unique way. You definitely don’t want to miss this portion of the remodel! Come take a look!
Vintage Kitchen Remodel: Part 5
- Farmhouse Sink Installation
- Custom Black Walnut Countertop Installation
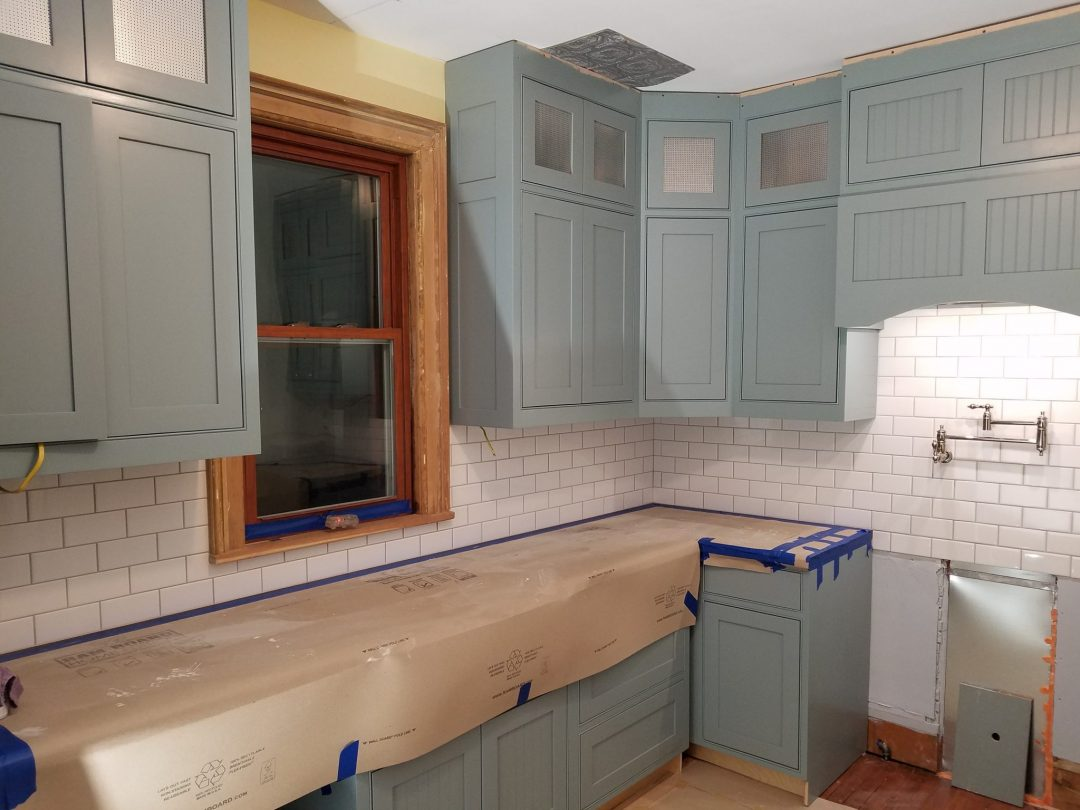
- Subway Tile Backsplash Installation
- Ceiling “Pressed Tin” Look – Anaglypta Wallpaper Installation
- Final Electrical, Task Lighting, and Fixtures
- Final Plumbing and Fixtures
- Range Hood Installation
- Cleaning/Prep for Floor Refinishing
- Hardwood Floor Refinishing – Stain/Finish/Dry
- Install major appliances and function test
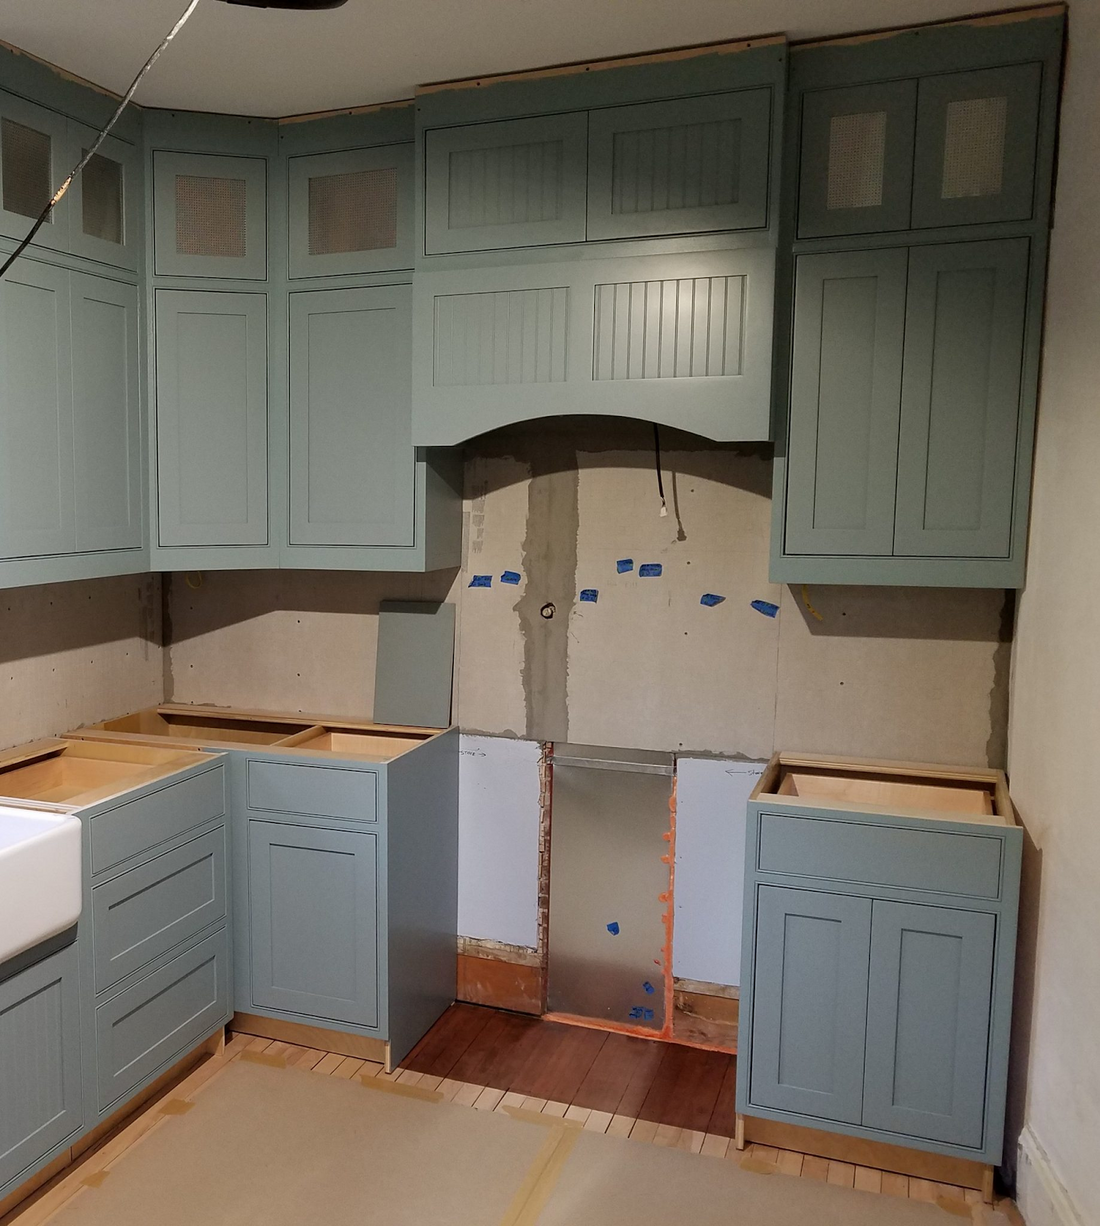
Vintage Kitchen Remodel – Kitchen Cabinets
Need more kitchen remodel ideas, or want to see the full list of items used , be sure to check out the MOHF Kitchen Remodel Resource Page for all the details.
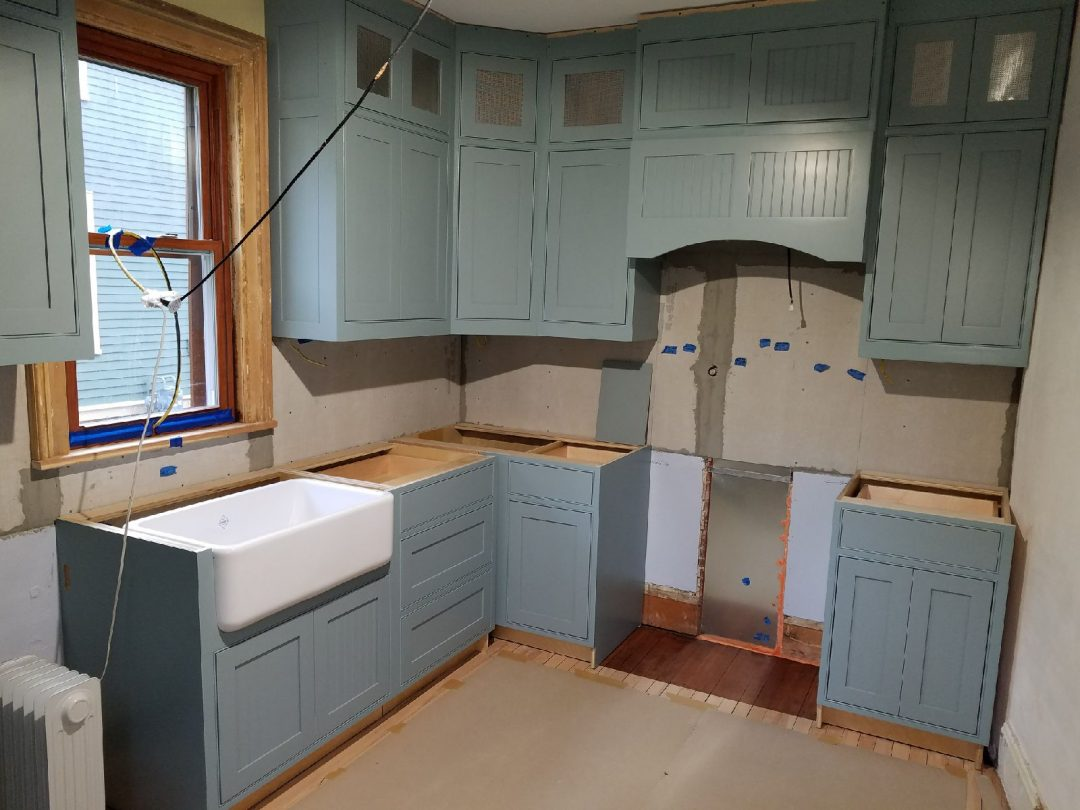
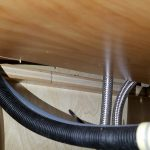
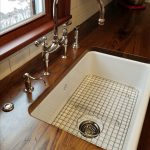
Vintage Kitchen Remodel – Farmhouse Sink Installation
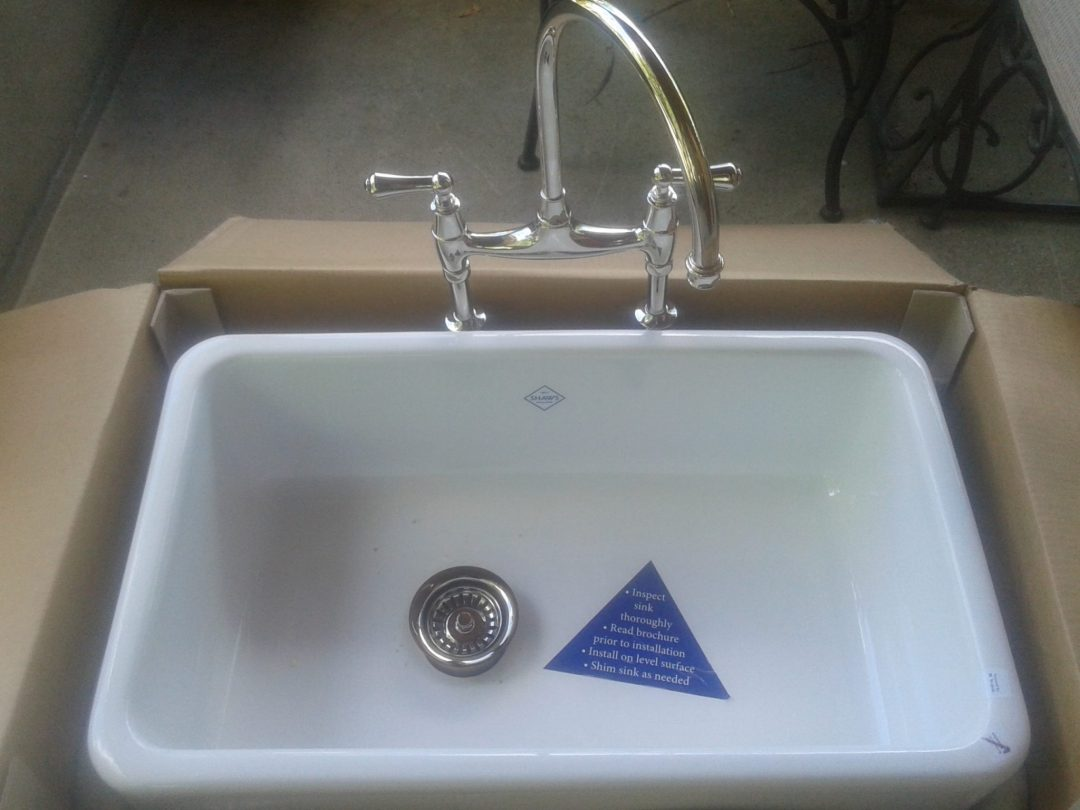
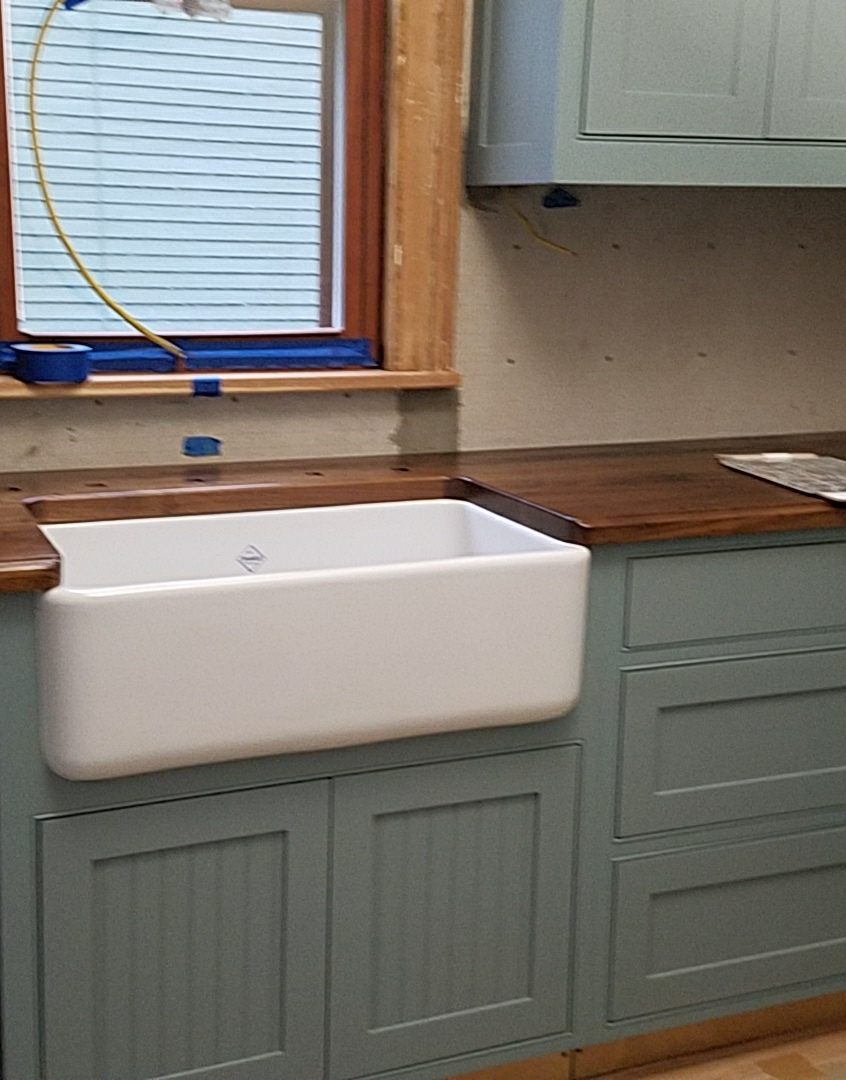
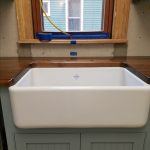
Since the Shaws Original 30″ Farmhouse Sink just sits on top of its custom cabinet, this install is pretty straight forward.
Make sure all mounting and draining provisions are accounted for and in the right locations.
The drain is located toward the left side, so we did shim up the right side, ever so slightly (1/16″), to promote proper draining.
As part of your kitchen and cabinet design, install a front sink trim, for a custom, built-in look. NOTE: Again, this template will need to be fabricated by a cabinetmaker with the farmhouse sink and cabinet on site to capture the correct contours/profile. Farmhouse sinks are hand-made and vary slightly in dimensions.
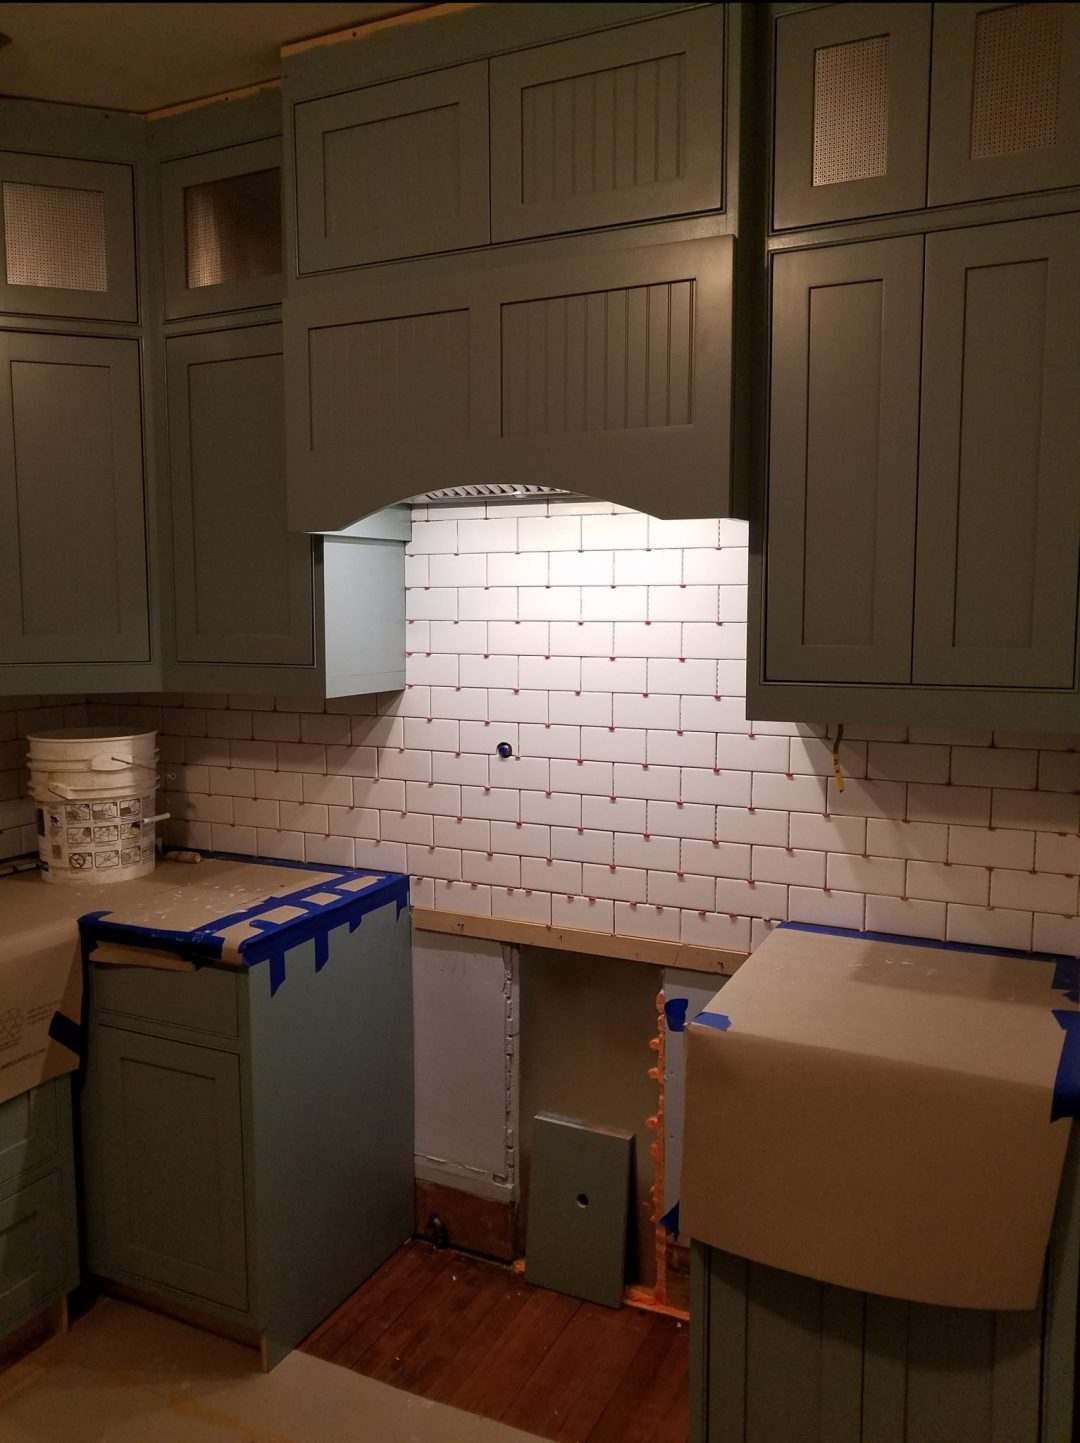
Note: the reinforced base cabinet for the heavy, Shaws Original Fireclay Sink (pic #1 in the slideshow)
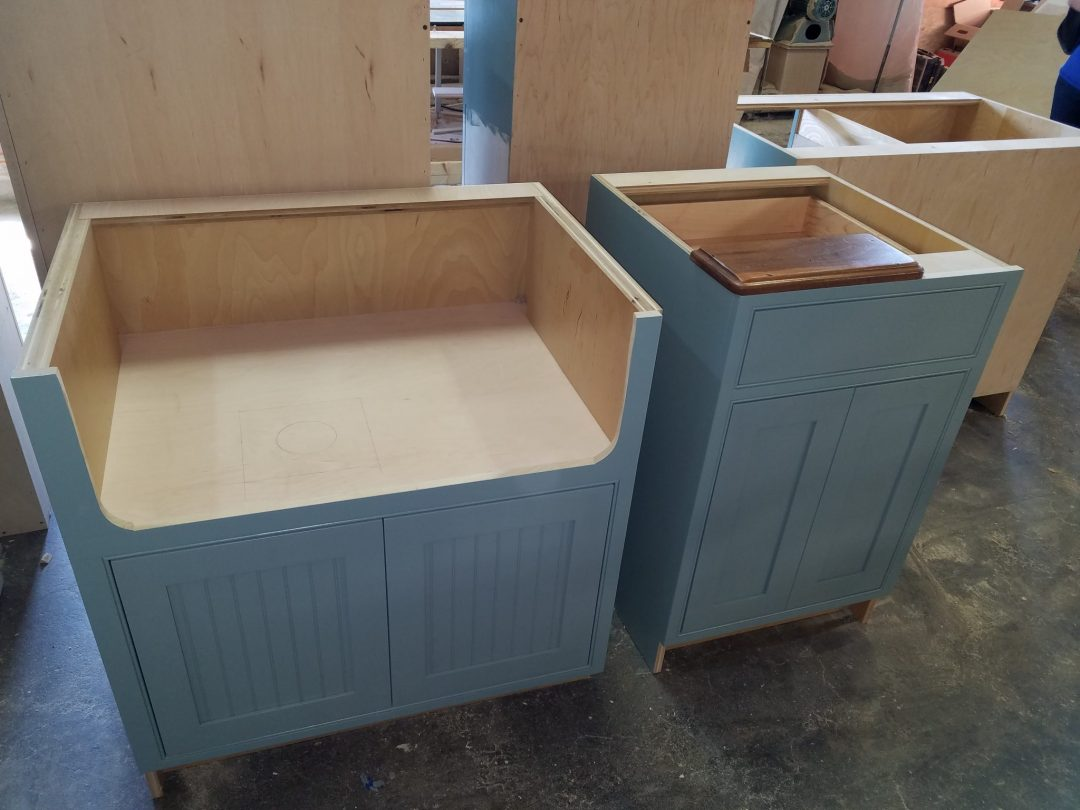
Shaws Original Farmhouse Sink Reinforced Farmhouse sink base cabinet
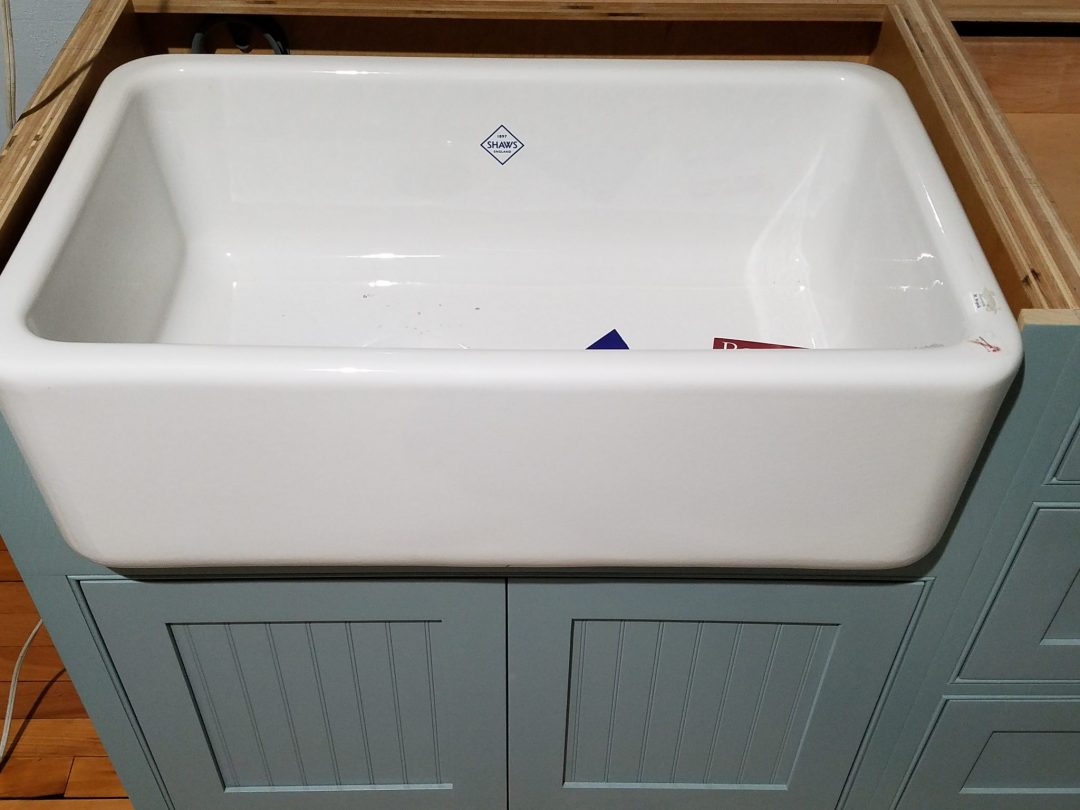
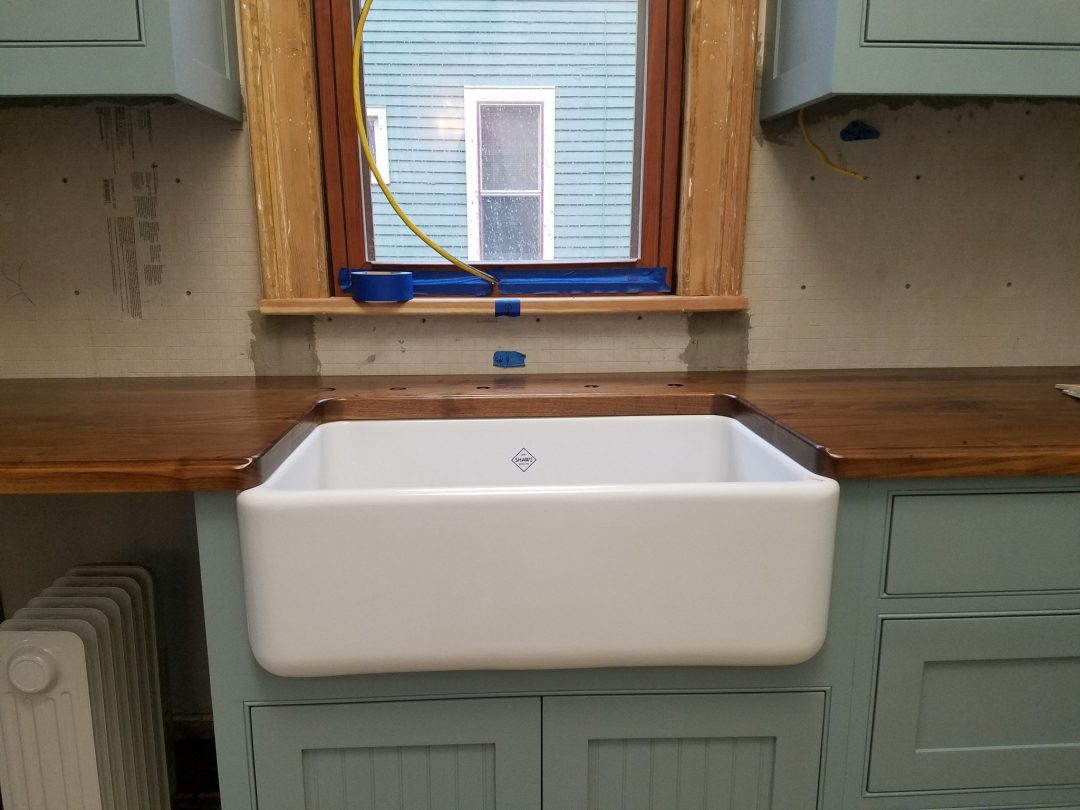
Farmhouse Kitchen Remodel – Sink Installed Front trim cover installed around sink

Tile board up and ready for tile Farmhouse Kitchen Remodel – Farmhouse sink
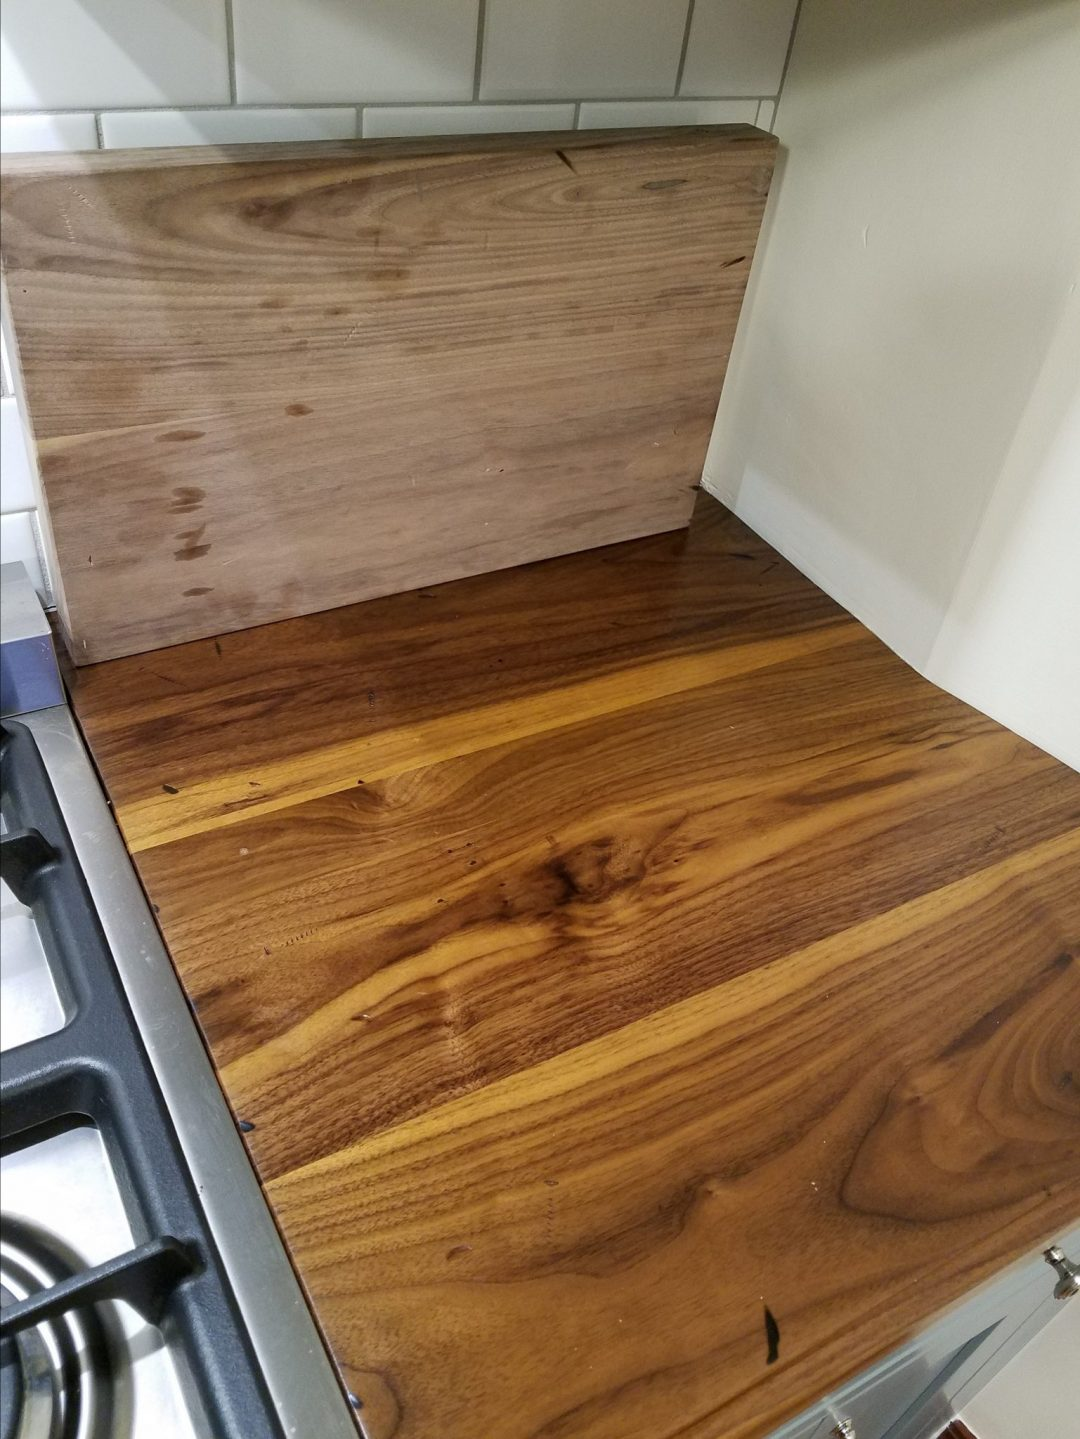
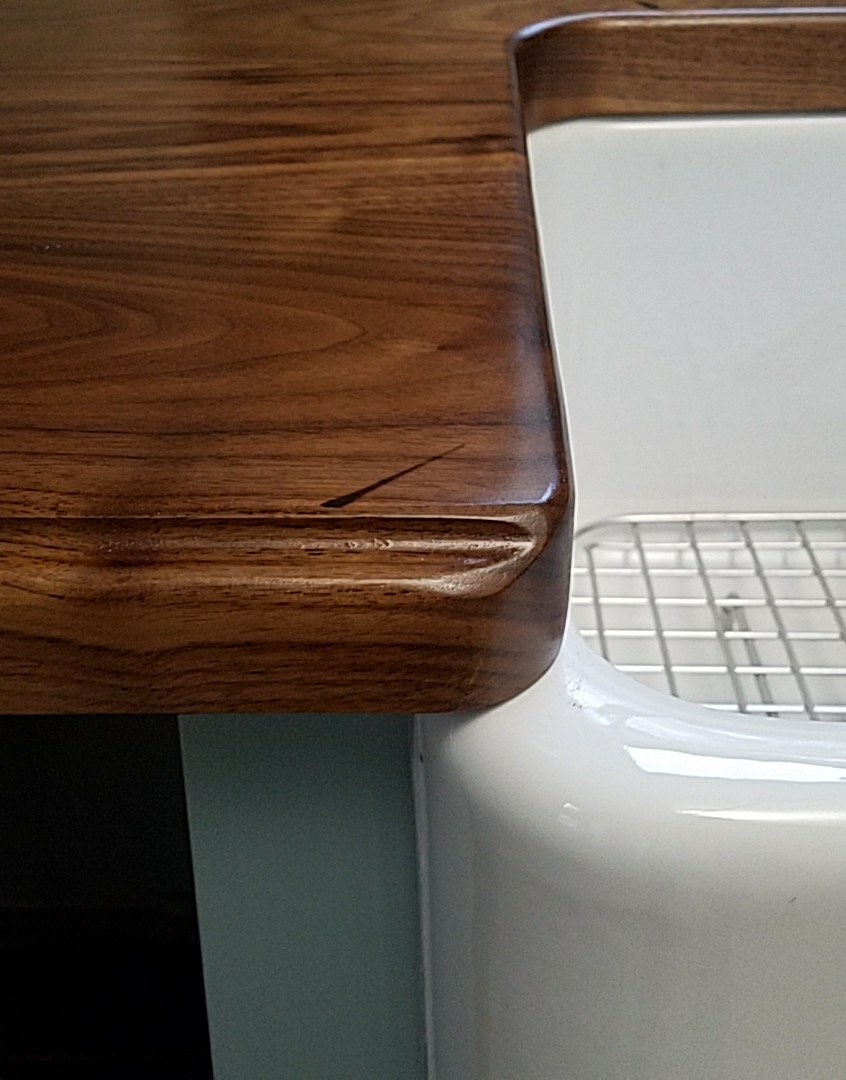
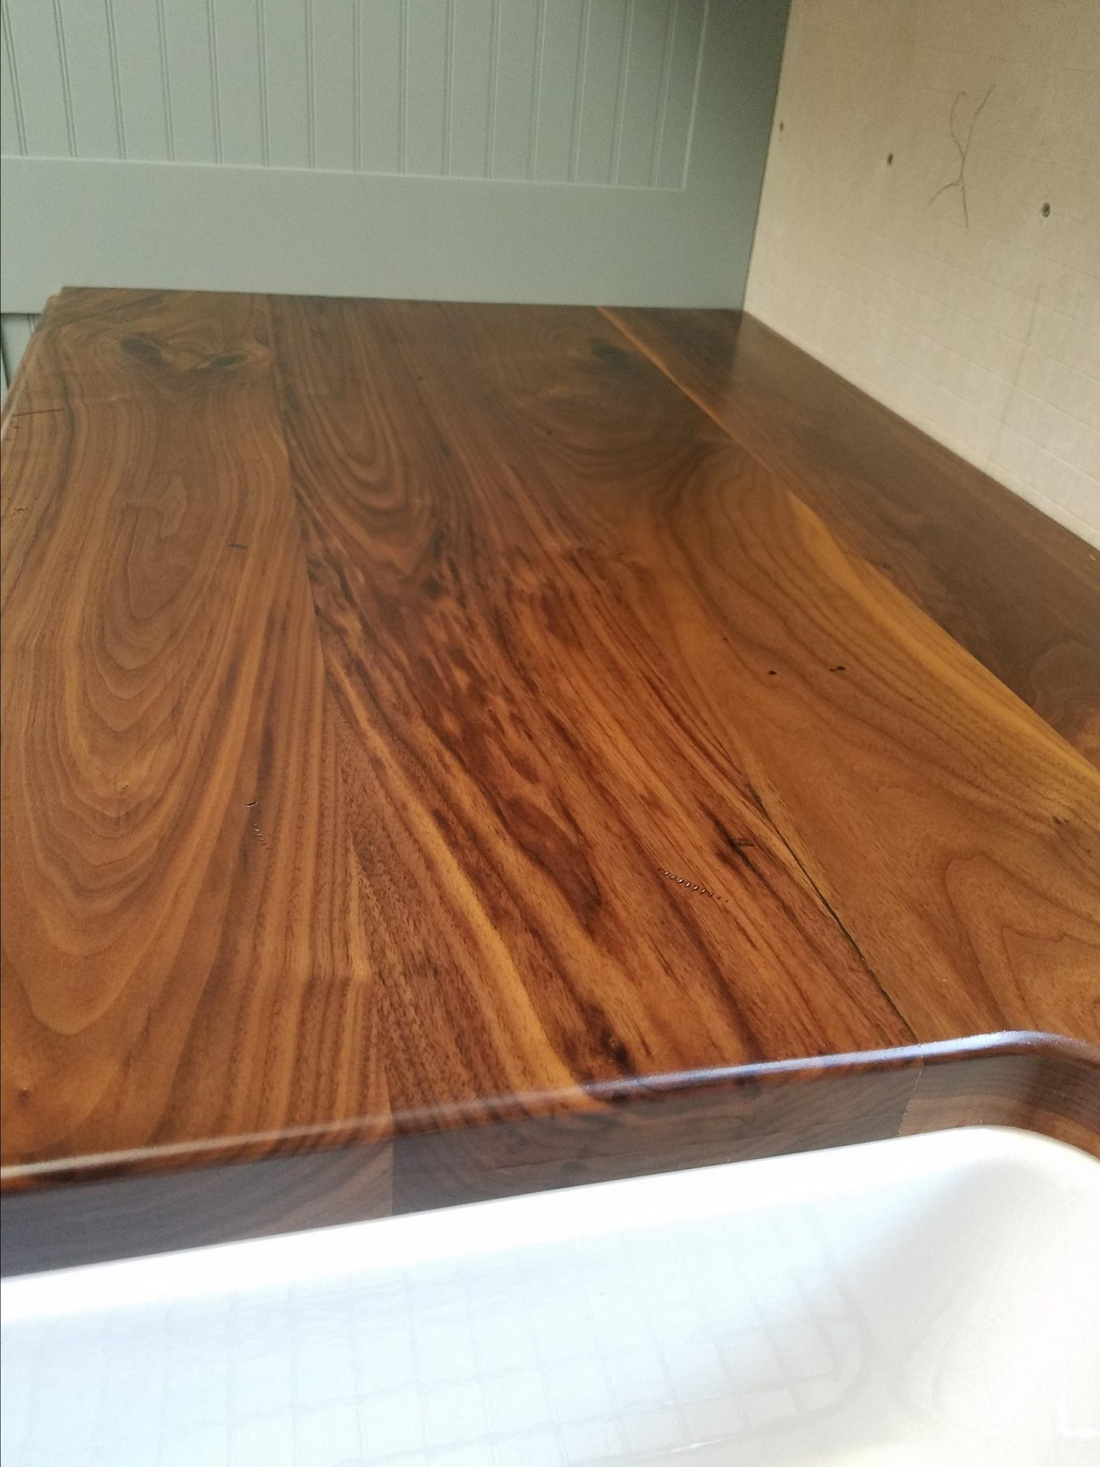
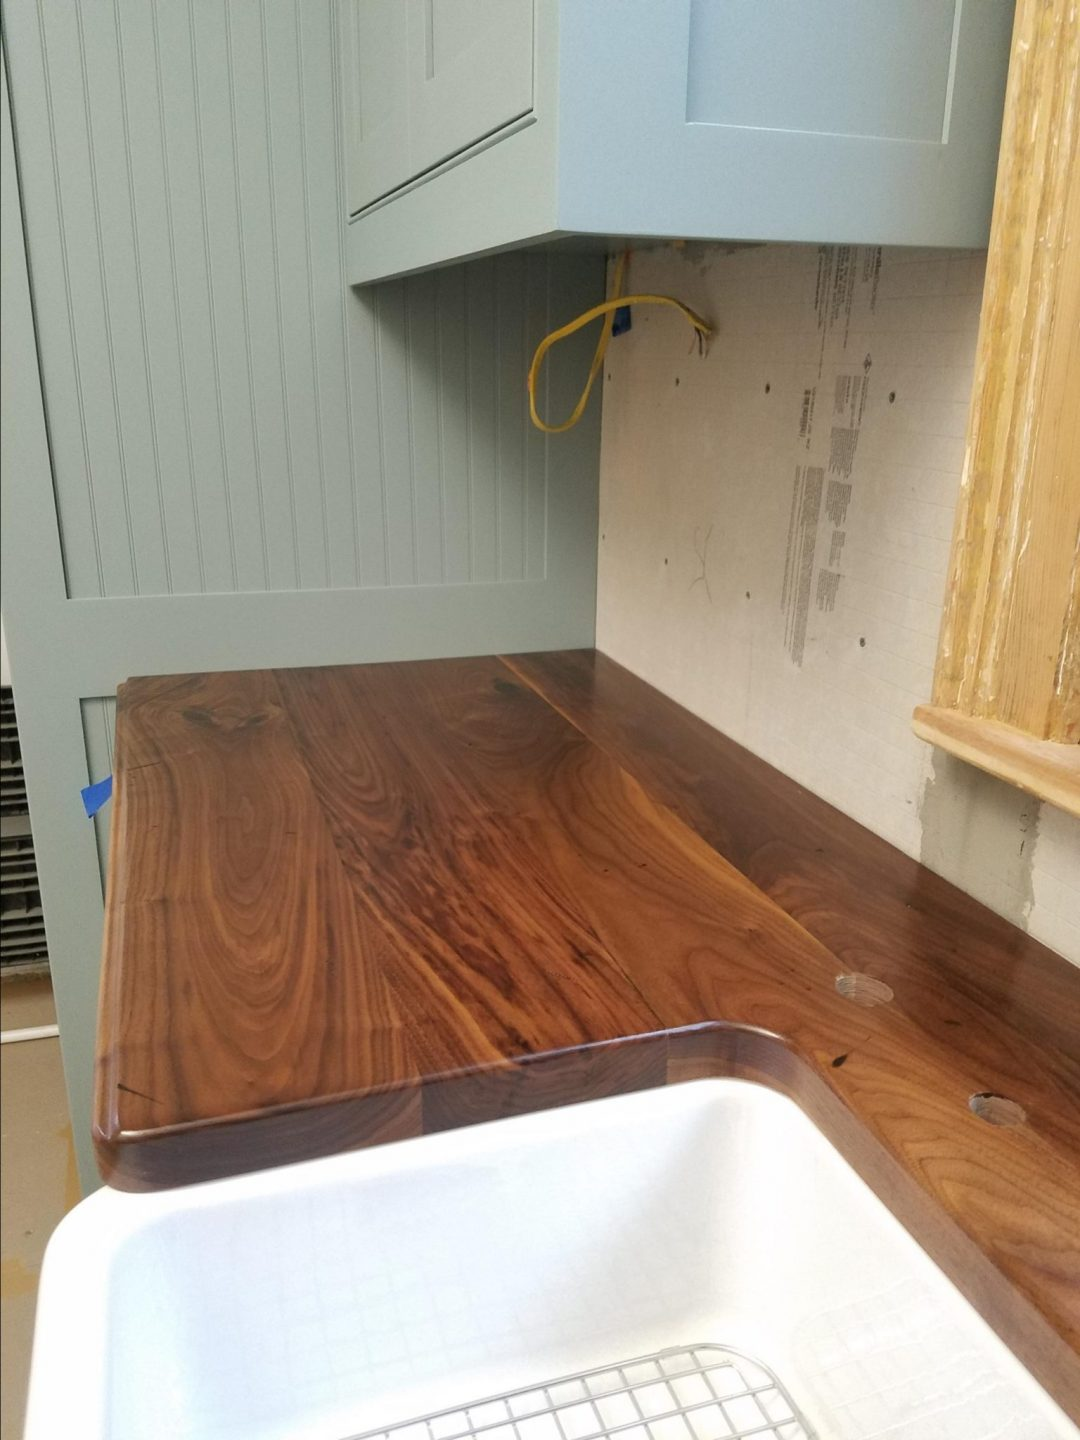
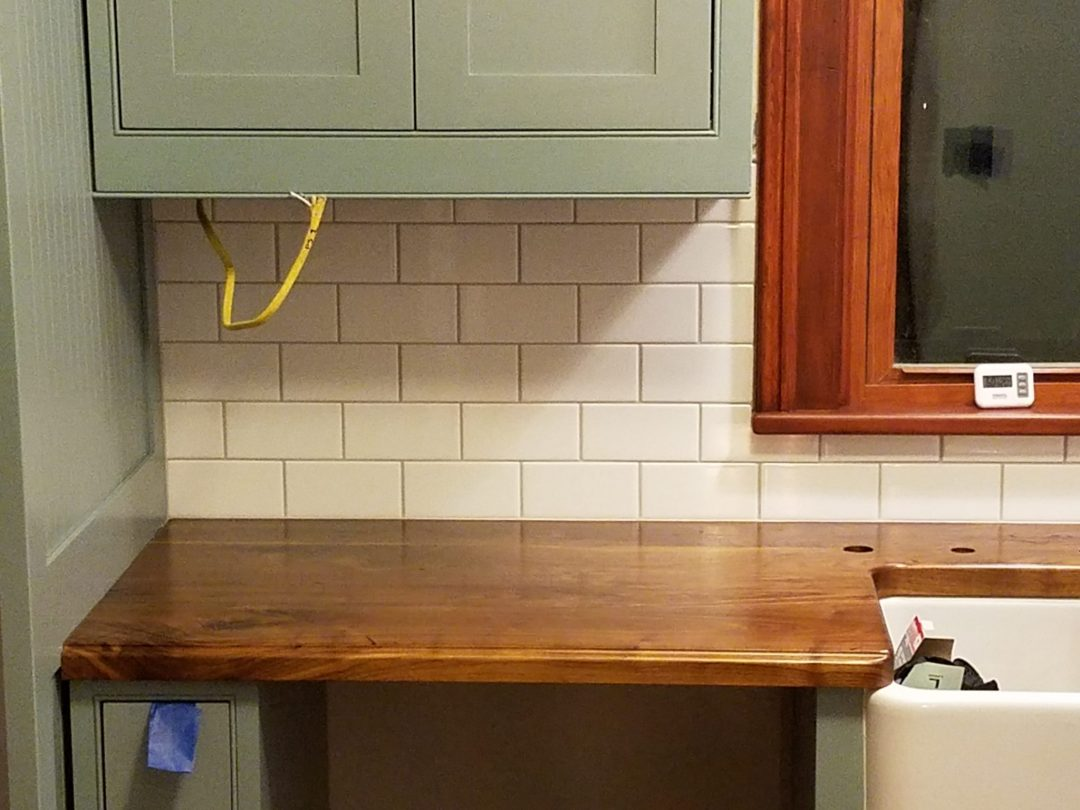
Custom Black Walnut Kitchen Countertop Installation
- Our countertops are custom and were made locally by our cabinetmaker.
- A similar version of the Black Walnut Countertop is available at Lowes
- Make sure they seal ALL sides with 4-6 coats of Waterlox (see #1 below)!!! Refer back to the Kitchen Resource Page for more info.
- Note: Remember that kitchen countertops are a LONG-LEAD item, and final measurements cannot be taken until the cabinets are installed. After kitchen cabinet installation, make sure to have the countertop contractor on site to measure. This way you don’t have to go without countertops for too long.
- Kitchen countertops install BEFORE the subway tile backsplash.
- Material is black walnut, distressed – dents, burn marks, nail marks, etc. It looks very close to the samples you will find at Lowes.
- Kitchen Countertop Finish: This is important, as moisture and water sources can ruin your new wood countertop. It is VERY IMPORTANT that you protect the wood and seal it properly. We did THREE crucial things to make this countertop last for years to come.
- Seal ALL SIX sides with Waterlox wood sealer (front, back, top, bottom, left end, right end). We applied FOUR coats on the backside, and SIX coats on the top side (5 in the Waterlox sealer-glossy finish, and the last coat with the Waterlox satin finish). Also make sure to apply multiple coats after any new cuts/holes are made for final fit and sink faucet fixtures.

2. Install a vapor barrier on the back side of the exposed kitchen countertop just above the dishwasher. Dishwashers expel a lot of heat, humidity, and condensation. A simple solution to prevent potential moisture problems is a simple vapor barrier. Most dishwashers come with a small one inch wide piece that sticks at the front edge, but I elected to line the entire back side of the kitchen countertop. I used a thin piece of aluminum from the local hardware store (glued/screwed).

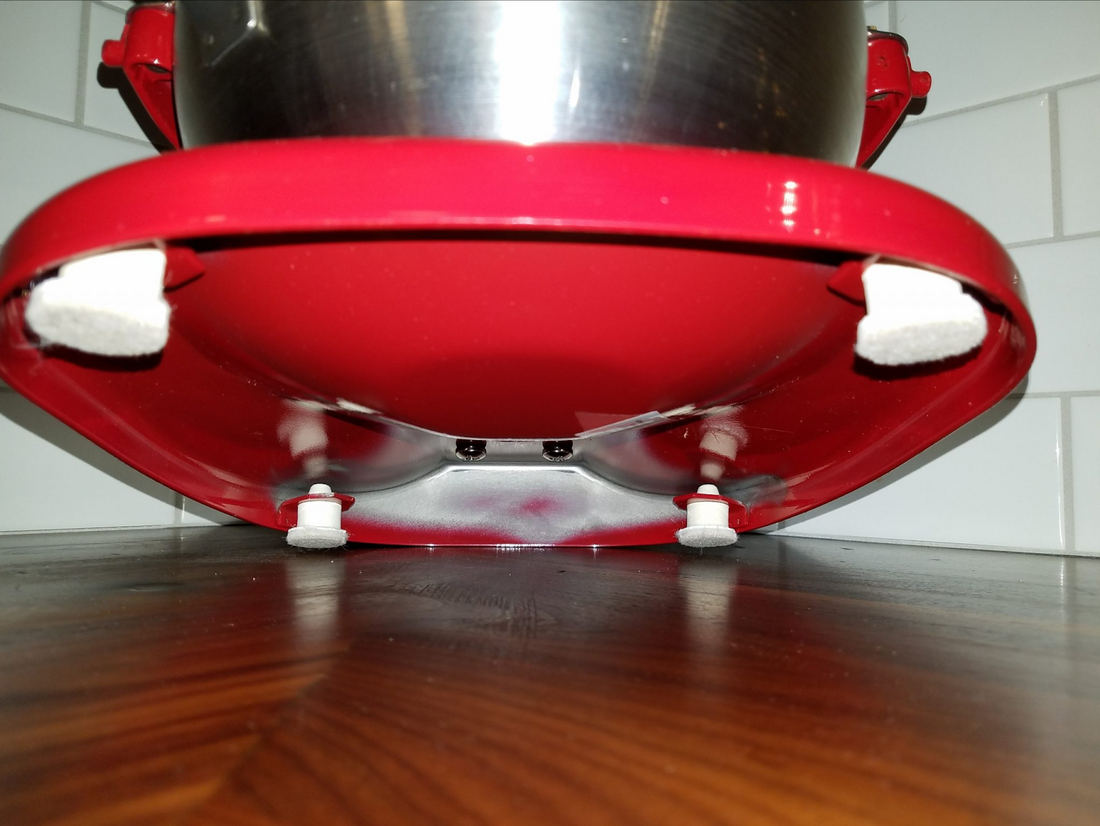
3. This step may be a bit overkill, but works great to protect kitchen countertops. Install felt pads to the bottom of any countertop appliances, cutting boards, etc. It protects the same as when applied to chairs, etc for wood floors.
- Why Waterlox??? Two Reasons – 1) Unlike most stains and varnishes, Waterlox is suitable for food prep areas. 2) Easy to refinish – With stains and polys, when the finish gets scratched or needs to be refinished, you have to strip, sand, and reapply. Not with Waterlox! Just scuff the surface lightly and reapply a coat like you would with tung oil, or similar.

- Once the kitchen countertops are installed, cover them with Ram Board for protection until the rest of the kitchen remodel is complete.
- Ram Board – Amazon
- Ram Board – Lowes
- Ram Board Tape – Lowes
Bare Walnut/Walnut w/ Waterlox
Vintage Kitchen Remodel – Sink and Cabinets
Hardwood Floor Refinishing – Stain and Finish
So now that the bulk of the kitchen is complete, we can return back to floor refinishing. Referring back to Part 4, we left off with the floors sanded and covered with Ram Board for protection.
Remove Ram Board protection
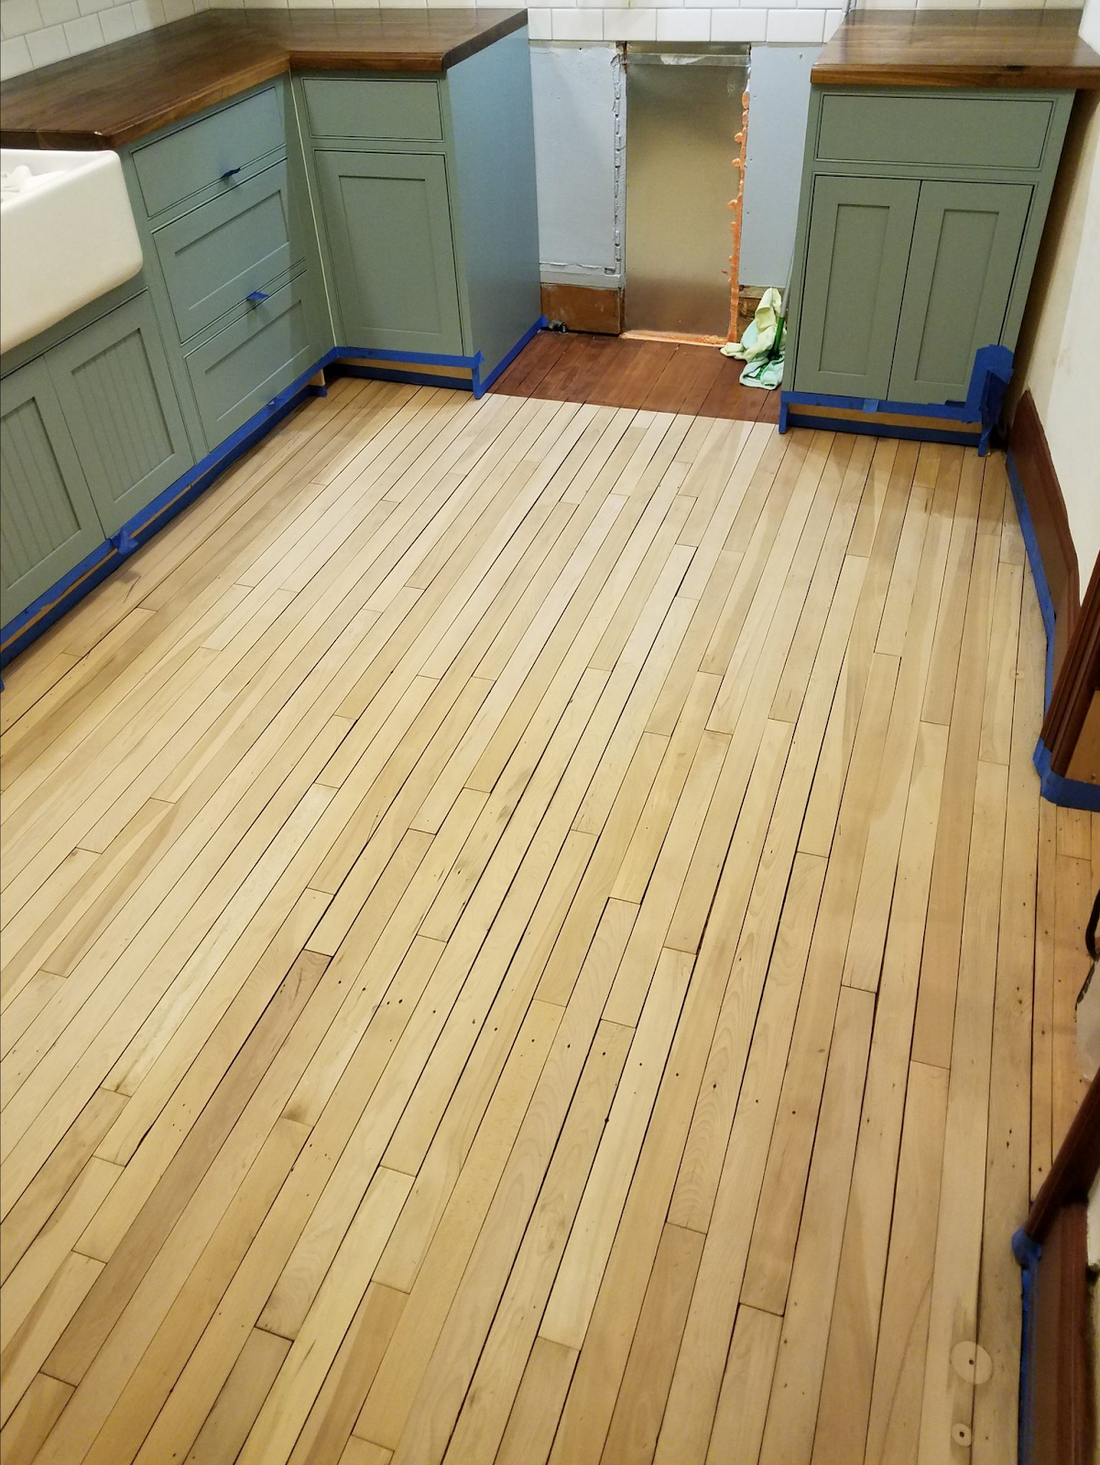
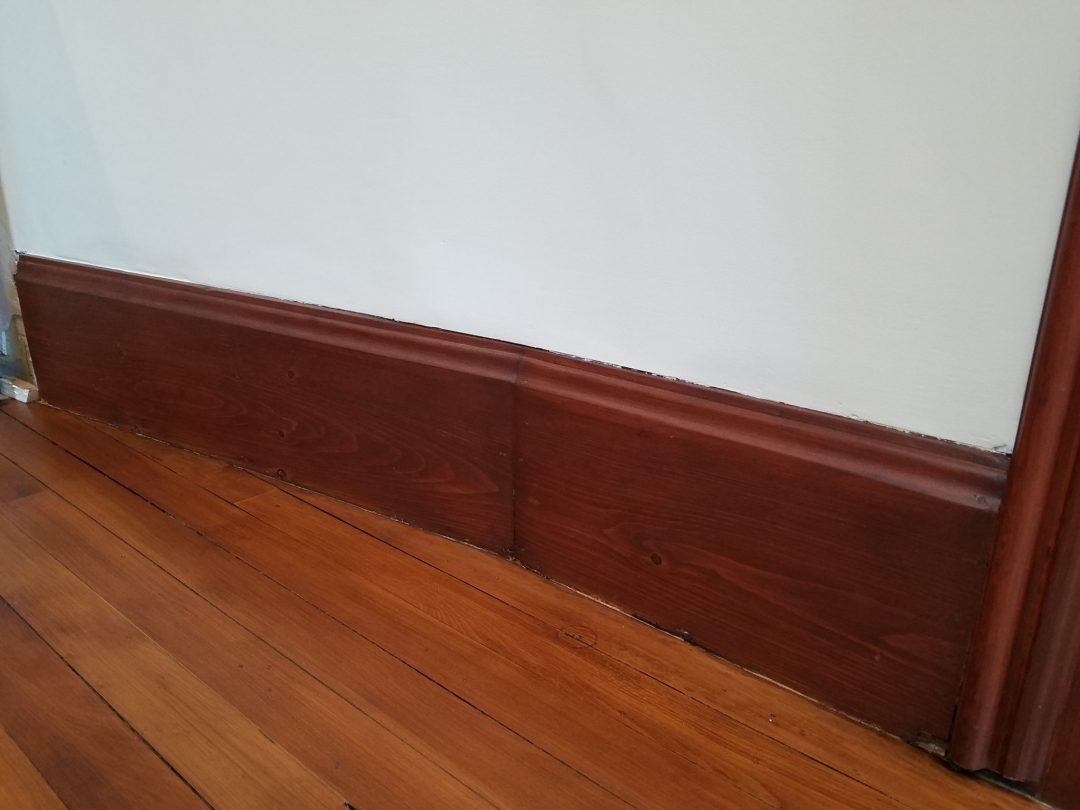
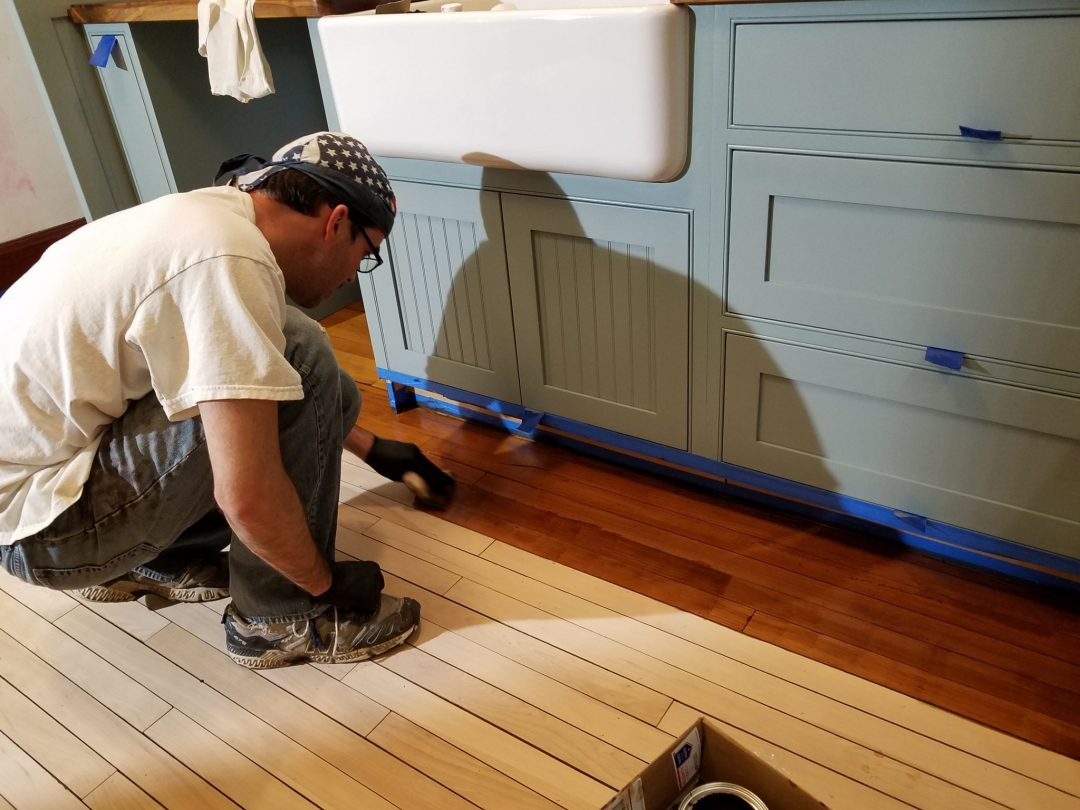
Prep TIP: Tape up around the perimeter of the kitchen – around baseboards and painted cabinets. We don’t want to get stain and urethane on the cabinets of the finished trim.
Sand the floor one more time with a pole sander (100 grit). Make sure there aren’t any flaws left in the wood! Once the stain hits the wood, it's too late to fix any imperfections. Lightly wet the floor to look for existing scratches/sanding marks just to be sure. Refer back to Pete’s Hardwood Refinishing Tips, as well.
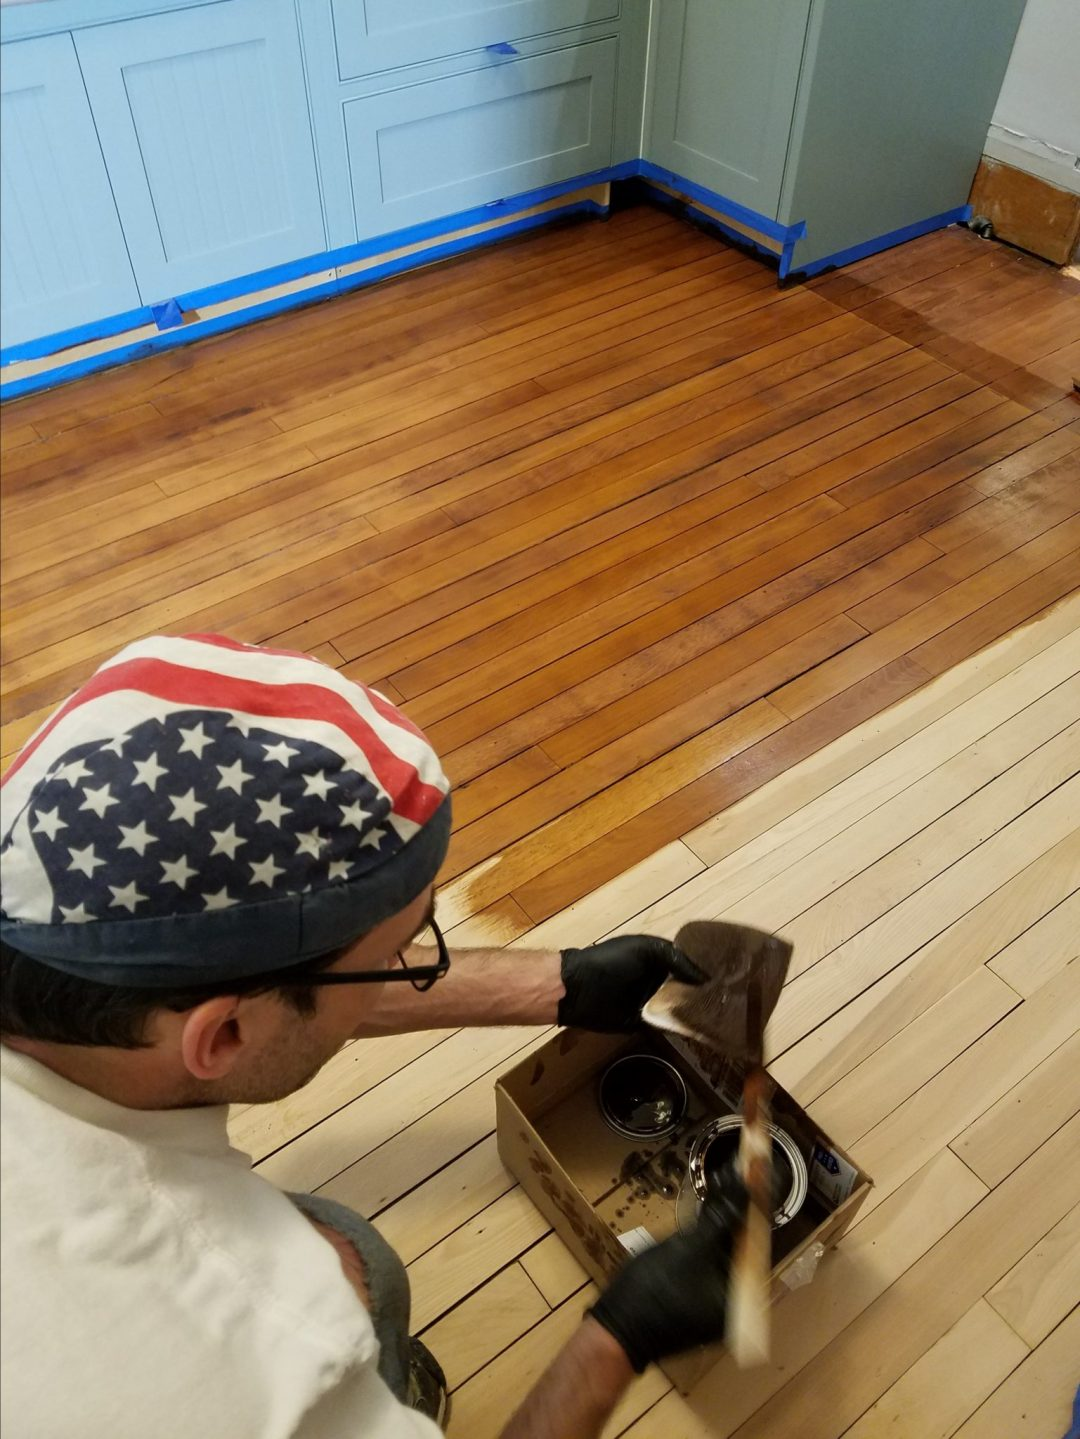
Apply the wiping stain: 1 to 2 coats based on look you want to achieve. We applied one coat here. Dry time 24 hours. We used Old Masters - Early American.
TIP: After this point, walk on floors in stocking feet only!
Apply the first coat of urethane (we used a water-based Ceremathane by Graham), dry for 24 hours minimum.
Scuff lightly to knock off dust nibs, HEPA vac, wipe with dry micro-fiber mop to remove dust.
Apply additional coats (at least 4) and repeat.
We applied 6 coats for this kitchen remodel to ensure the best wood protection in the kitchen.
Allow floor to dry properly: The last thing we want is foot prints or damage to the floor because we didn’t let it dry properly.
TIP: Allow floor to dry 4-7 days minimum (based on temperature, humidity, etc)…AND…
Apply “red rosin” paper to the floor so you don’t leave footprints/smudges in the new finish.
UPDATE: After assessing the performance of the water-based urethane, I would no longer recommend these type products for floors. Please refer back to our Hardwood Floor Refinishing guide for details - in short, to save your floors long-term, you want to use a finish that DOESN'T require constant sanding.
Waterlox, Sutherland Welles, and Rubio Monocoat are great alternatives that "soak in", therefore they don't crack, peel, and lift like plastic coatings. Even better, when they need a fresh "maintenance coat"...just clean and wipe on another coat!
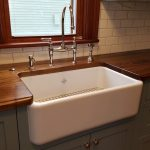
Vintage Kitchen Remodel – Wood Countertops
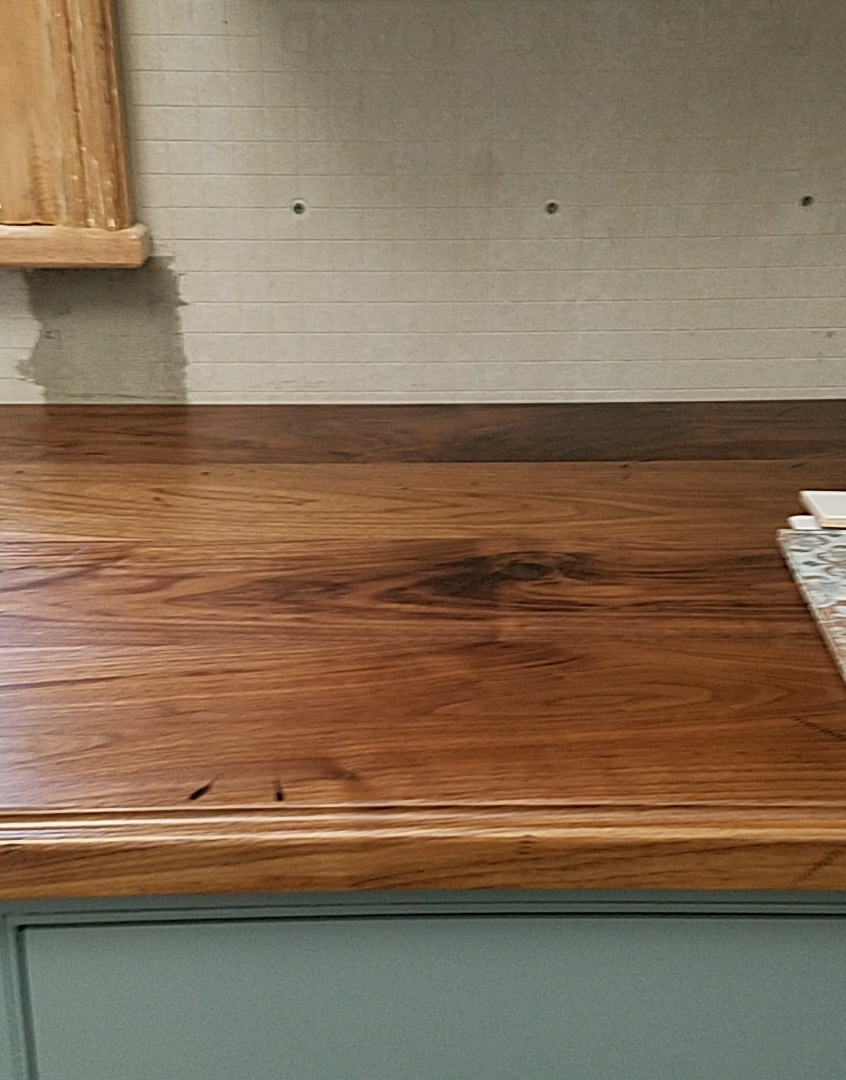
Vintage Kitchen Remodel – Wood Kitchen Countertops, Black Walnut
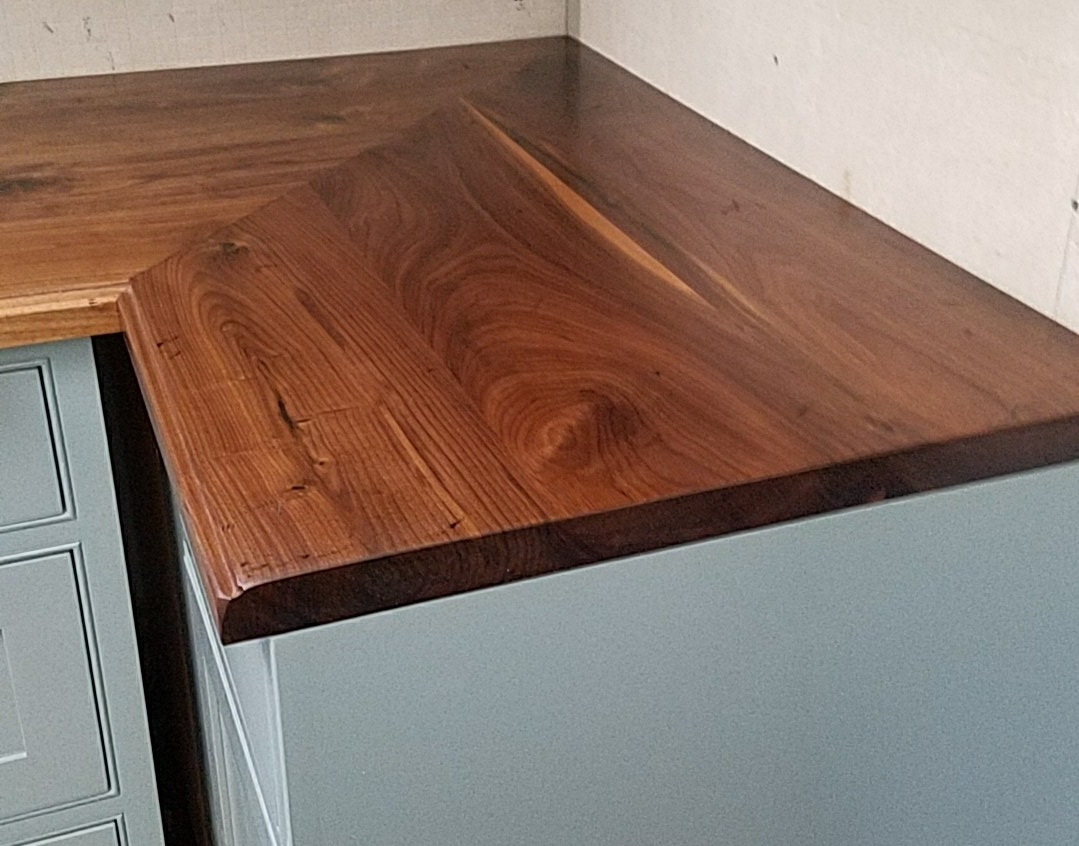
Vintage Kitchen Remodel – Wood Kitchen Countertops
Vintage Kitchen Remodel – Wood Kitchen Countertops
Wood Kitchen Countertops – Black Walnut
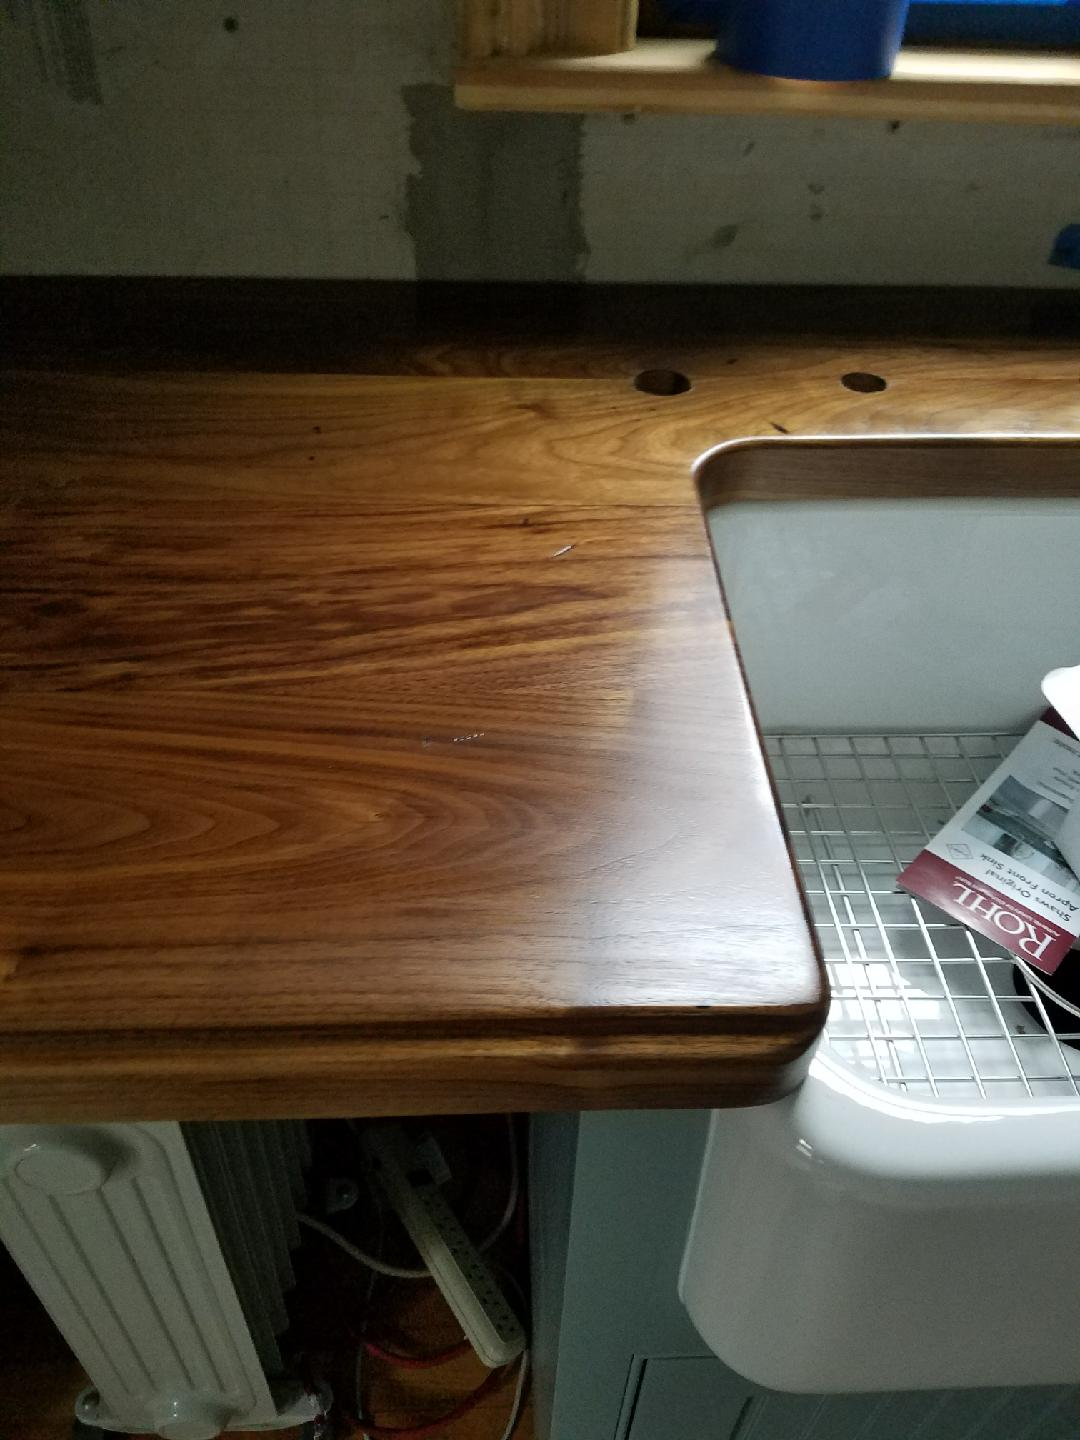
Vintage Kitchen Remodel – Wood Countertops

Vintage Kitchen Remodel – Faucet/fixtures installed
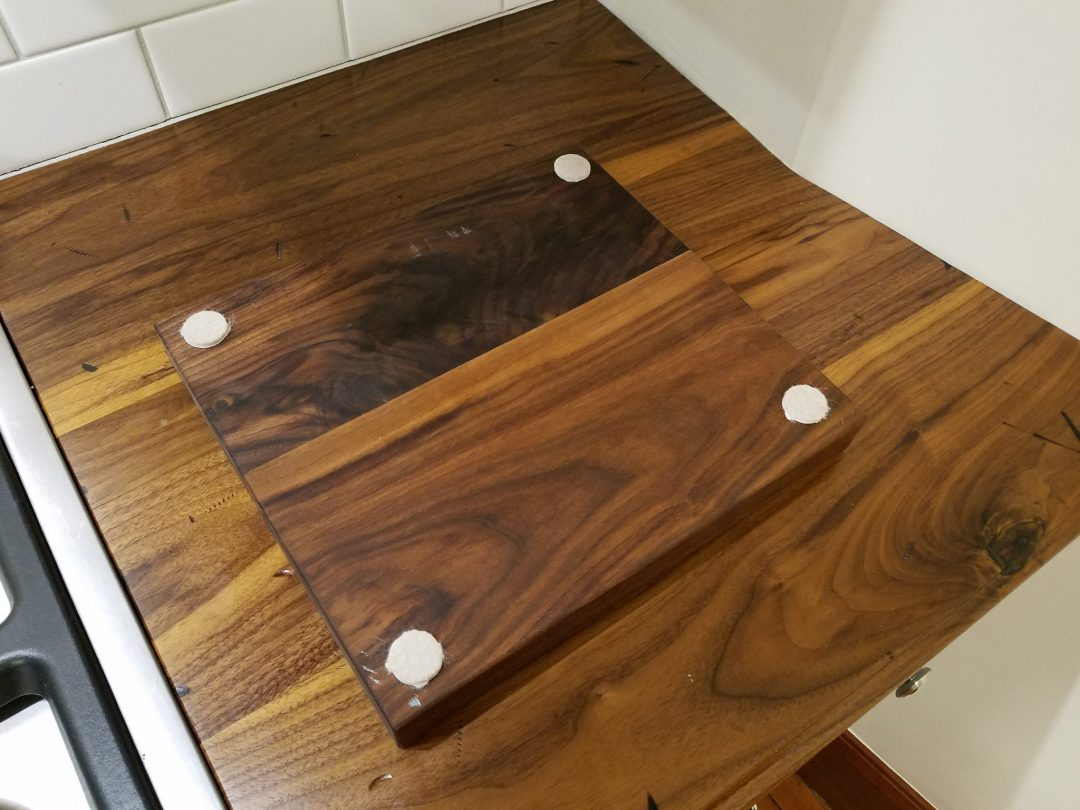
Felt Protection Pads
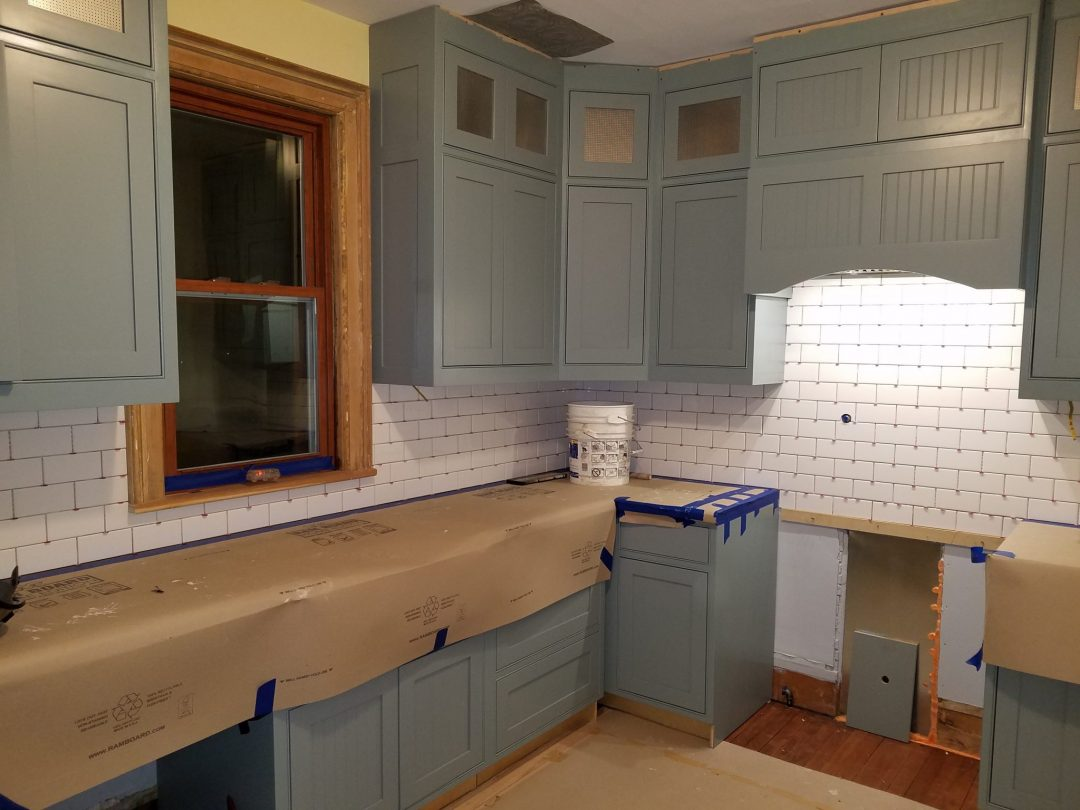
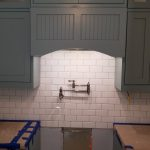
Subway Tile Backsplash Installation
Now that the countertops are in, the subway tile backsplash can be installed.
Grout (sanded): Tec Power Grout (in 908 Dove Gray). 1/8″ gaps. We selected “sanded”, as the non-sanded is smooth, and looks more like a caulked finish.
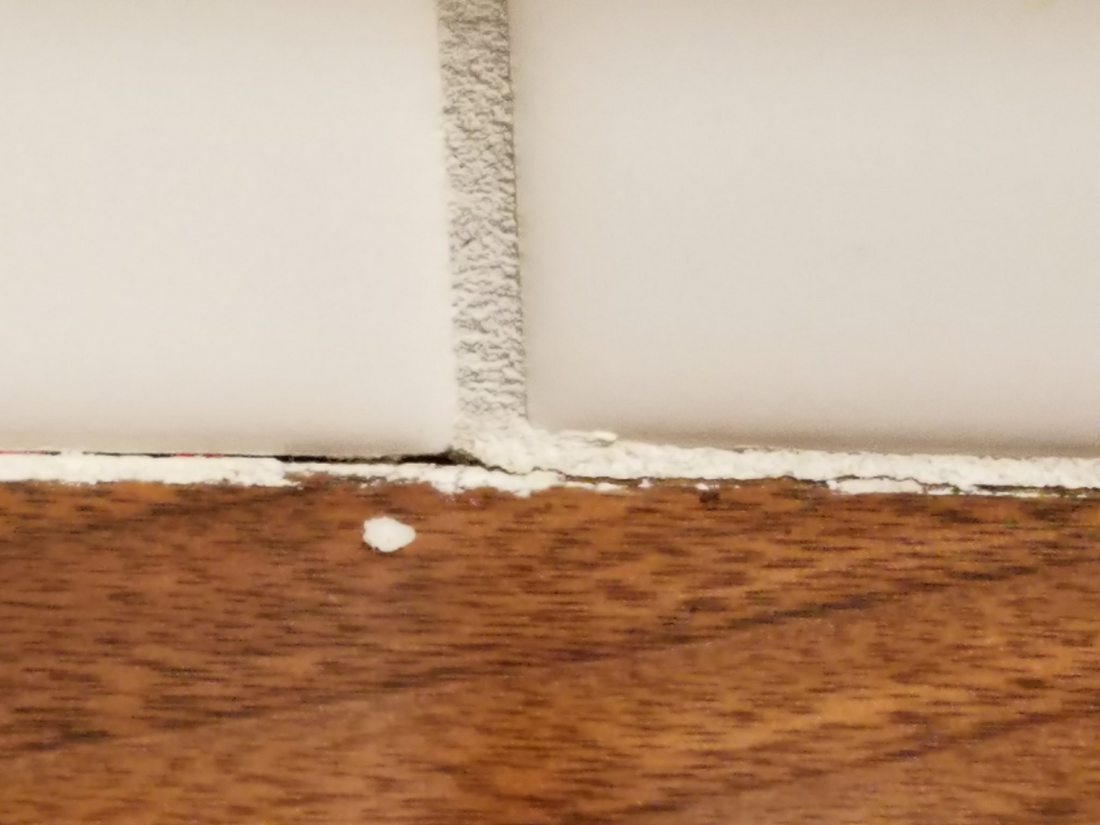
Expectations with the wood countertop: Wood expands and contracts, especially new wood. So…some cracking/loosening of the grout is to be expected where the tile meets the countertop. The Tec “power” grout has an additional polymer/epoxy that keeps it from crumbling, unlike the standard grout. It will still crack a bit, for at least the first few expansion/contraction cycles. So wait a while before repairing. You have two options:
You can reapply a top coat of Tec Power Grout.
Buy a tube of 908 Dove Gray matching caulk, and caulk over the grout later on.
- My personal preference is to touch up the grout as I hate caulk, and the maintenance associated with it.
- Once the subway tile backsplash is grouted, make sure to seal it with at least TWO applications of grout sealer. This will help retain it’s color, resist stains and discoloration. Follow up every 2-3 years to keep the grout looking fresh.
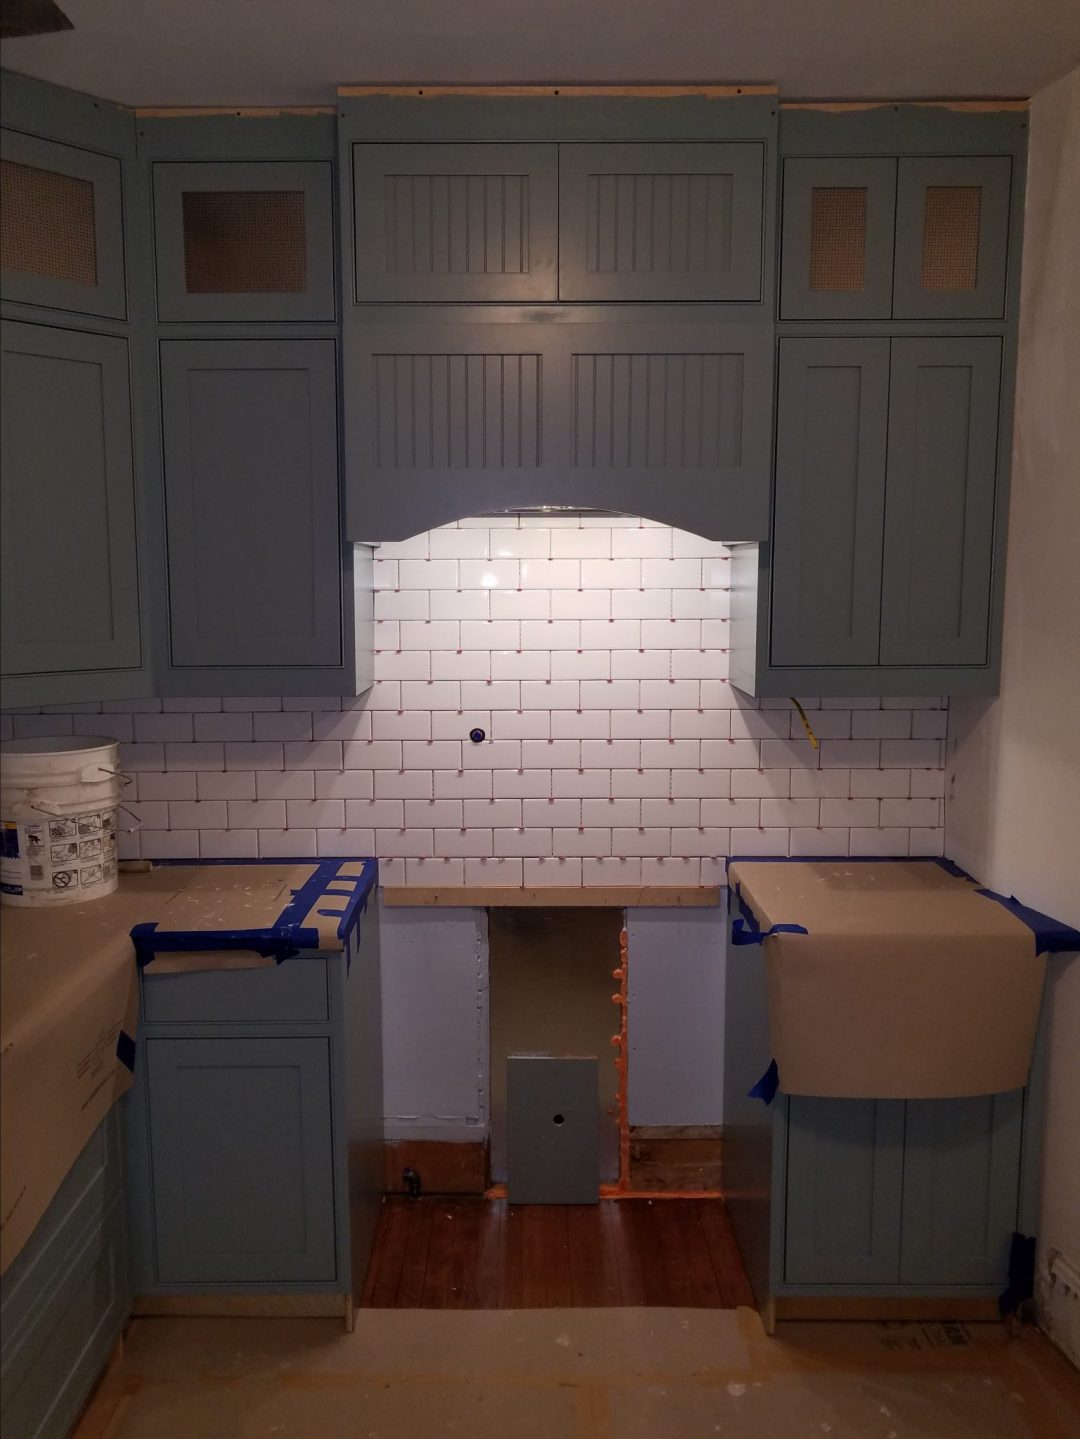
Tile board up and ready for tile Tile and spacers installed
Grout applied
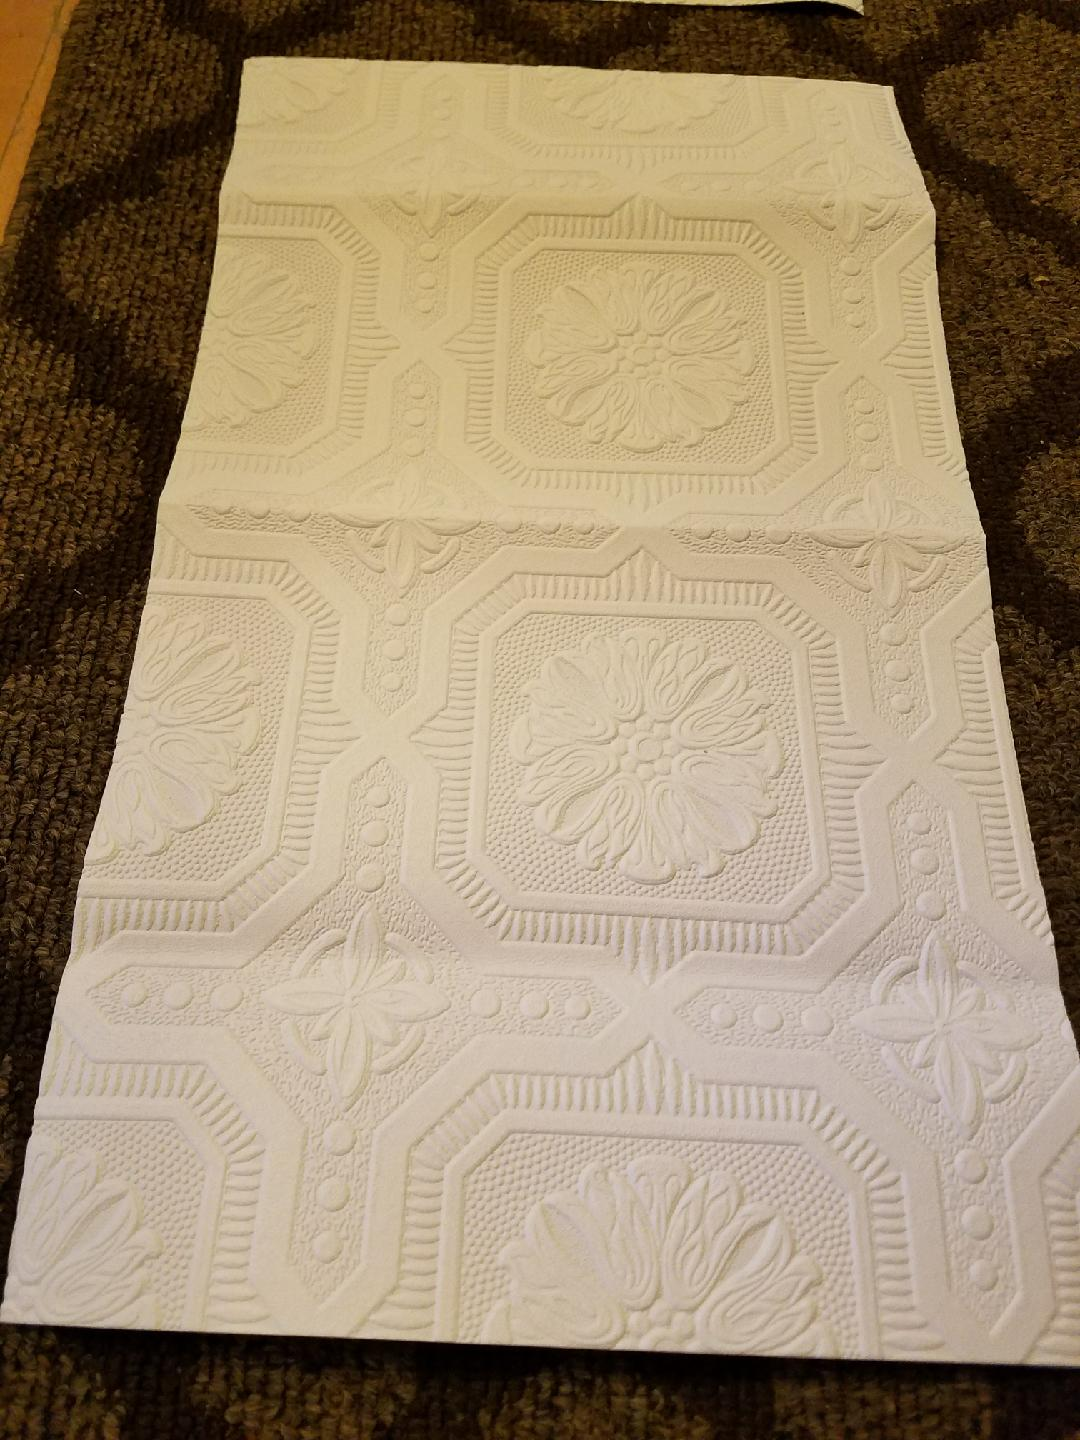
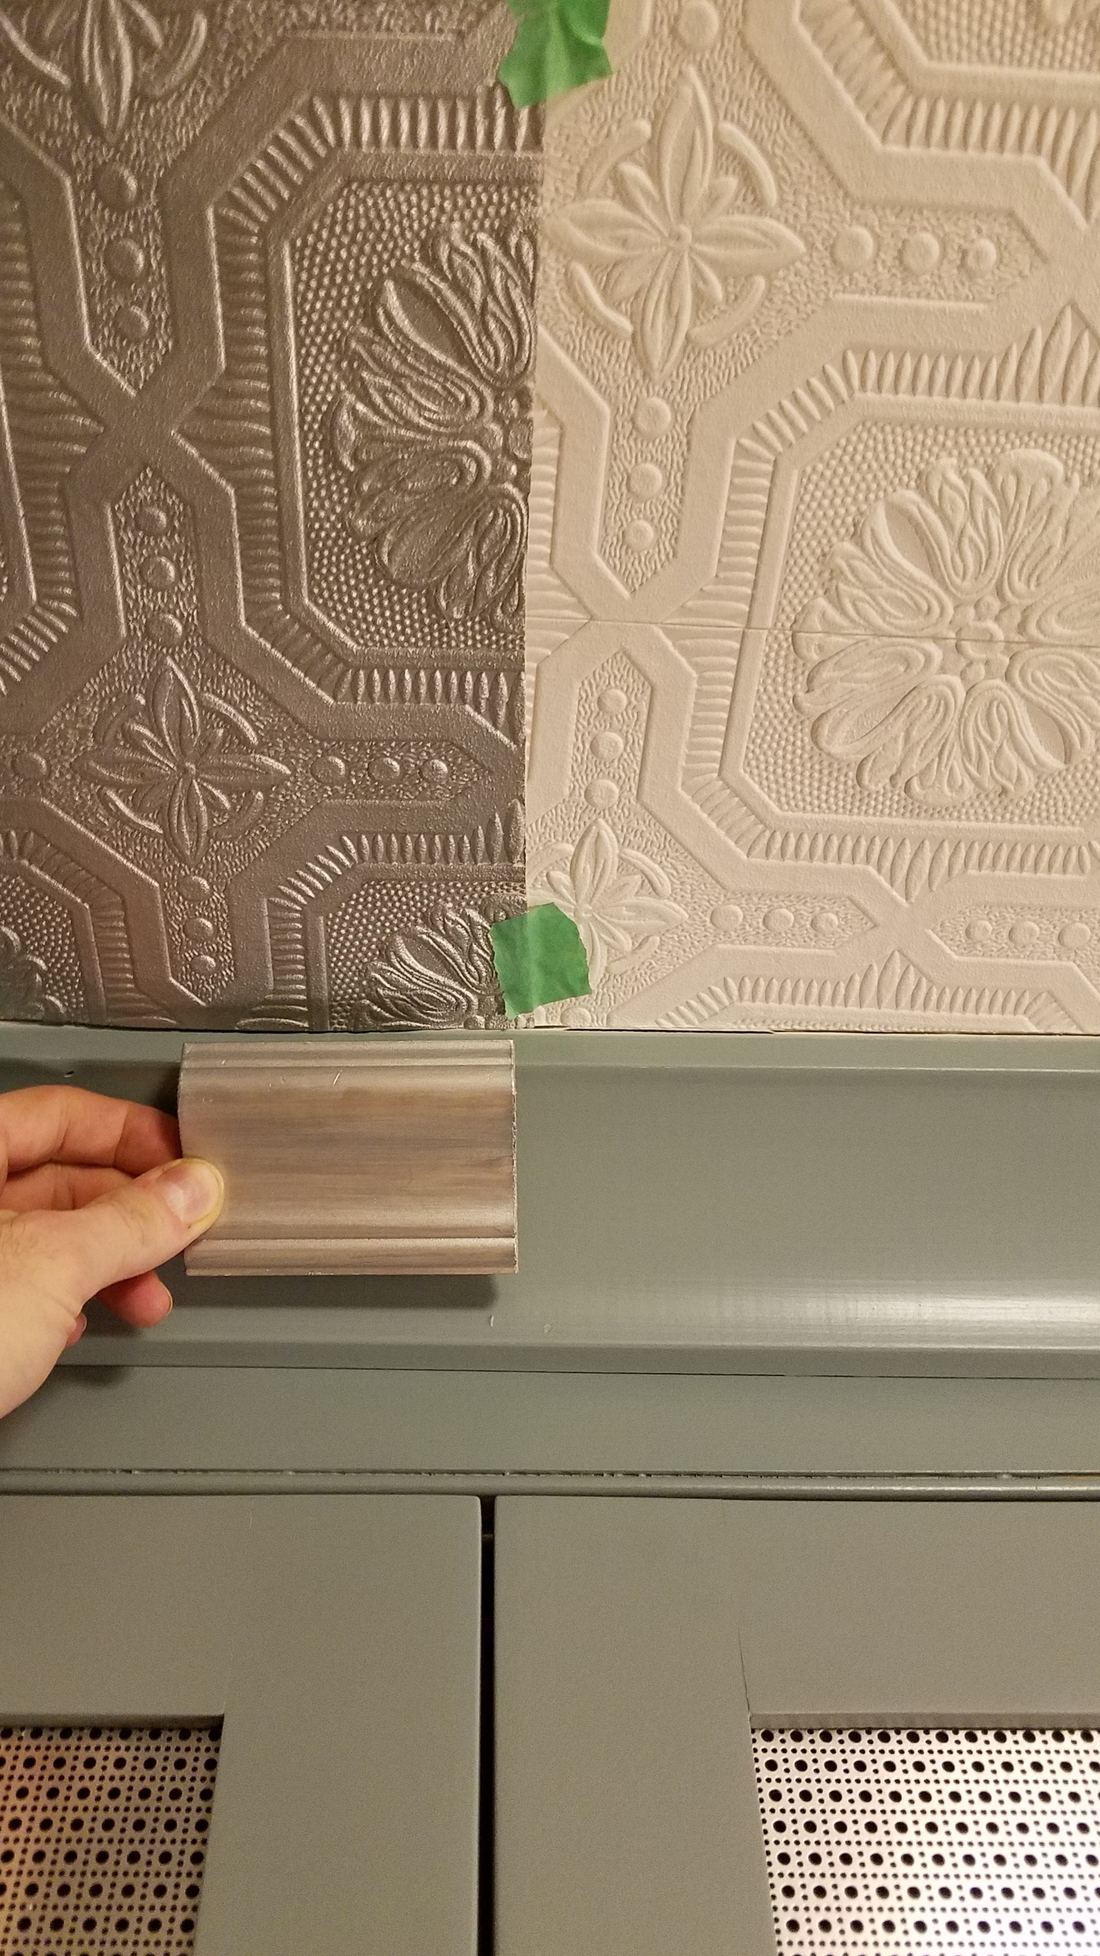
“Pressed Tin” Look – Anaglypta Wallpaper Ceiling Installation
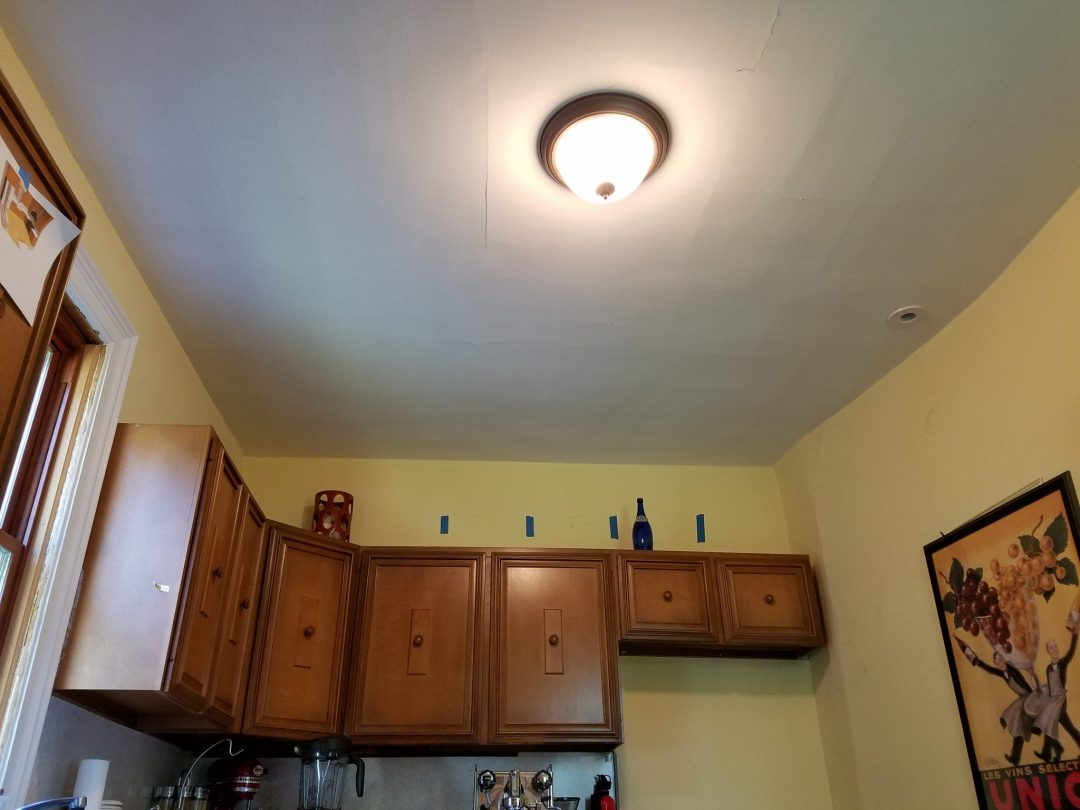
- Our plaster ceilings were in decent shape (no major loose sections), but had many cracks.
- We wanted to “kick it up a notch” as most often the ceiling is neglected during renovations, especially kitchens!
- We wanted a “Pressed Tin” look to finish the Farmhouse kitchen remodel. The true “Tin” ceilings were out of our budget, and a little too “In your face” for our 1890 Folk Victorian.
- The Solution: Anaglypta Vinyl Wallpaper
- It was a few hundred dollars for the paper and installation. We ended up with a pretty classy ceiling for a little less than $500!
Kitchen Remodel – Pressed Tin-look Ceiling
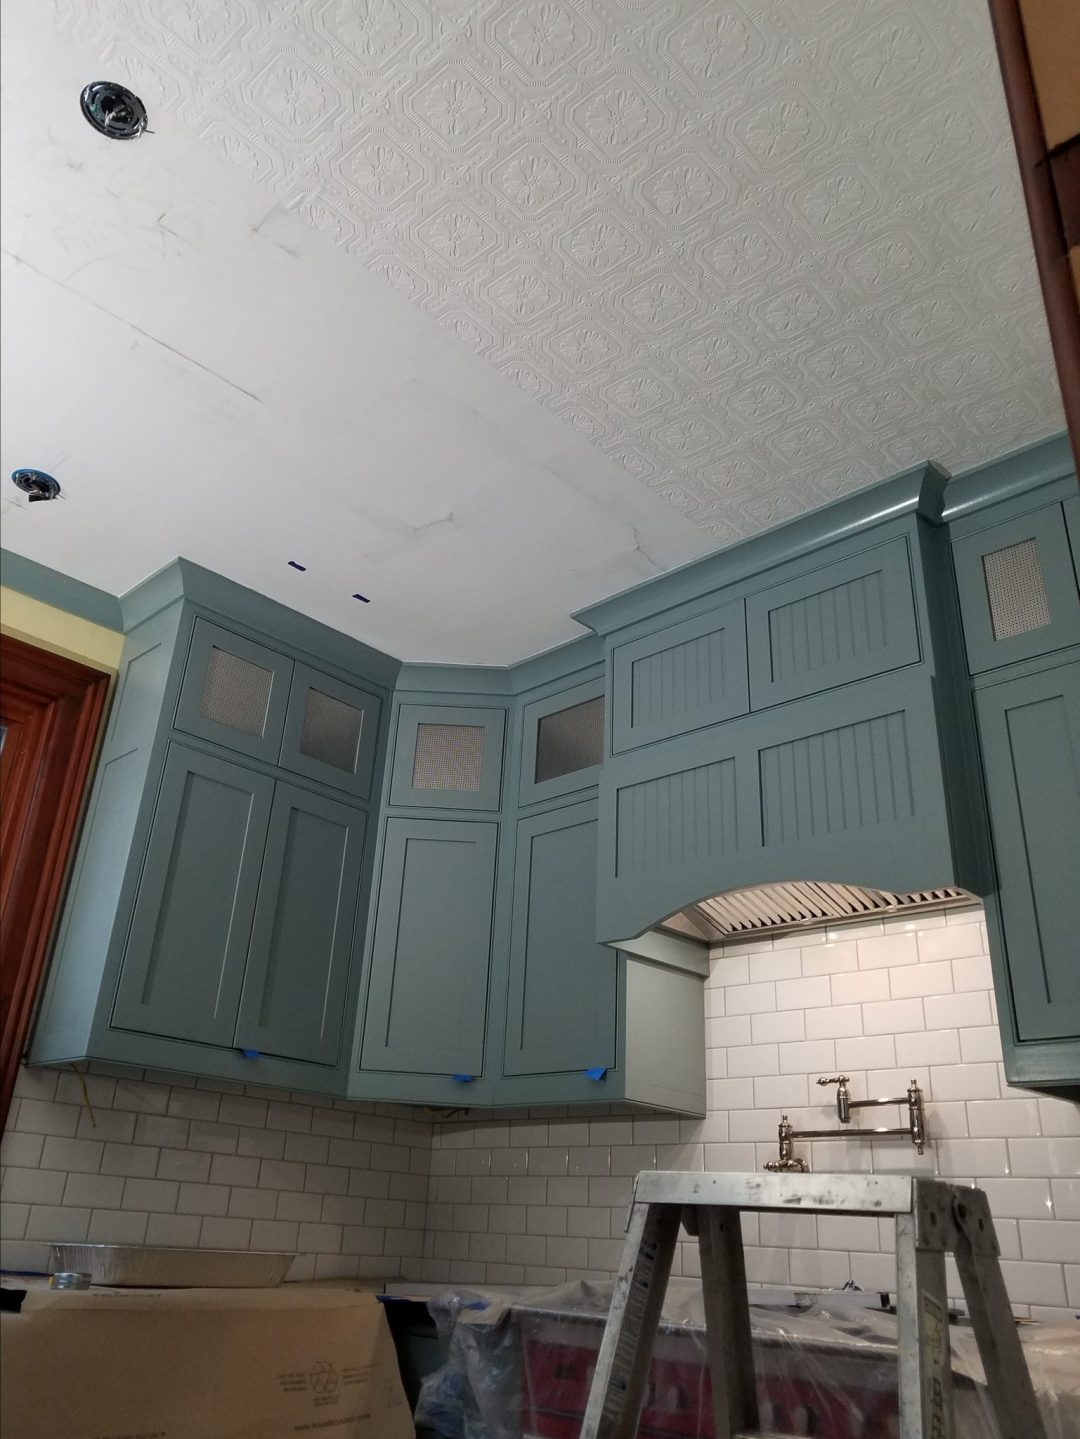
Kitchen Remodel – Pressed Tin-look Ceiling
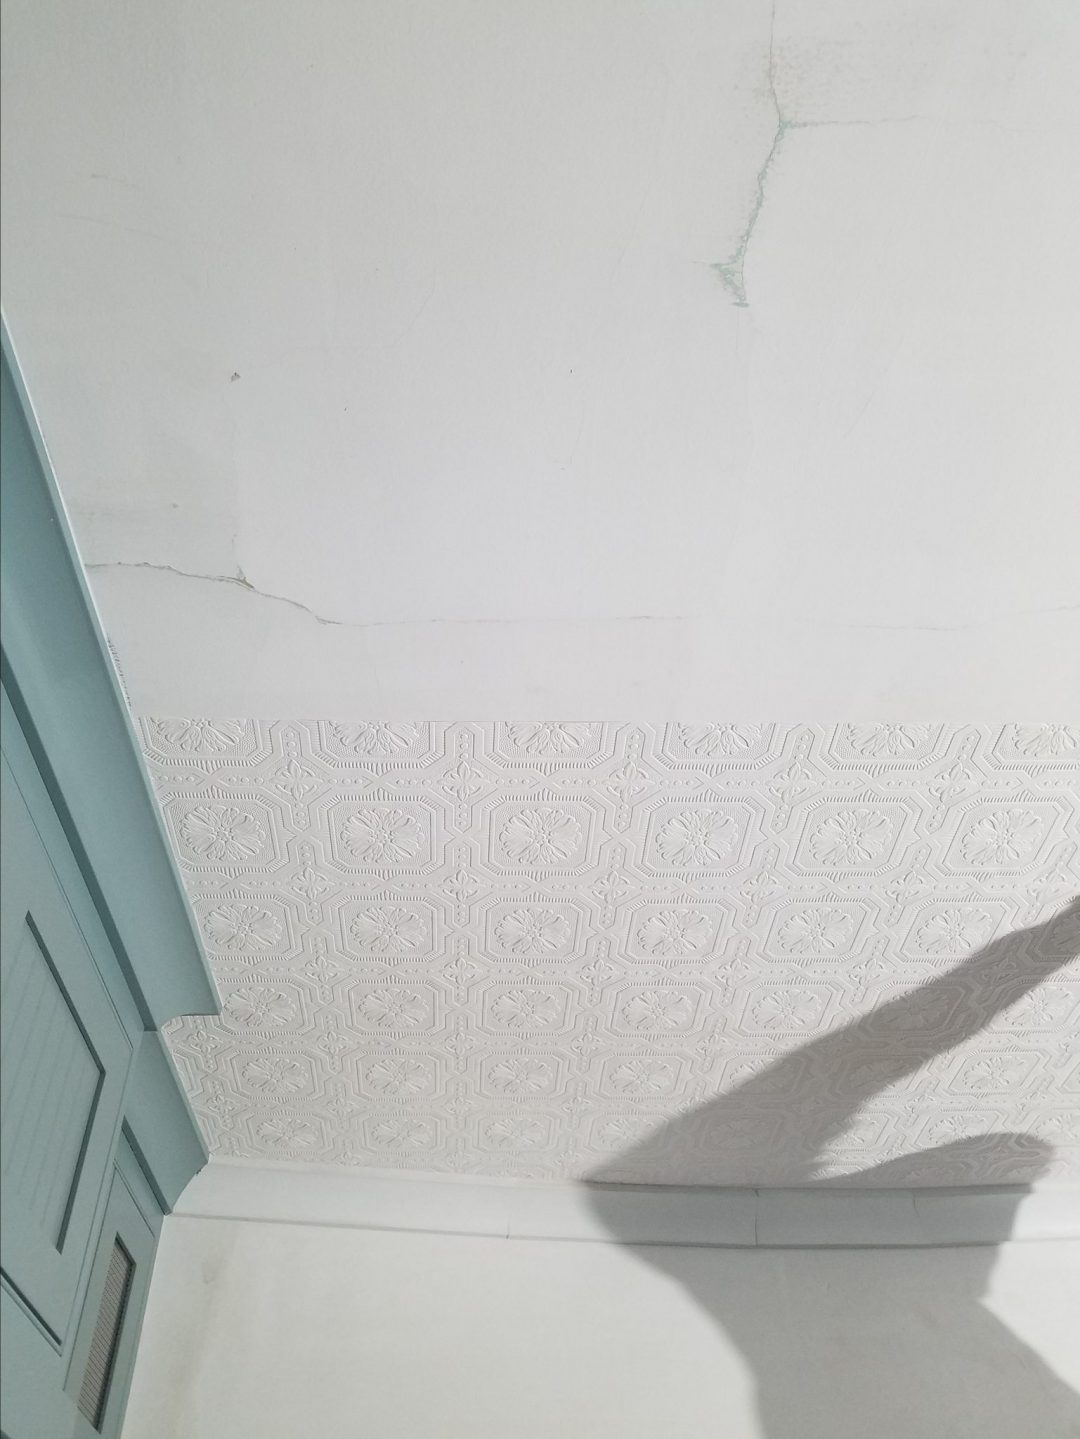
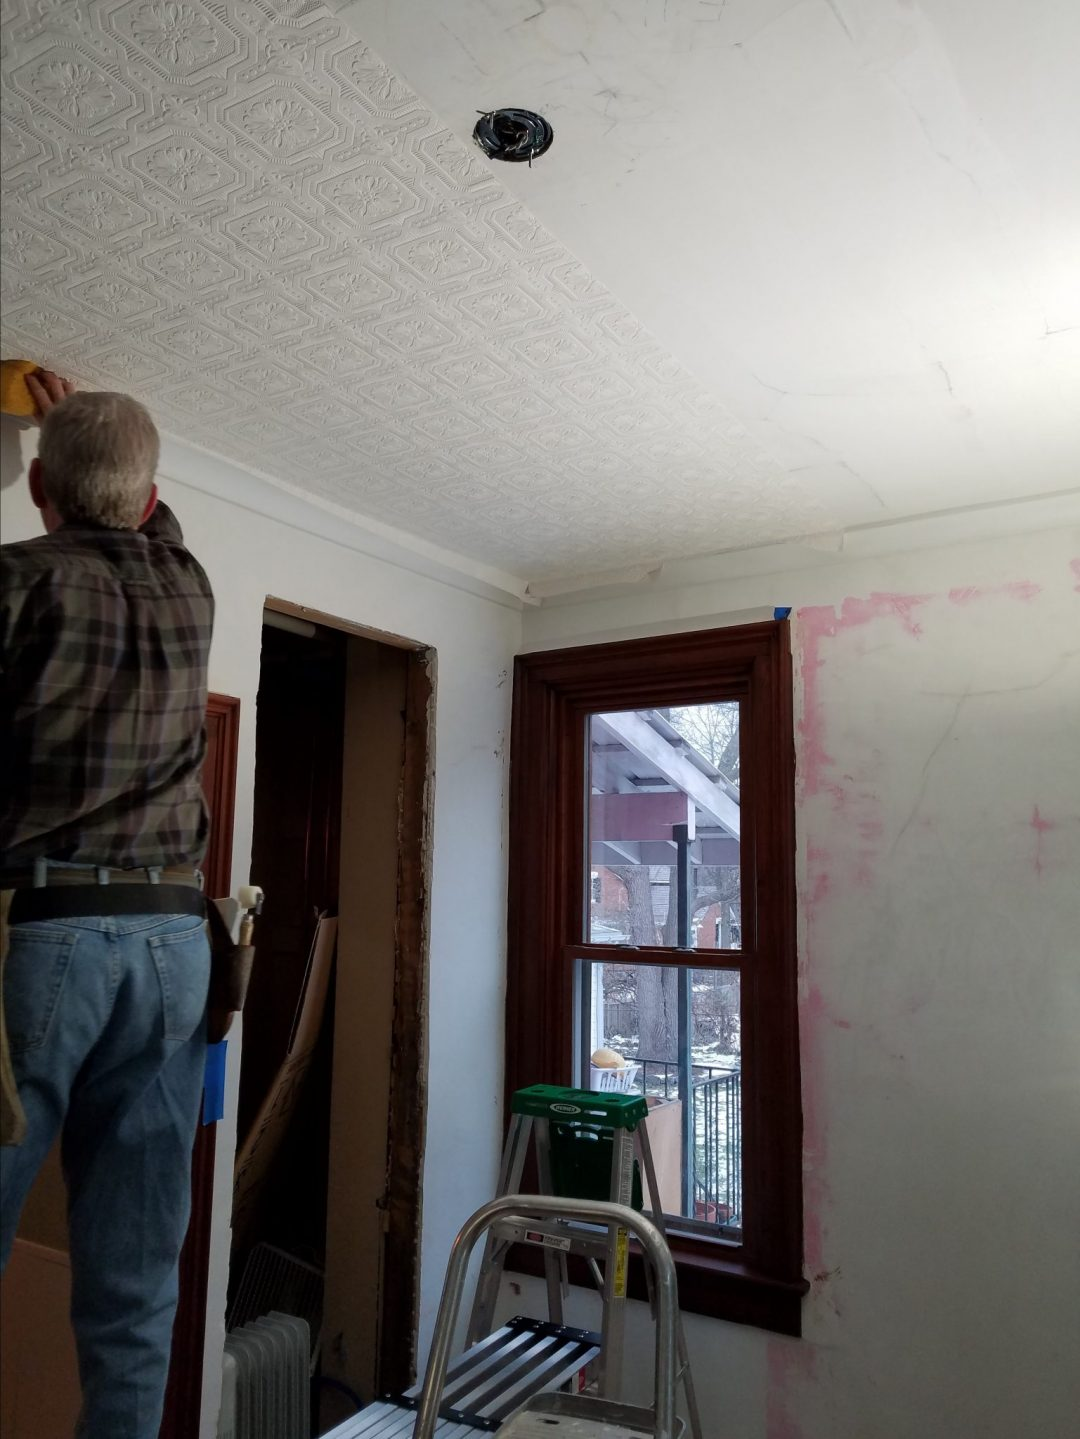
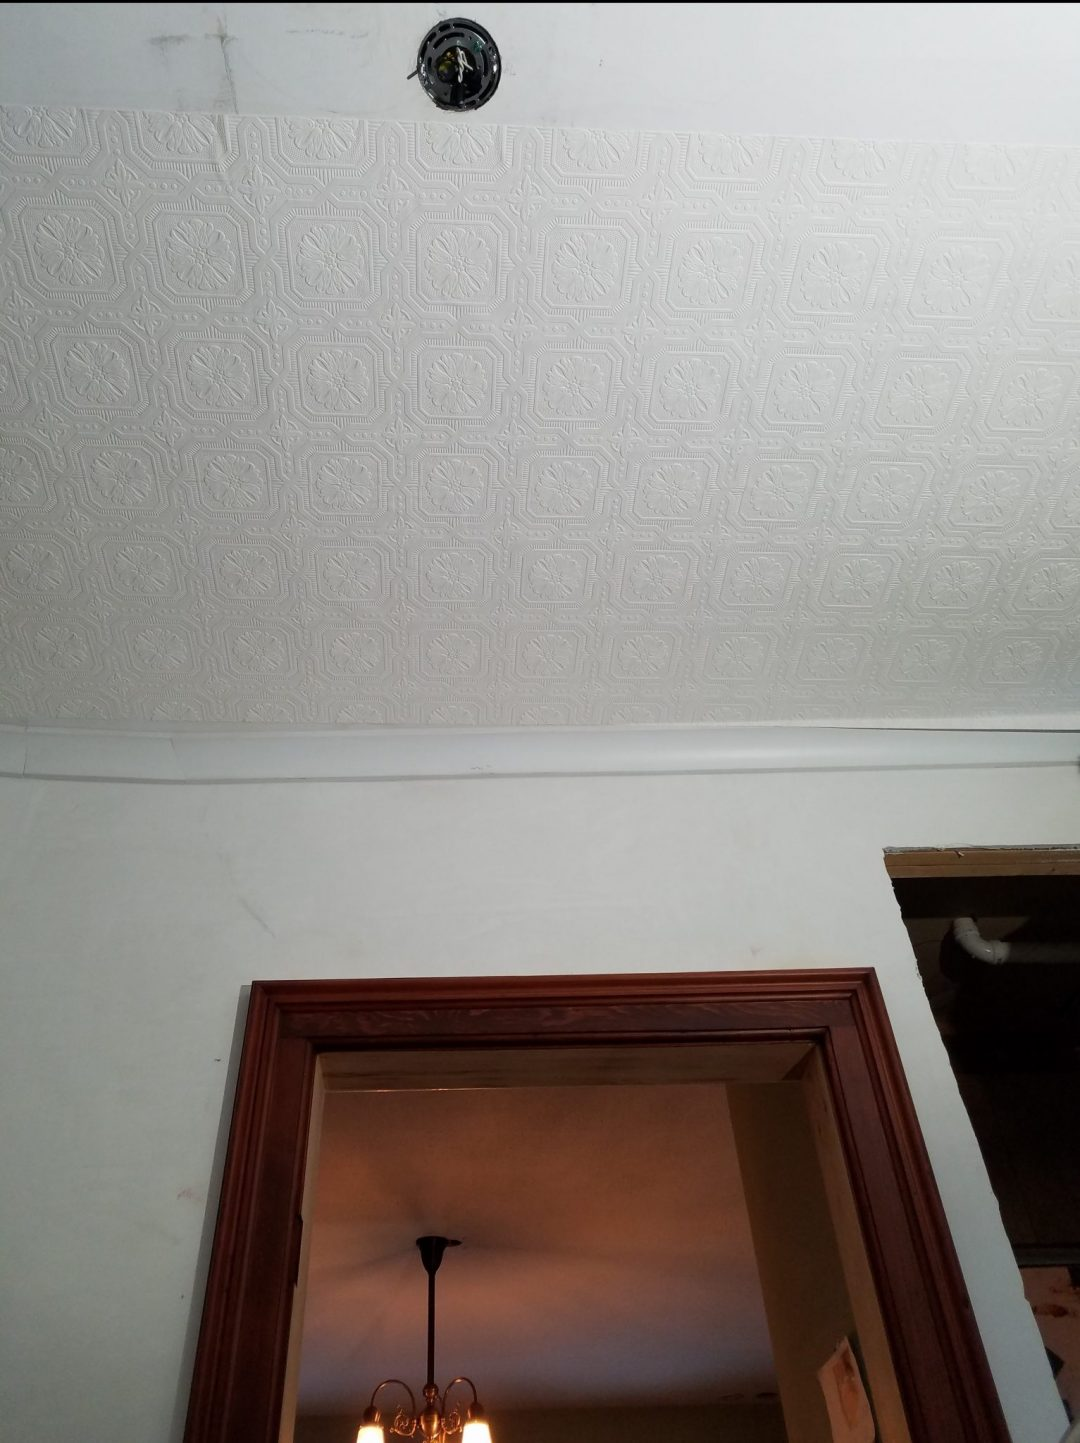
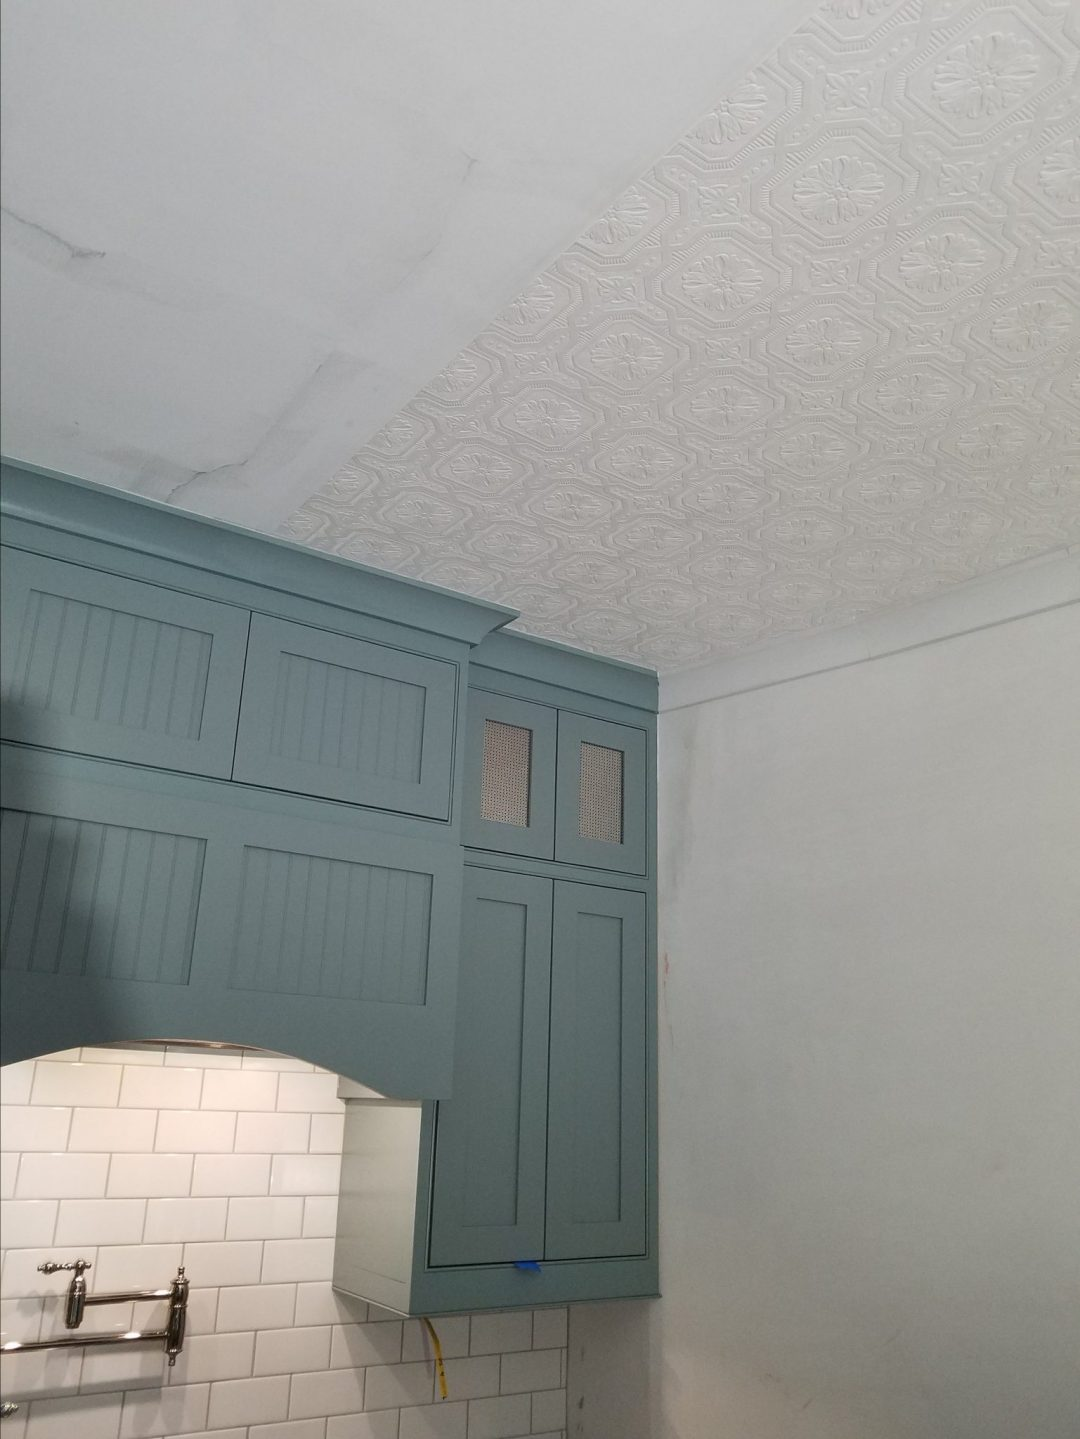
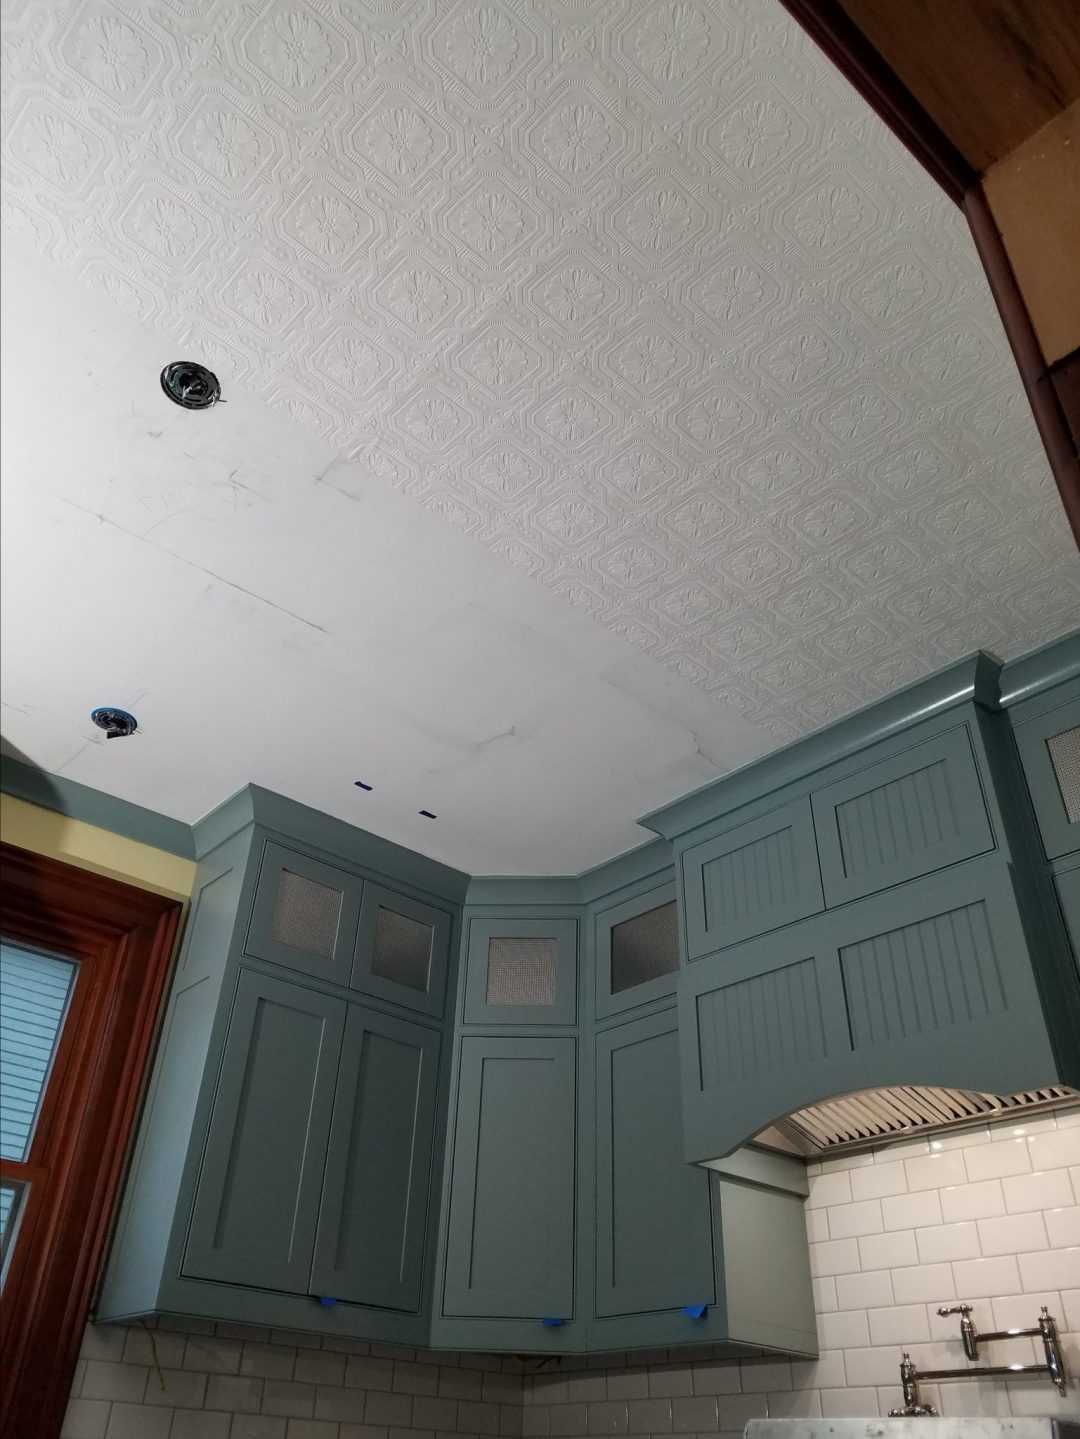
Kitchen Remodel – Pressed Tin-look Ceiling
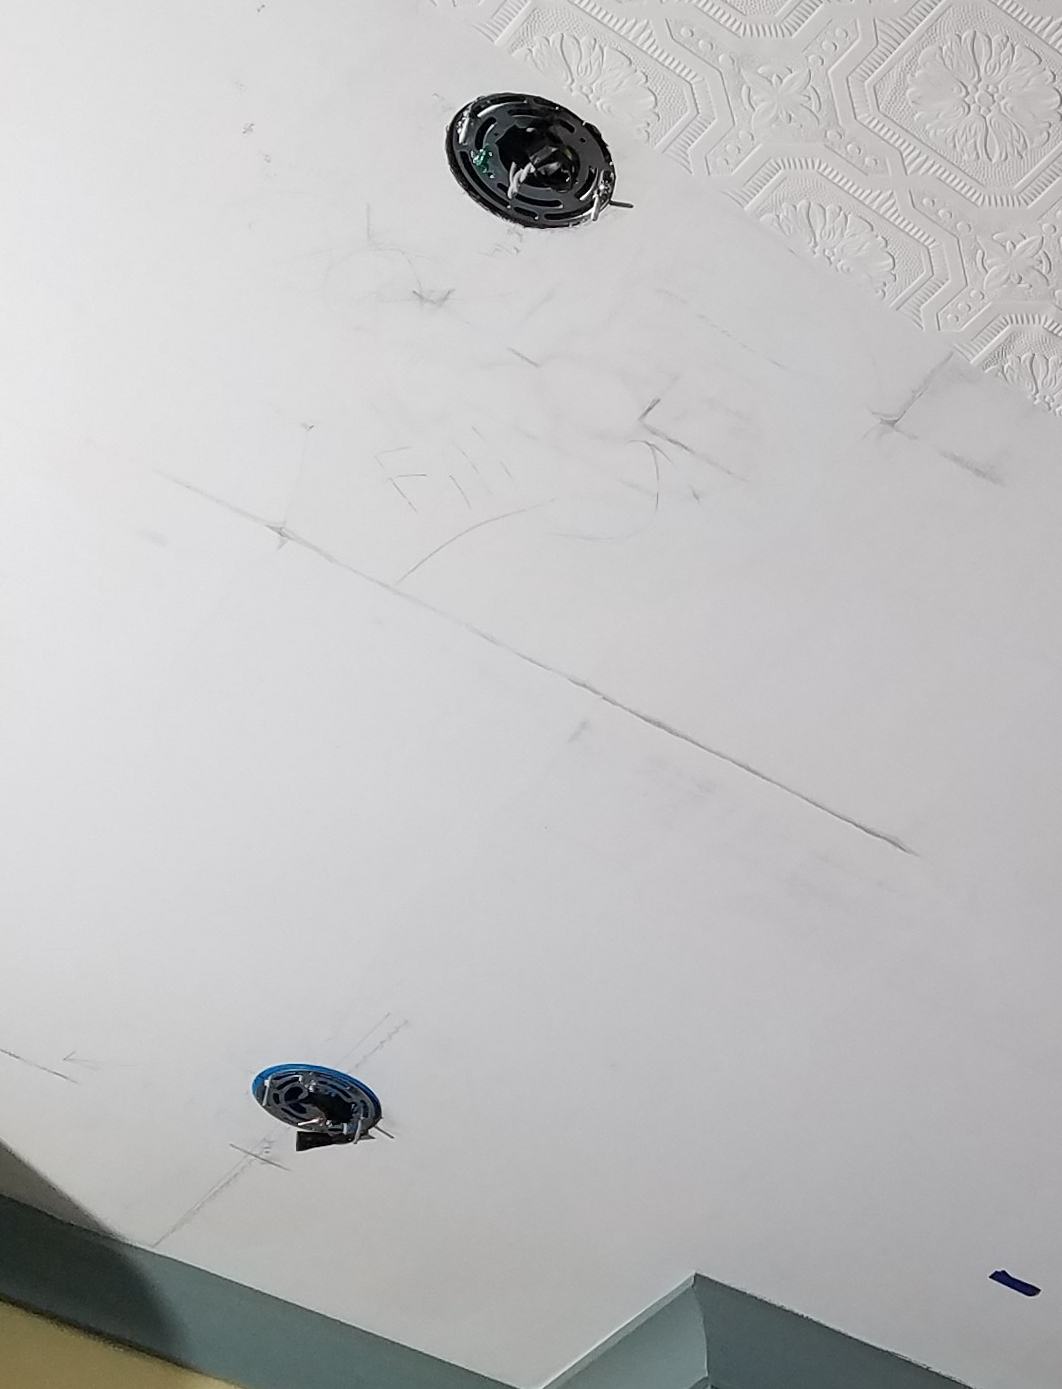
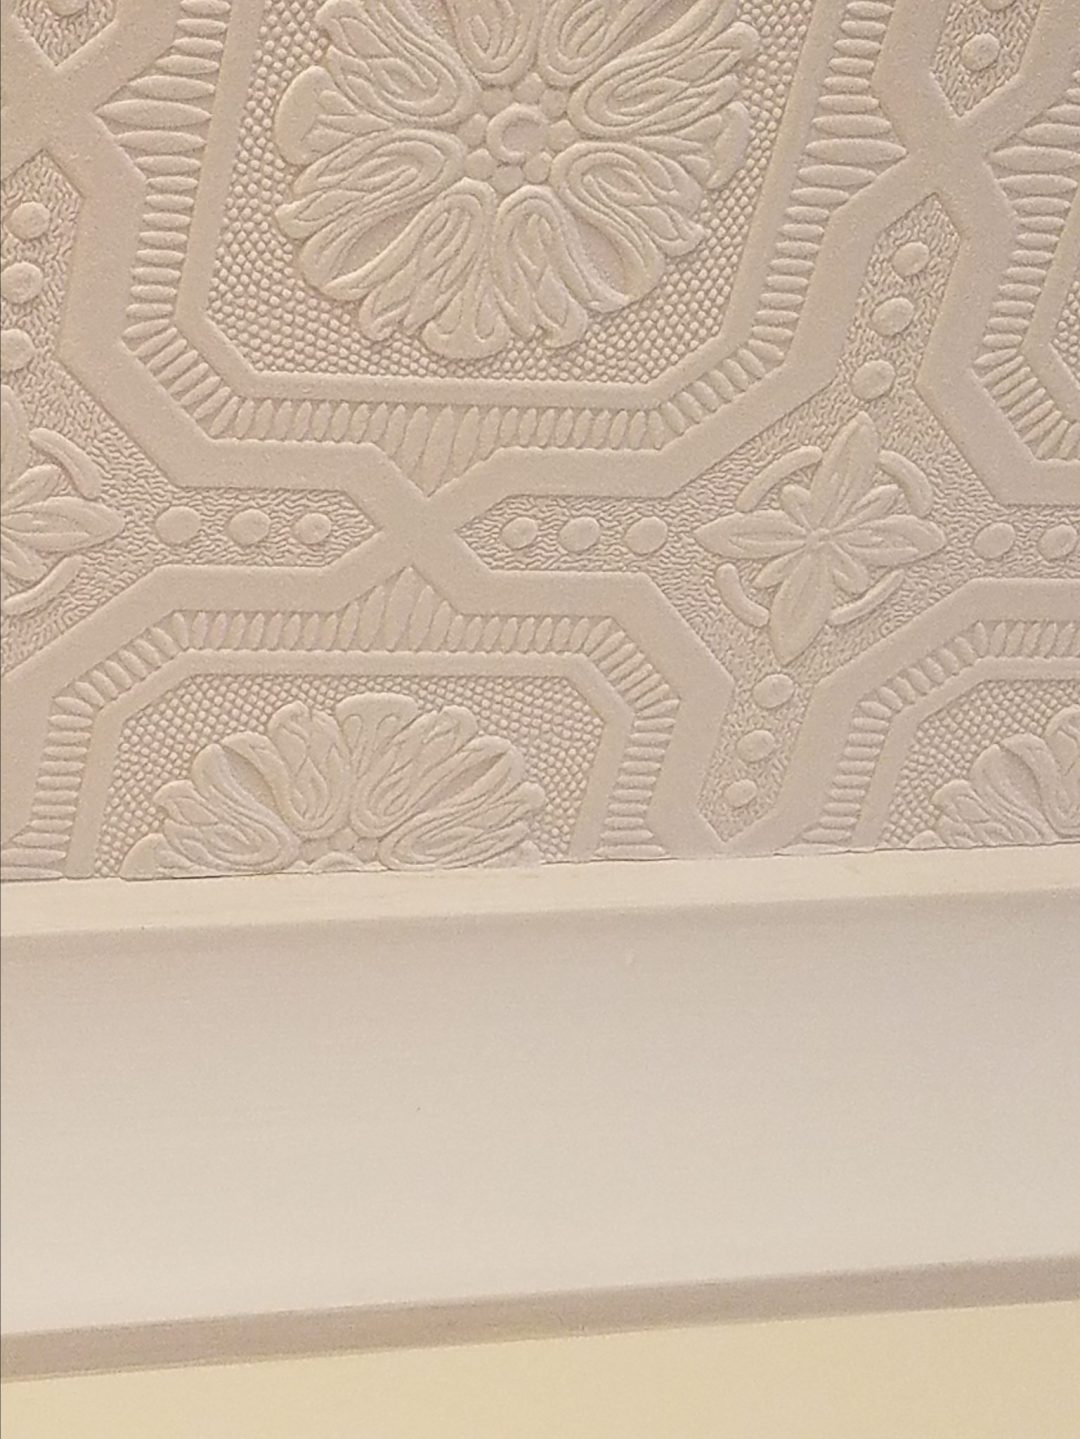
Kitchen Remodel – Pressed Tin-look Ceiling
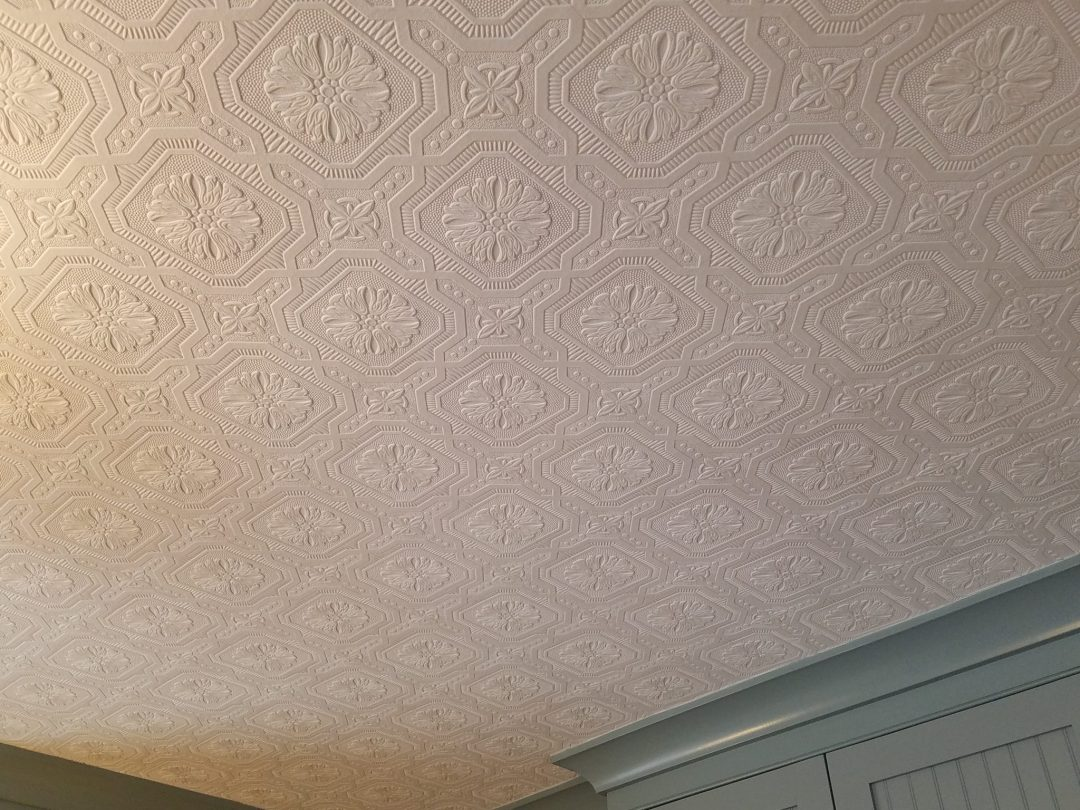
Kitchen Remodel – Pressed Tin-look Ceiling
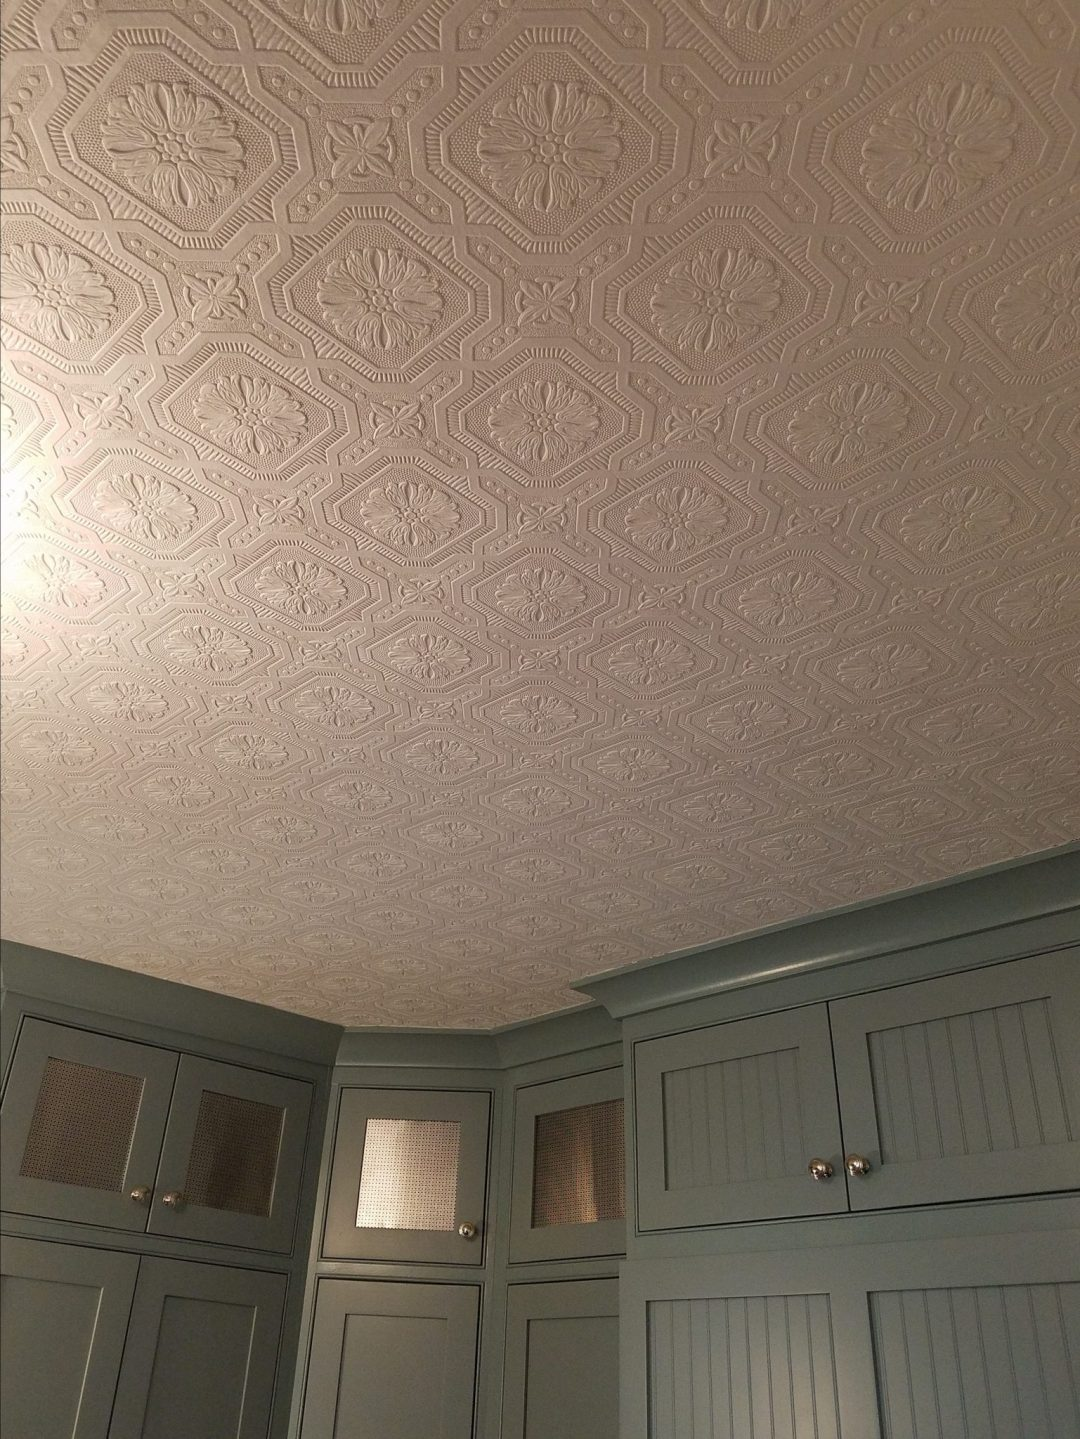
Kitchen Remodel – Pressed Tin-look Ceiling
Ceiling Wallpaper Painted
Final Electrical, Task Lighting, and Fixtures
Per the kitchen remodel planning and layout, it’s time to finish off all the final electrical boxes, receptacles, light switches, fixtures, and wall plates.
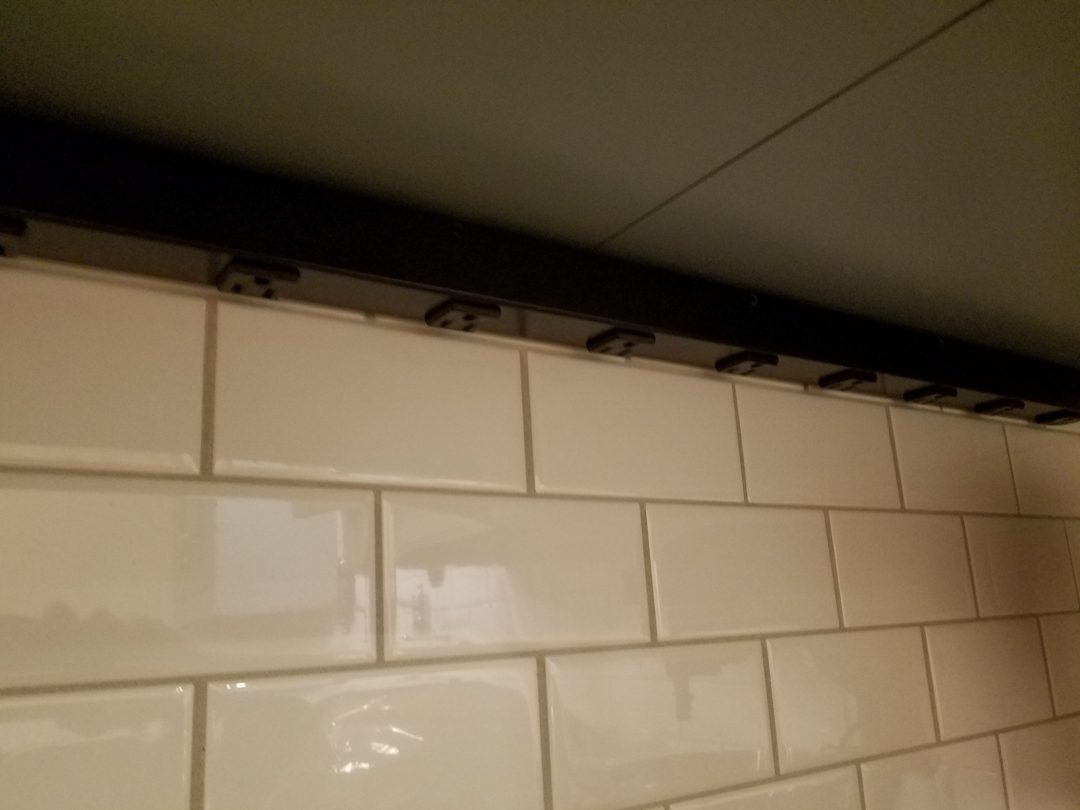
- Install countertop appliance power strips – (2, 20A, GFCI breaker at the main panel ). To accomplish a “clean” backsplash look, I modified four separate power strips to run the entire length of the cabinet sections. To hide them, they mount up under the cabinet, behind the LED task lighting, and are hidden by the kitchen cabinet front apron – CHECK OUT THE BLOG and VIDEO TUTORIAL HERE
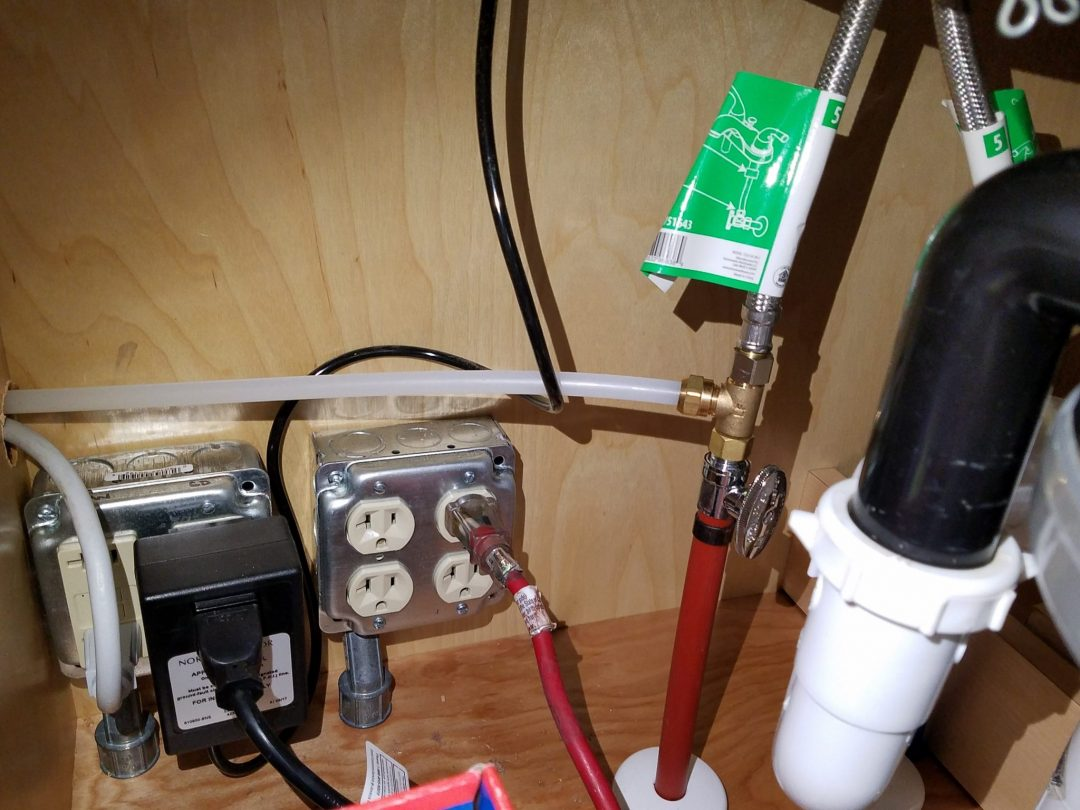
- Install the electrical boxes and receptacles under the sink: (From the left) – Dishwasher (20A GFCI), Garbage Disposal (20A ,GFCI), Cabinet Lighting (20A), Spare (20A).
- Install the electrical box and receptacle in the cabinet over the refrigerator: Microwave alternate (20A, GFCI).
- Install refrigerator receptacle: 20A
- Install range hood and cabinet lighting electrical boxes and receptacles: (from the left) – Spare (20A), Cabinet Lighting (20A), Range Hood (20A), Spare (20A).
- Install wall light switches and wall plate, 2 each – ceiling lights and cabinet lights.
- Install LED task and cabinet lighting: Four circuits, with their power supplies, plug into 110v outlets laid out across the room (as described above). This applies to the task lighting (above counter), upper cabinets, and lower cabinets, for total lighting needs.
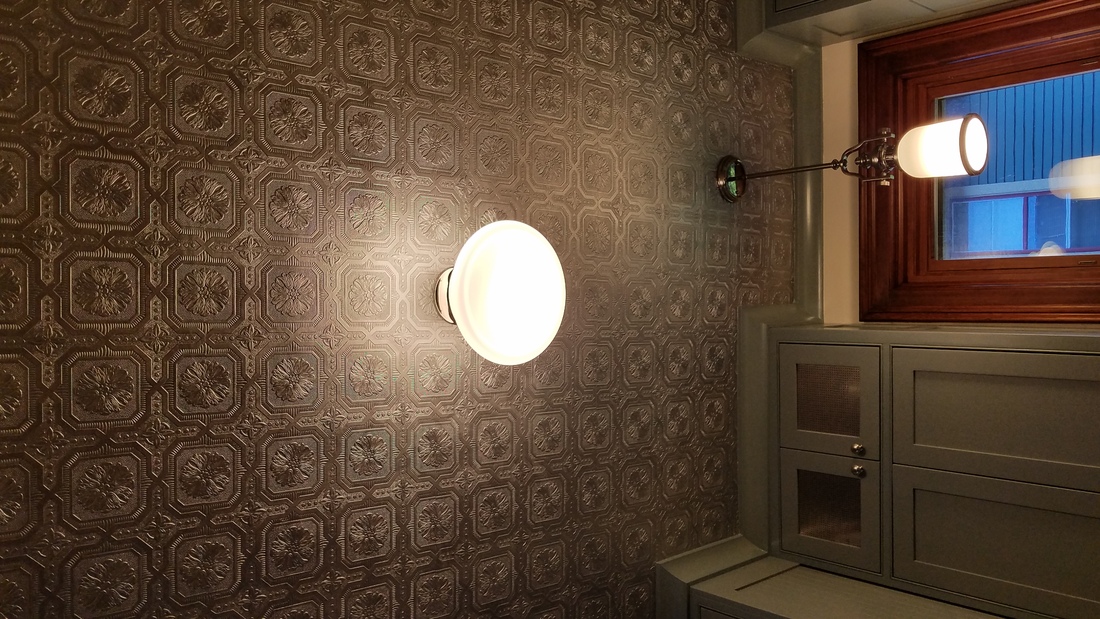
- Install pendant light over the farmhouse sink.
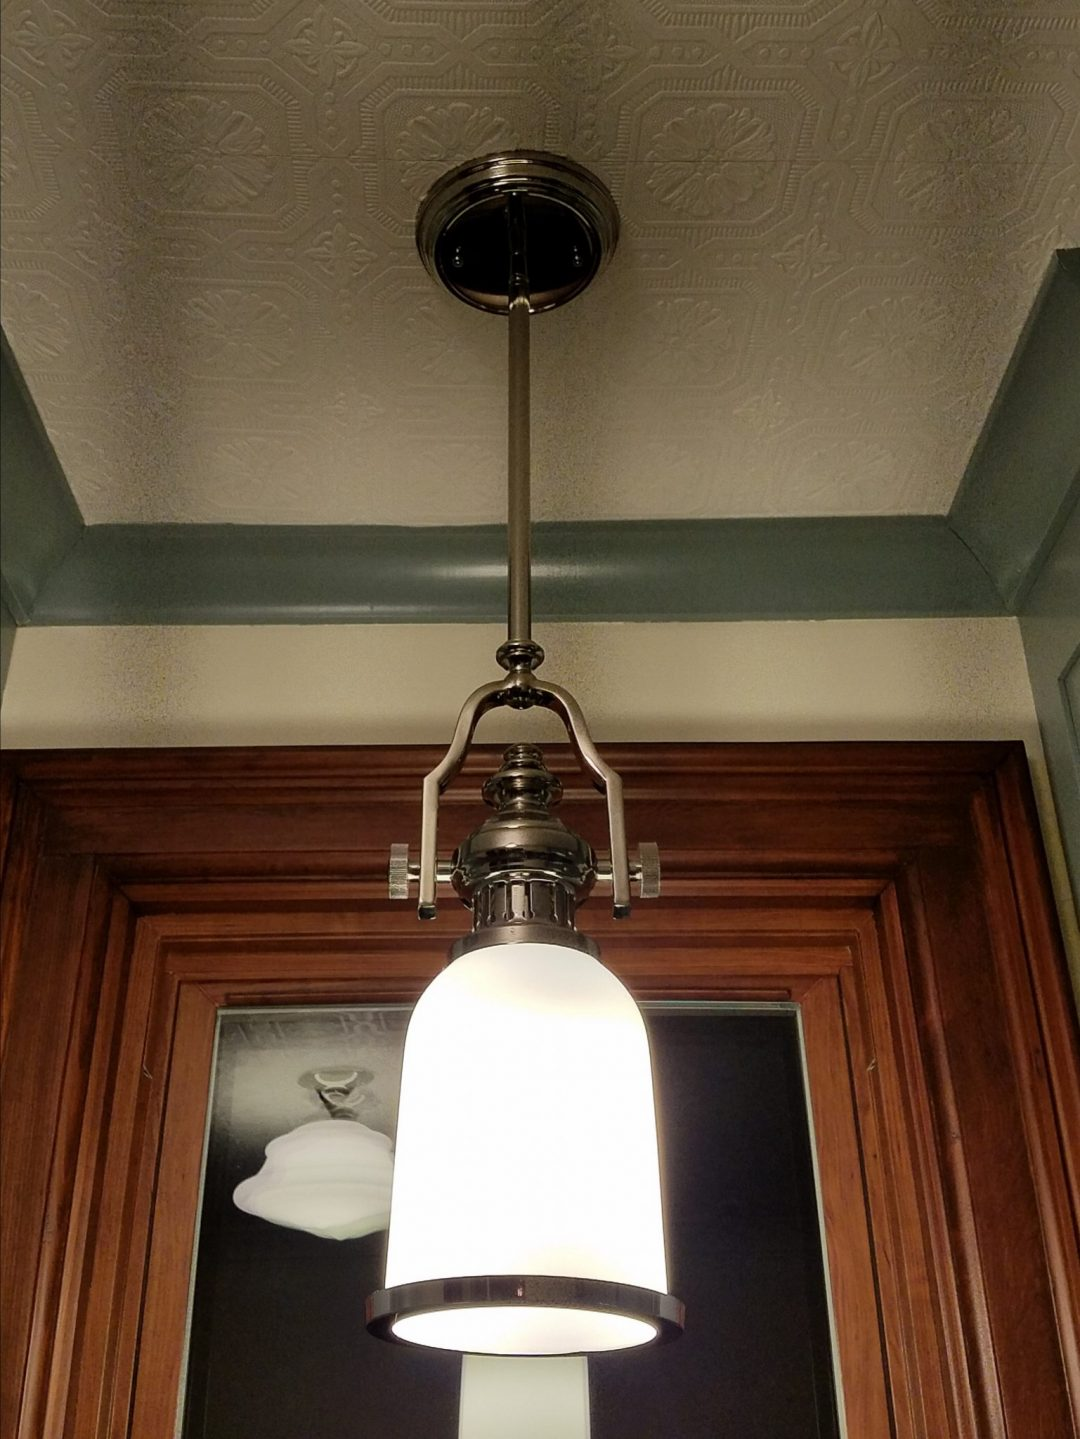
- Install a schoolhouse light in the center of the room.
- Ensure all circuits, connections, and receptacles are properly installed to code.
- Turn on all breakers at the main panel and check for proper function.
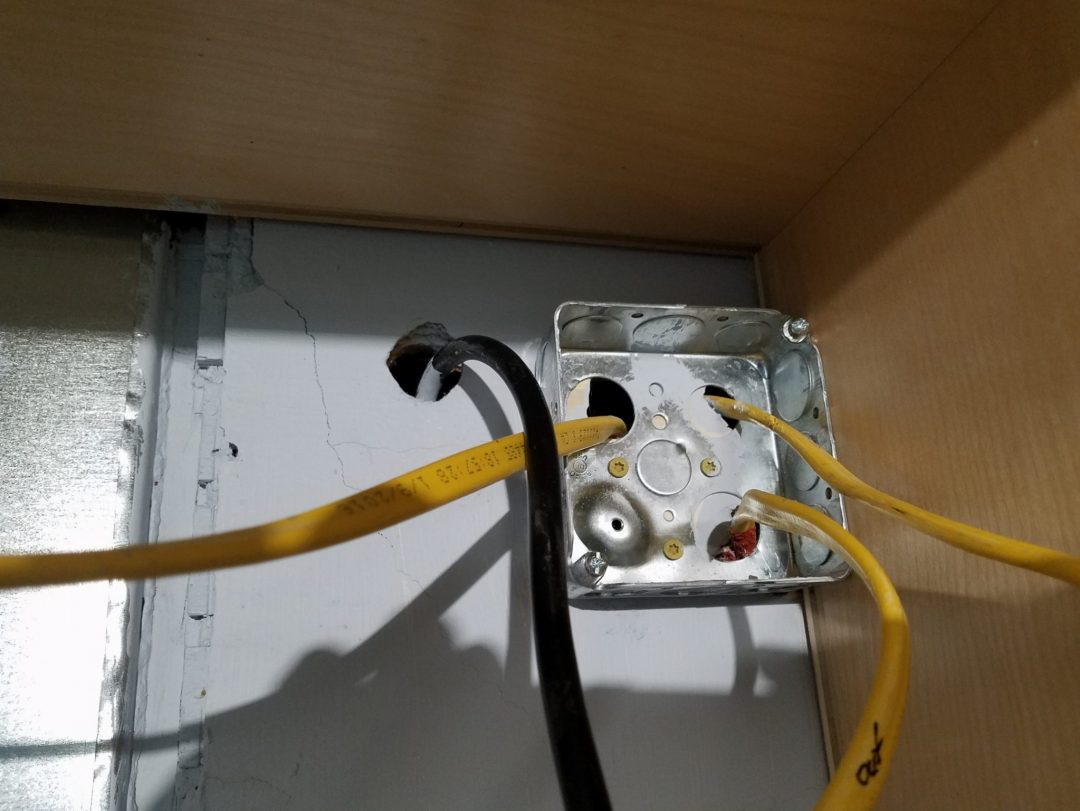
Range hood wiring
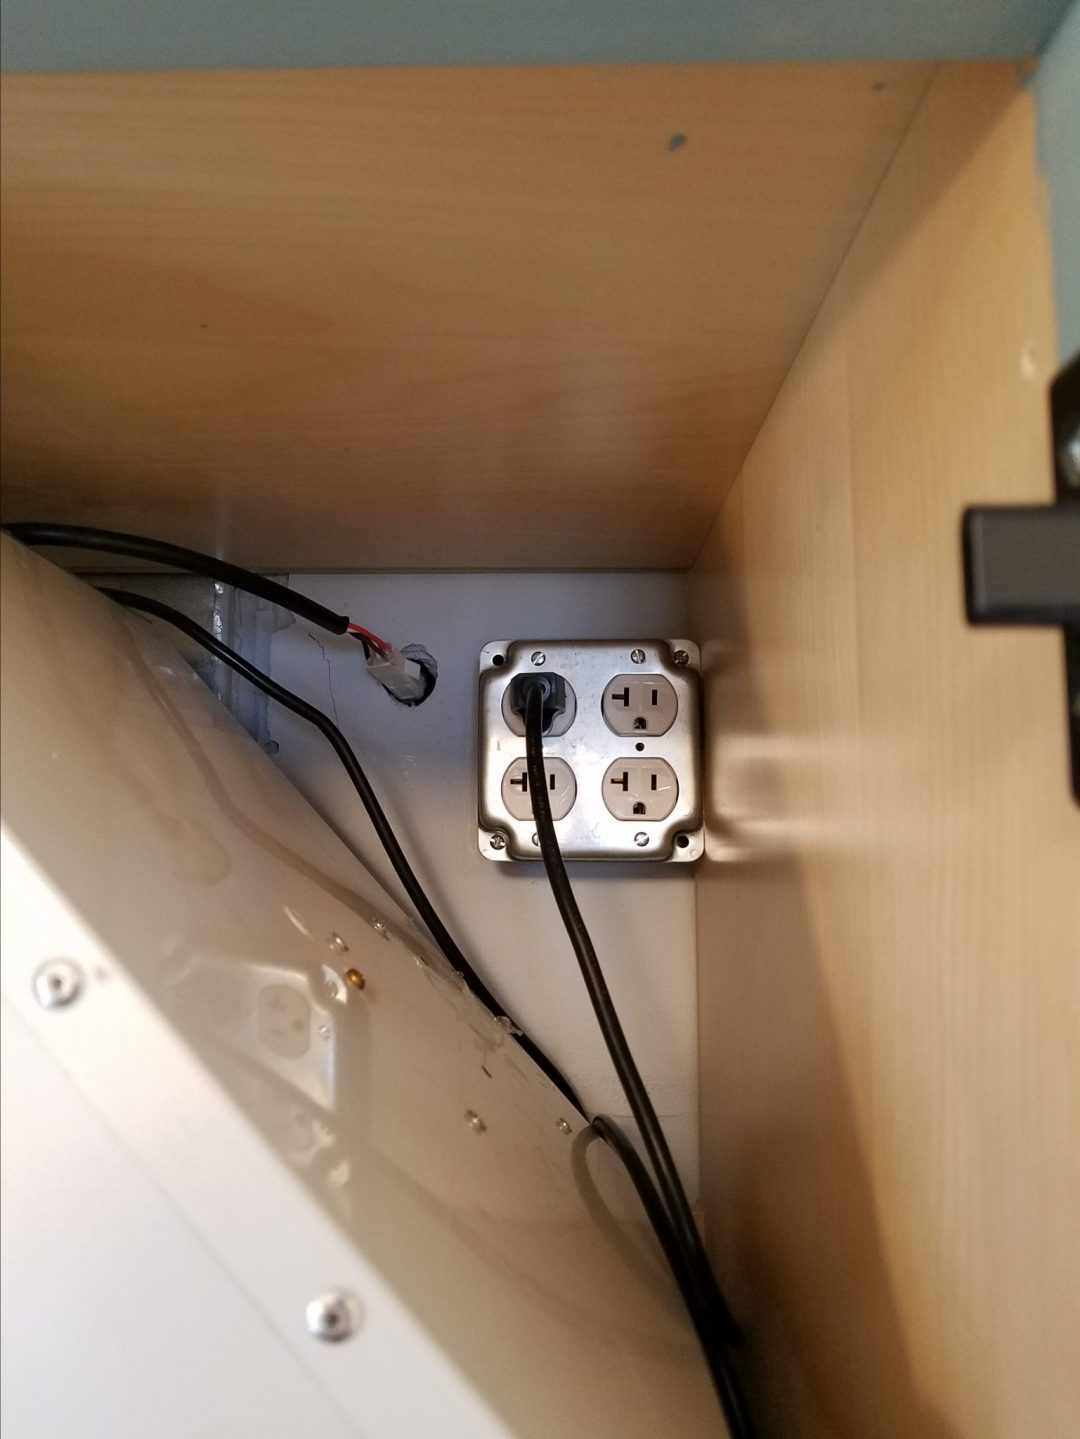
Range Hood receptacle
Circuits: Spare/Lights/Hood/Lights
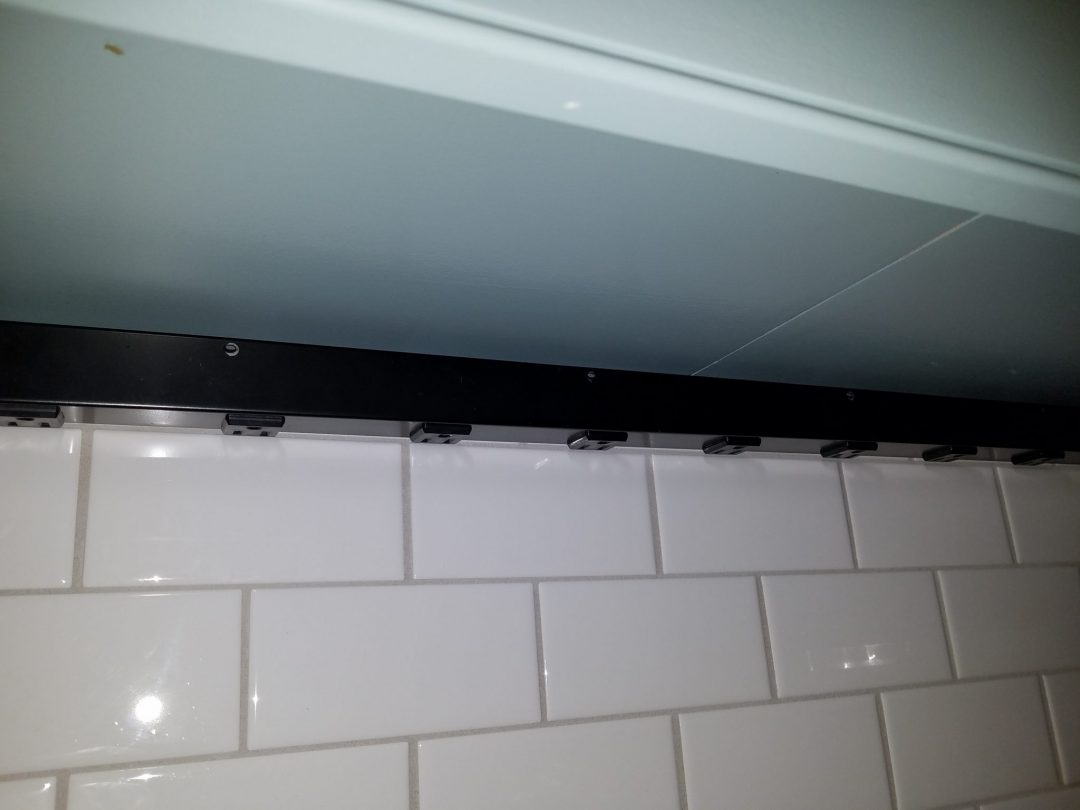
Customized plug strips (hidden)
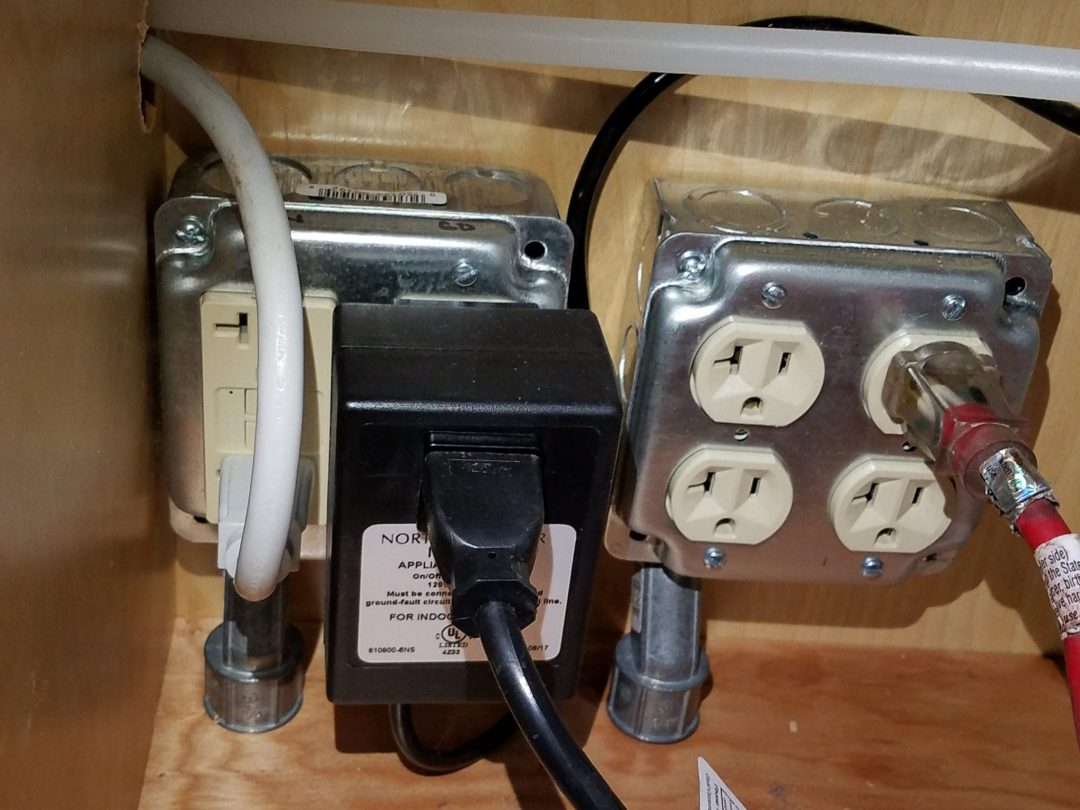
Electrical receptacles

LED Task lighting (under cabinet)
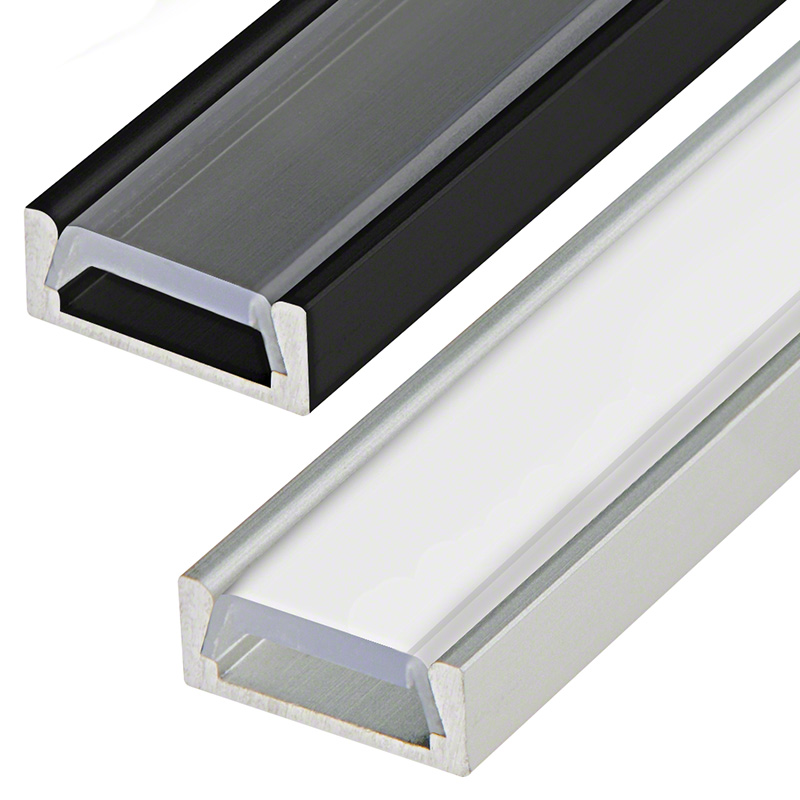
LED Diffusers
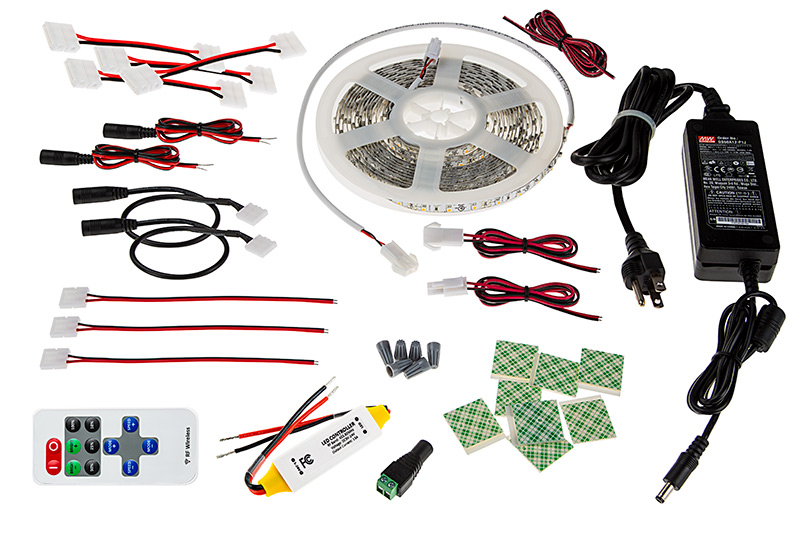
LED Kit

Kitchen Remodel – Schoolhouse light
Kitchen Remodel – Pendant light
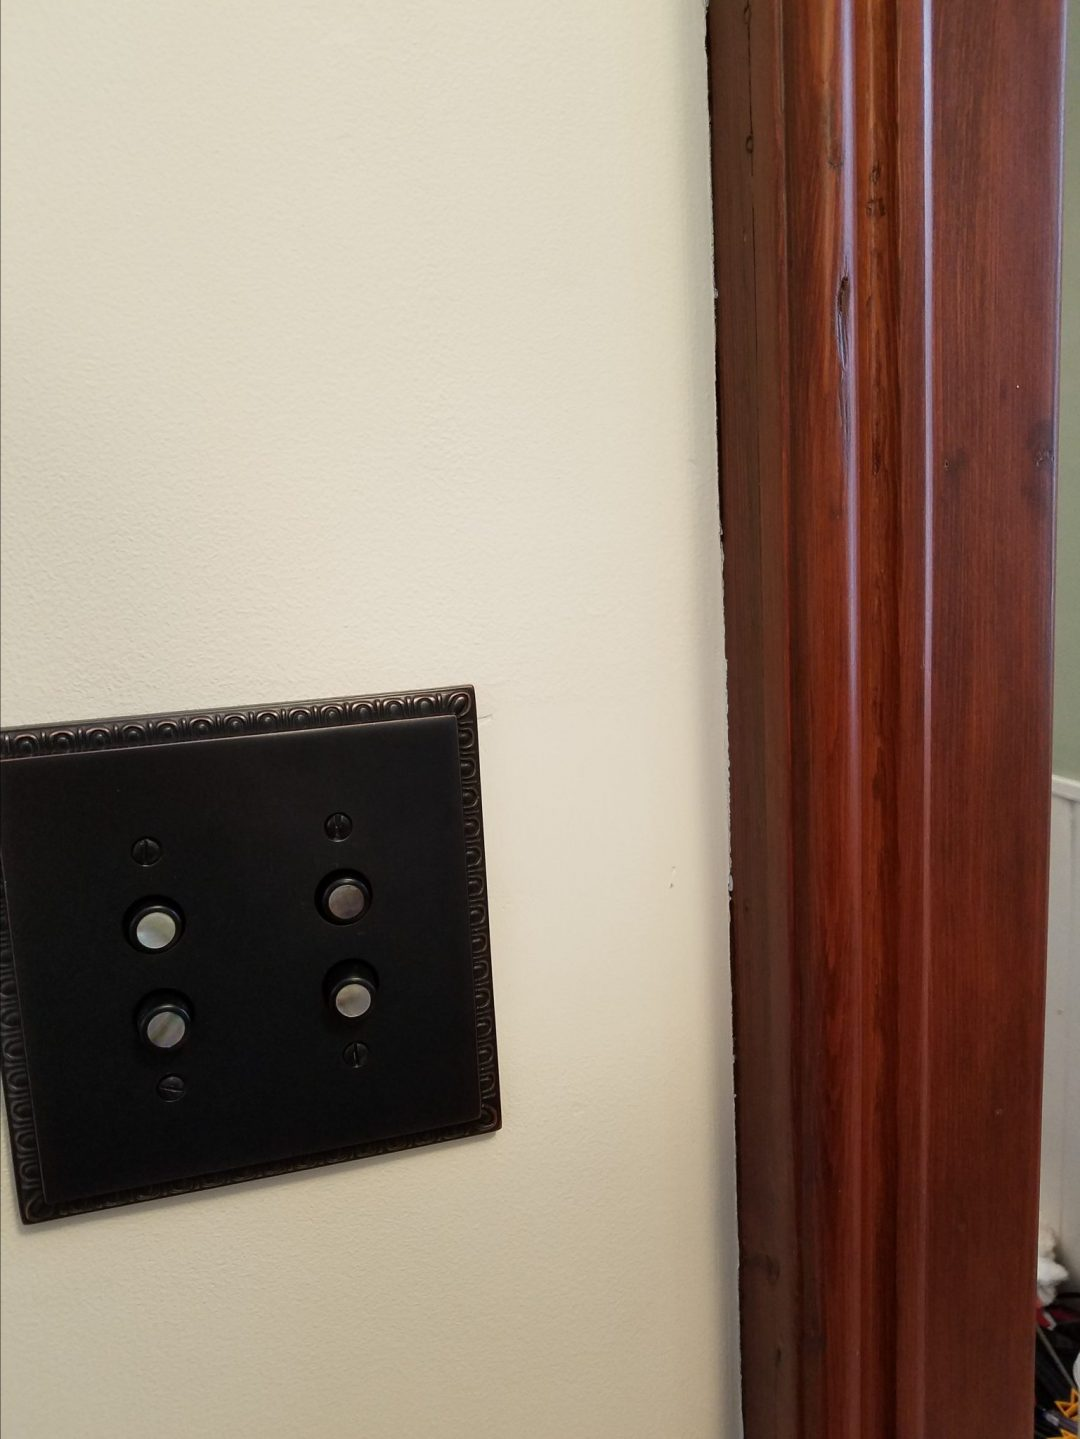
Kitchen Remodel – Push button switches
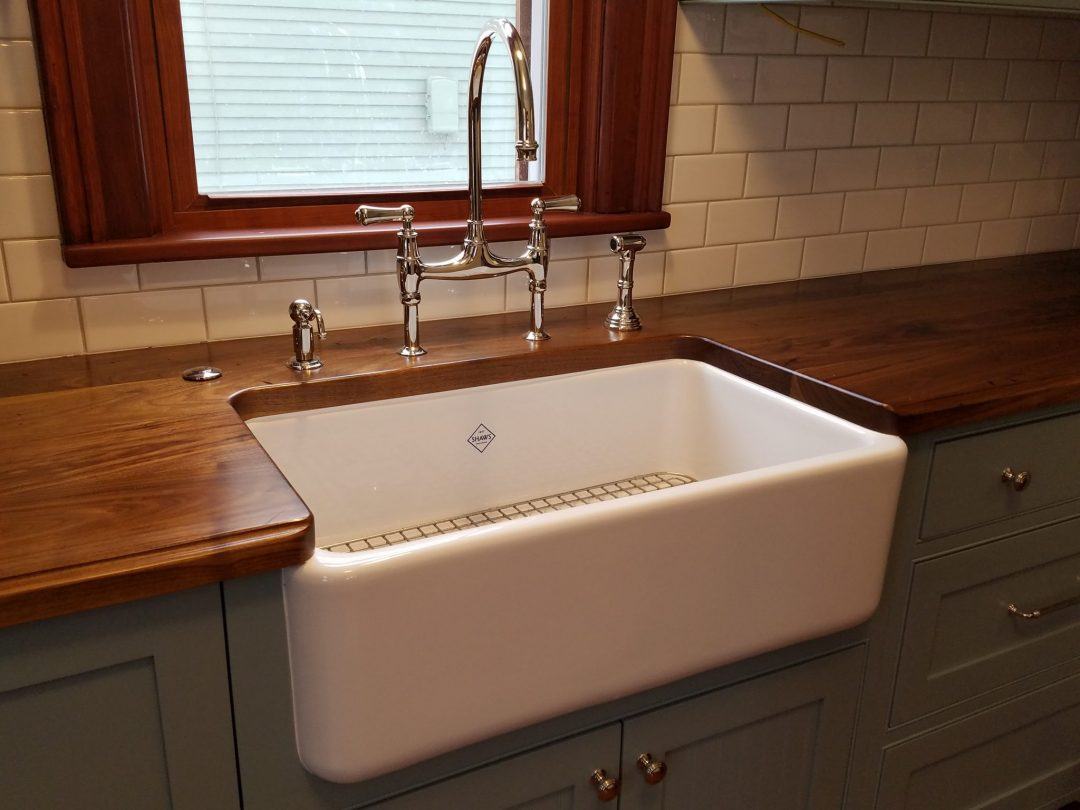
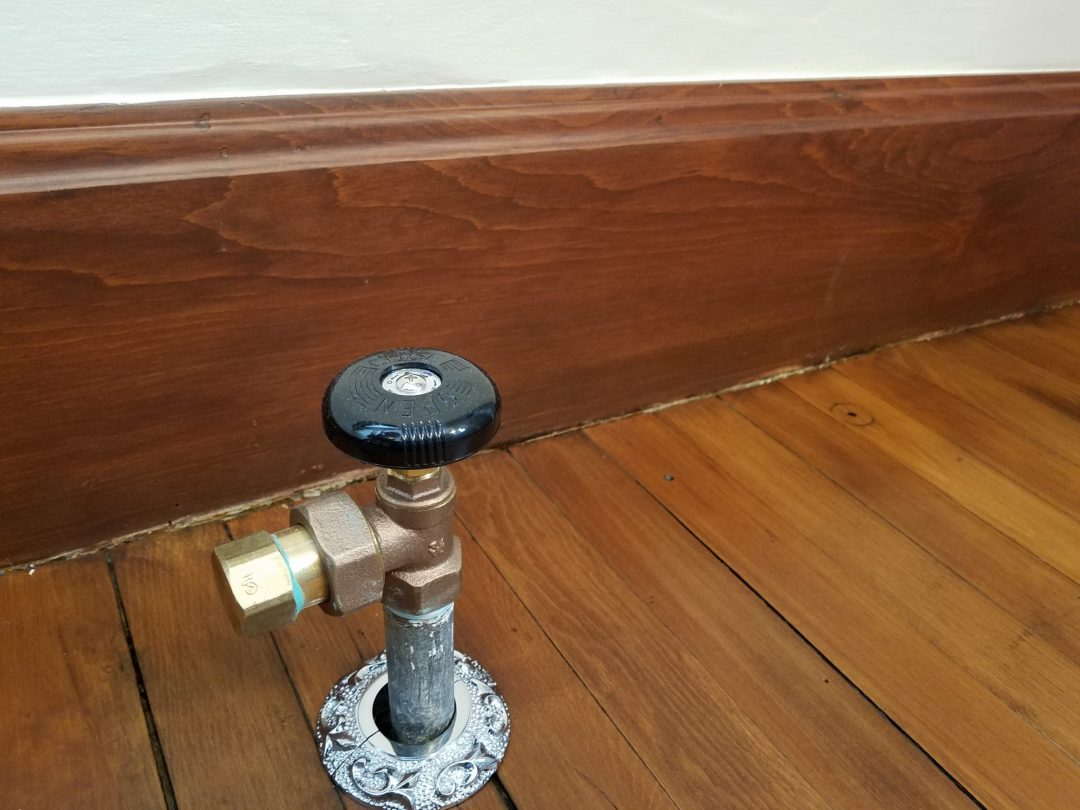
Vintage Kitchen Remodel – Final Plumbing and Fixtures
This phase of the Kitchen Remodel, we completed the installation of the water supply lines/shut-offs. Then the sink flange and garbage disposal quick-connect flange, sink faucet/sprayer. And finally, the soap dispenser, garbage disposal, sink plumbing, and pot filler.
Water supply lines/shut-offs: New PEX lines up from the basement, with new shut-offs.
Install the sink flange (seal with plumbers putty) and install the garbage disposal quick-connect flange – SNUG ONLY, AS OVER-TIGHTENING CAN CRACK THE SINK!
Install the Perrin & Rowe faucet, sprayer, and soap dispenser. Then connect the water supply lines (from the shut-offs to the faucet).
Install the garbage disposal: Twist and lock the garbage disposal unit into place on the quick-connect flange. Attach the lines from the dishwasher. Install the power switch (button) on the countertop, attach the airline, and plug in both – garbage disposal and power switch.
Click here for more info on garbage disposal and plumbing maintenance, tips, and tricks.
Install final sink drain plumbing: Install PVC drain, P-trap, vent, and make the connection to the garbage disposal (black pipe).
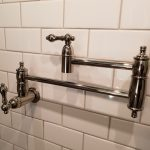
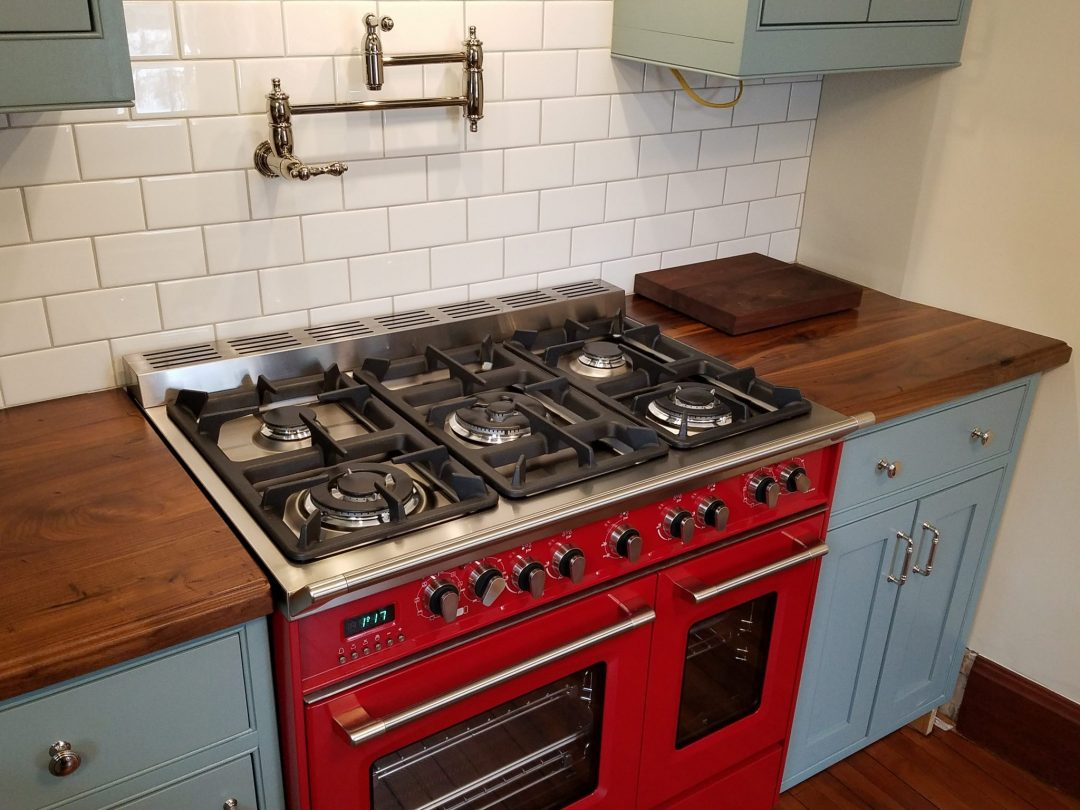
Install the pot filler: Insert the proper length brass fitting from the wall mount, then screw on/mount the pot filler. TIP: The brass fitting needs to be long enough to extend just inside the final finish of the subway tile. The pot filler must screw in far enough, so the plate will cover the transition – from pot filler to wall.
Check all plumbing and fixtures for correct operation and check for leaks.

New water supply lines Farmhouse Kitchen Remodel – 4 holes drilled for
faucet fixtures


Twist/lock disposal into place Disposal air switch


New sink drain plumbing Blue PEX Feed From the Left – Notice I
got lucky. Pot Filler Mount lined up on
wall stud!
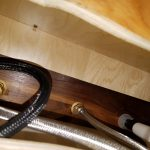
Access hole through cabinet Faucet plumbing attached
Farmhouse Kitchen Remodel Farmhouse Kitchen Remodel –
Faucet/fixtures installed Farmhouse sink


Install flange w/plumber’s putty Air switch power control box


Ensure correct depth from finished surface (tile) Slide trim ring into place
Z-Line Range Hood Installation
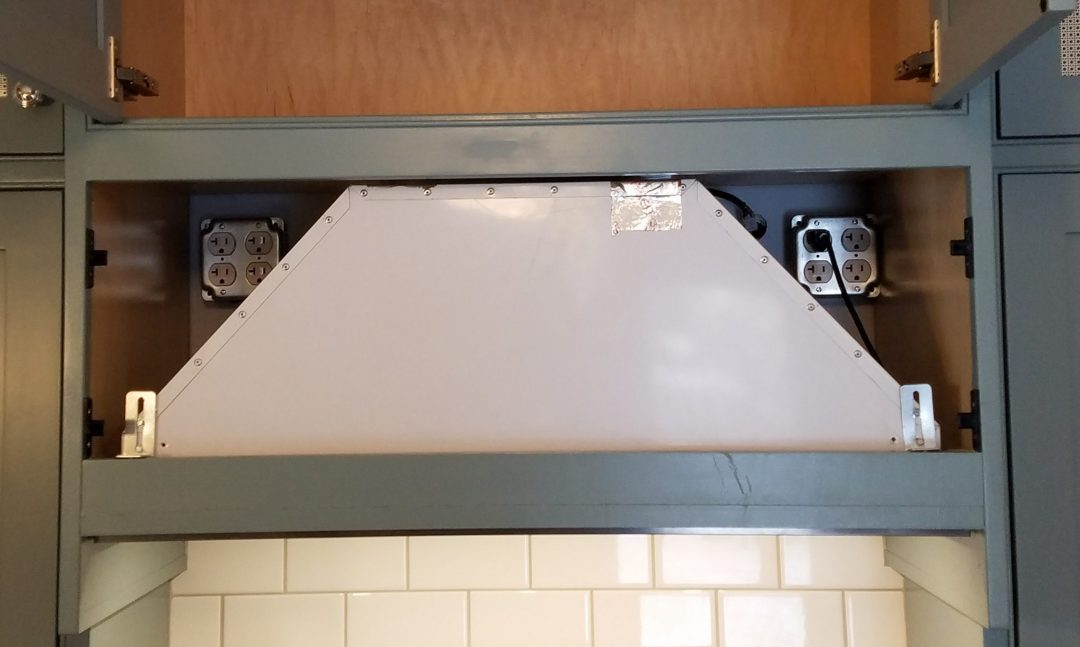
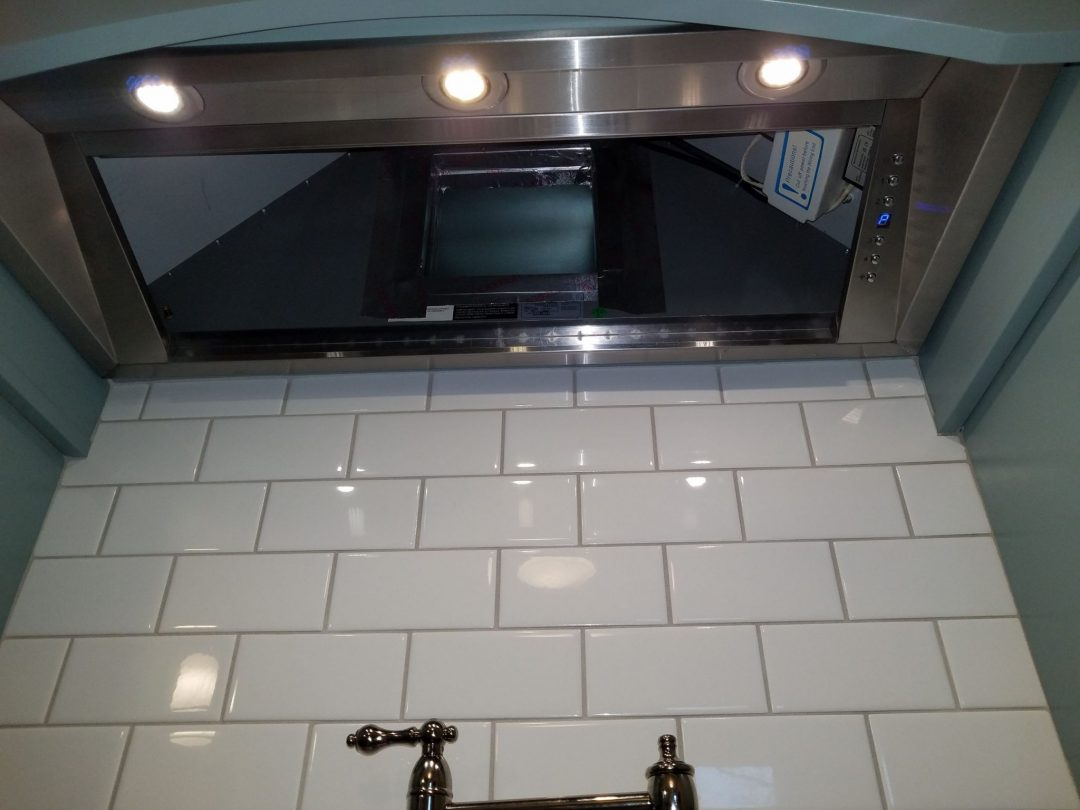
- Install the Z-Line Range Hood: The hood housing slides right up into the custom cabinet and mounts with the supplied brackets.
- Make the connection at the back of the hood housing, to the duct (at the wall). Seal the connection.
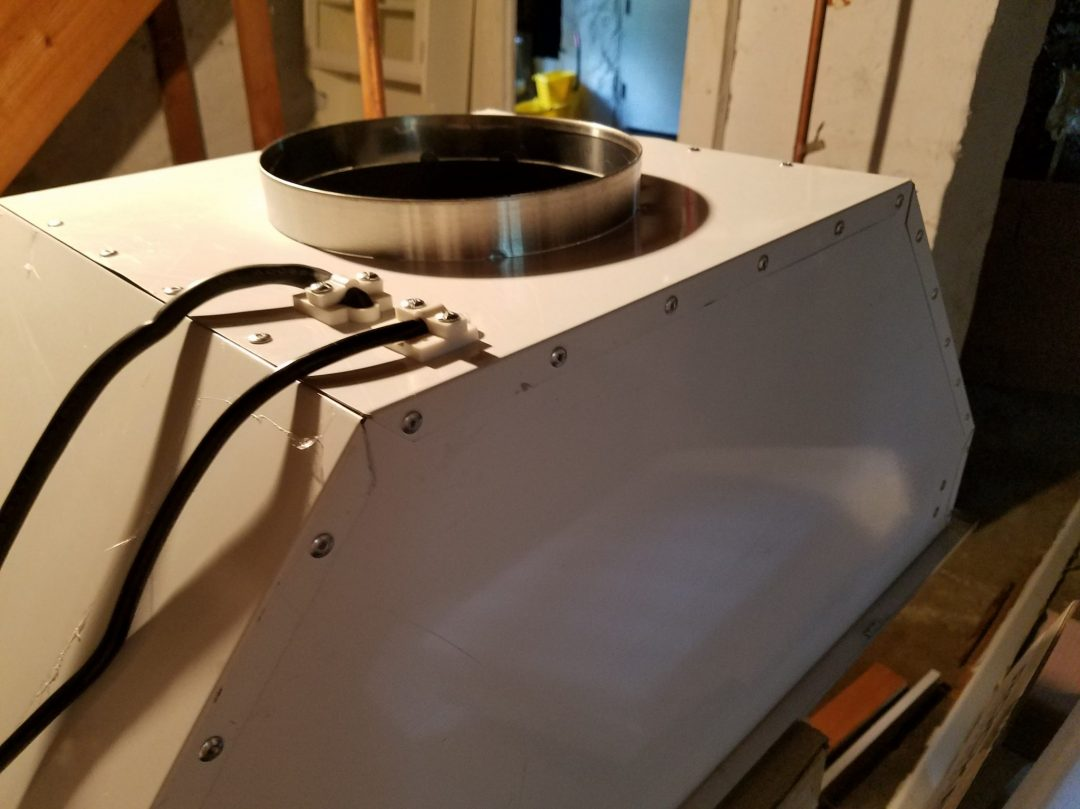
- Plug in 110v power supply (in the cabinet) and remote blower control (that runs to the basement).
- Ensure all final connections and ducts are complete in the basement for the remote blower.
- Turn on and perform a function check.
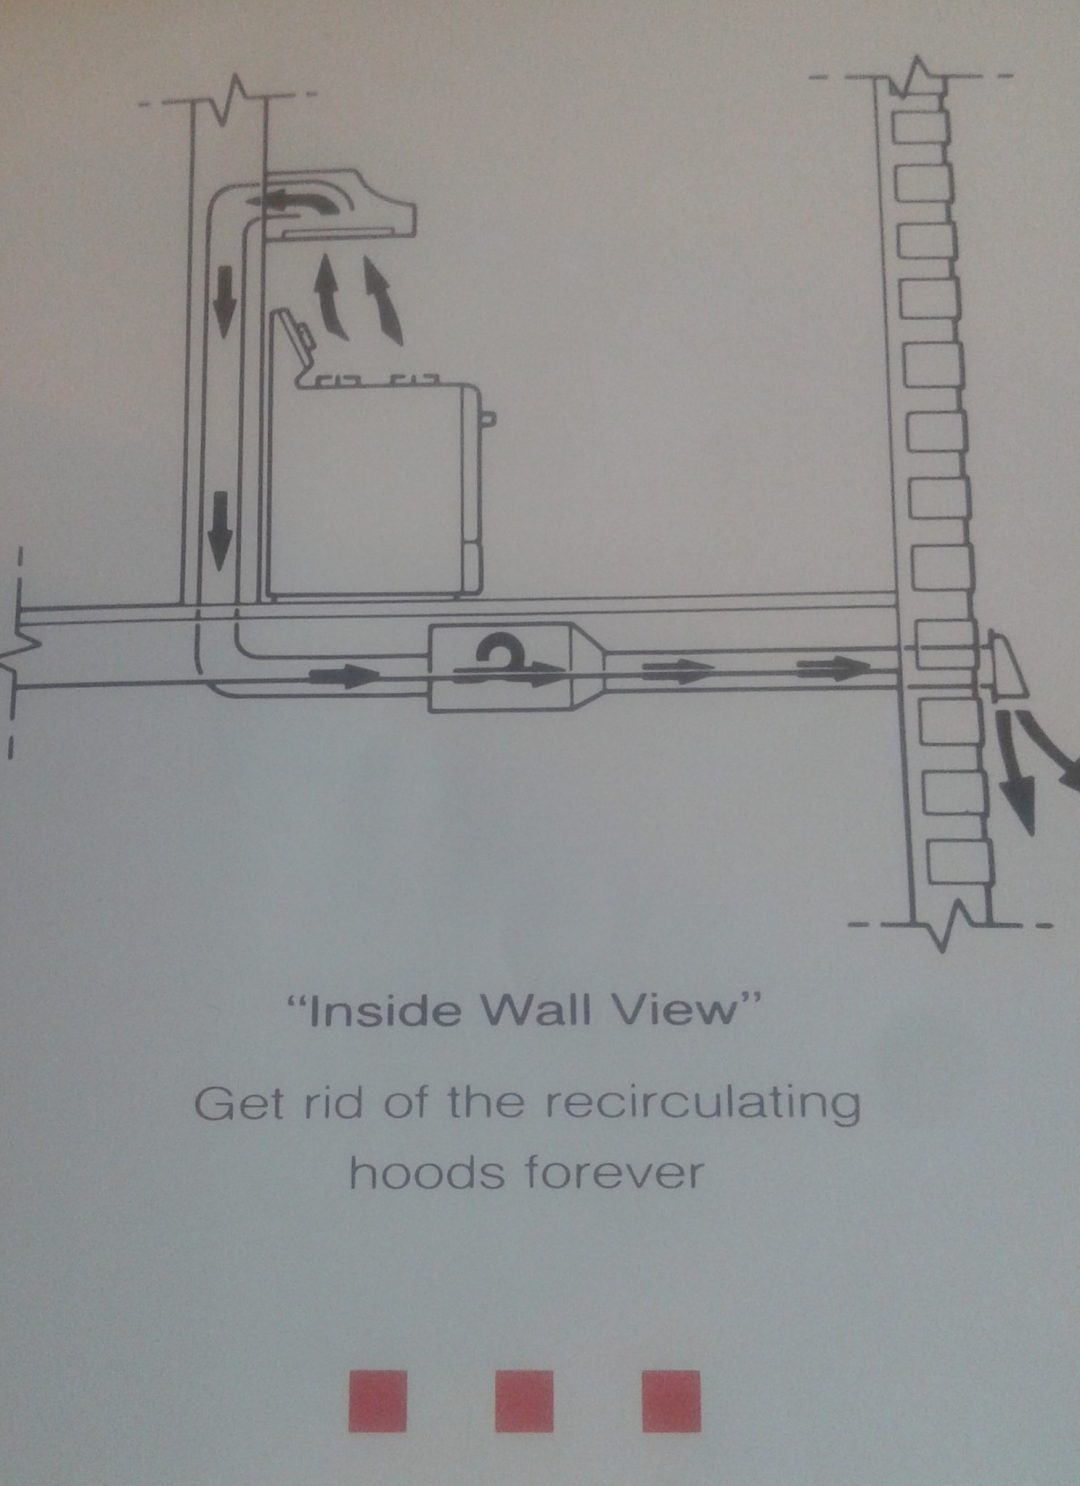
Diagram: Range Hood with Remote Blower
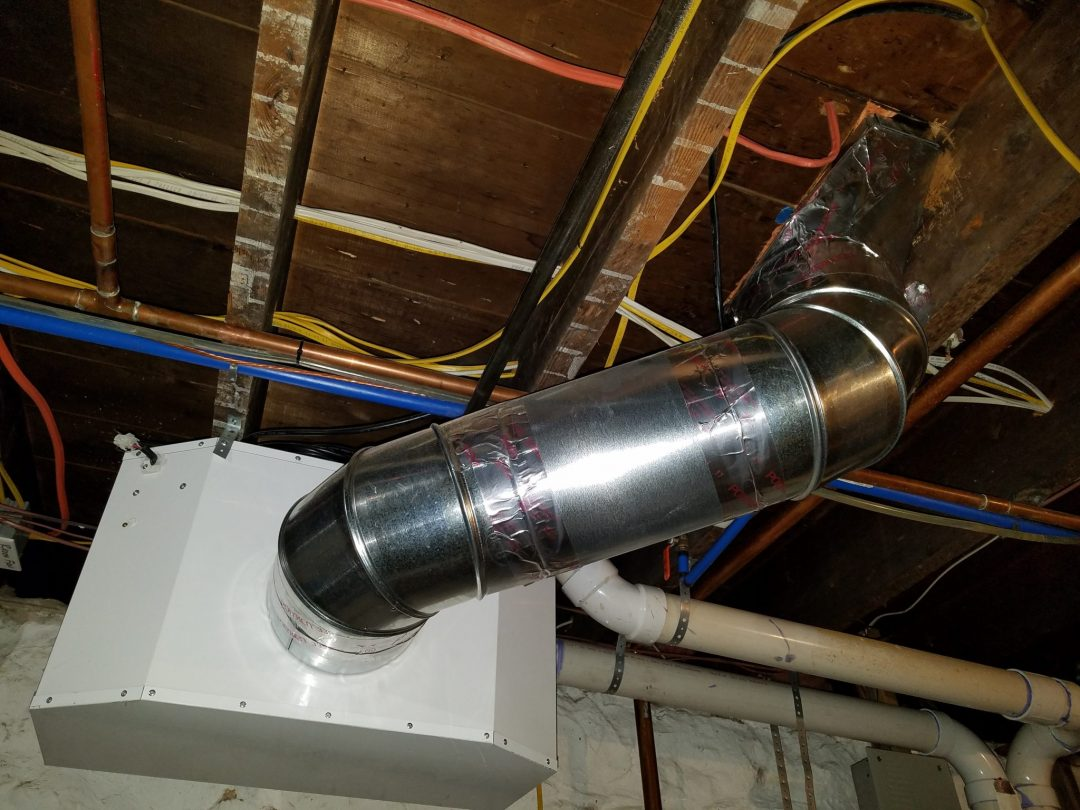
Duct Attaches to Remote Blower in Basement
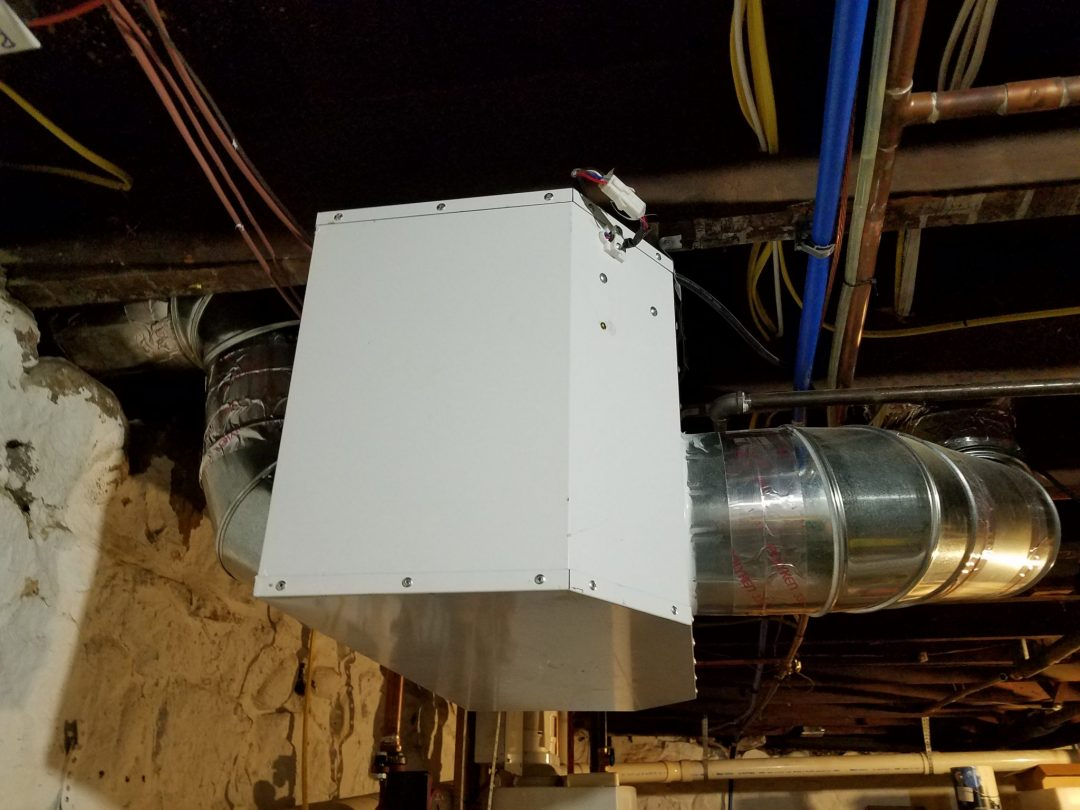
Duct Exits to Outside Just Above the Foundation
Hood housing in kitchen
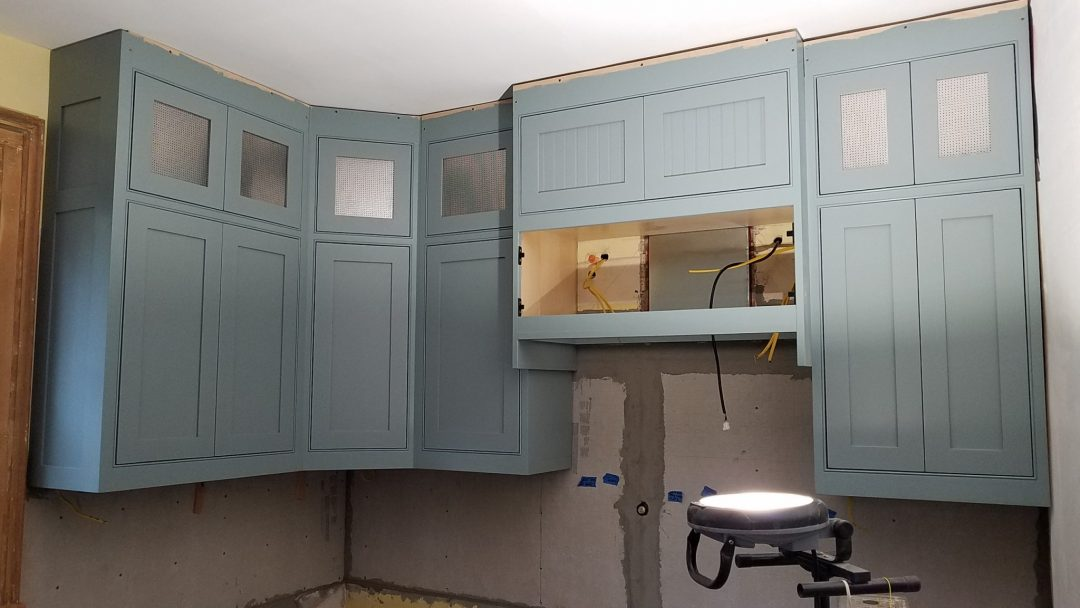
Farmhouse Kitchen Remodel – Cabinet ready for range hood

Circuits: Spare/Lights/Hood/Lights

Z-Line Range Hood
Tighten/position to level set Farmhouse Kitchen Remodel – Cabinets
Cleaning/Prep for Floor Refinishing
- Clean the entire kitchen to prepare for floor refinishing.
- The kitchen must be clean and free from all dust, dirt, and debris, so the final floor finish isn’t contaminated.
Kitchen Remodel – Hardwood Floor Refinishing
Hardwood Floor Refinishing – Stain and Finish
So now that the bulk of the kitchen is complete, we can return back to floor refinishing. Referring back to Phase II, we left off with the floors sanded and covered with Ram Board for protection.
- Remove Ram Board protection
- Prep TIP: Tape up around the perimeter of the kitchen – around baseboards and painted cabinets. We don’t want to get stain and urethane on the cabinets of the finished trim.
- Sand the floor one more time with a pole sander (100 grit). Make sure there aren’t any flaws left in the wood! Once the stain hits the wood, it's too late to fix any imperfections. Lightly wet the floor to look for existing scratches/sanding marks just to be sure. Refer back to Pete’s Hardwood Refinishing Tips, as well.
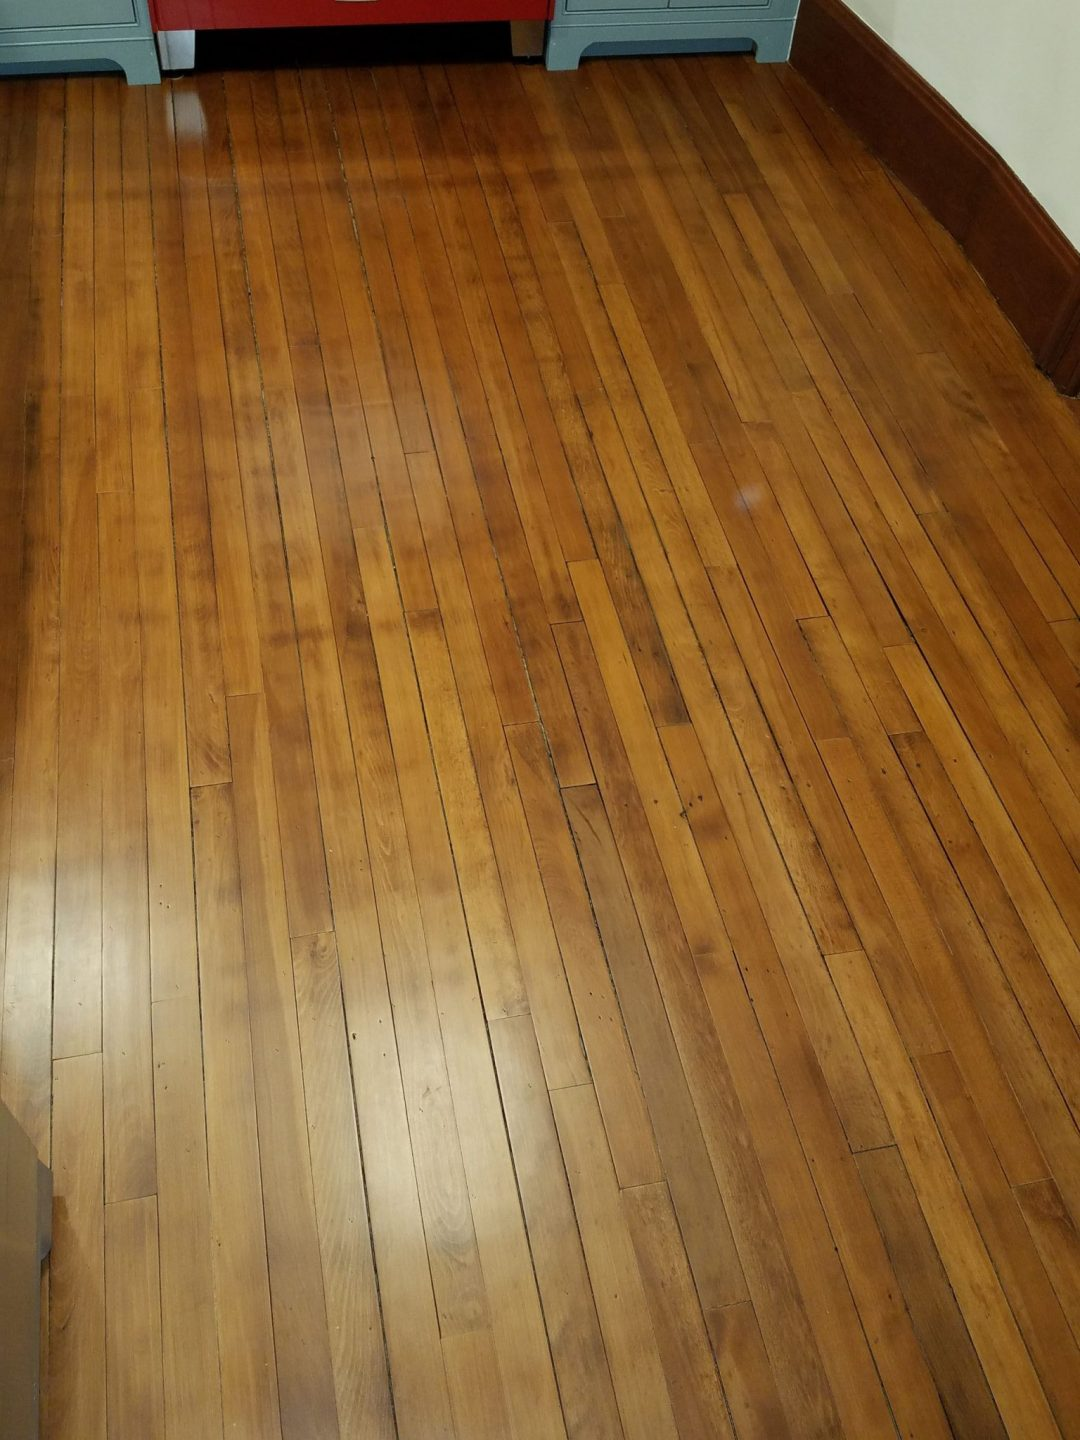
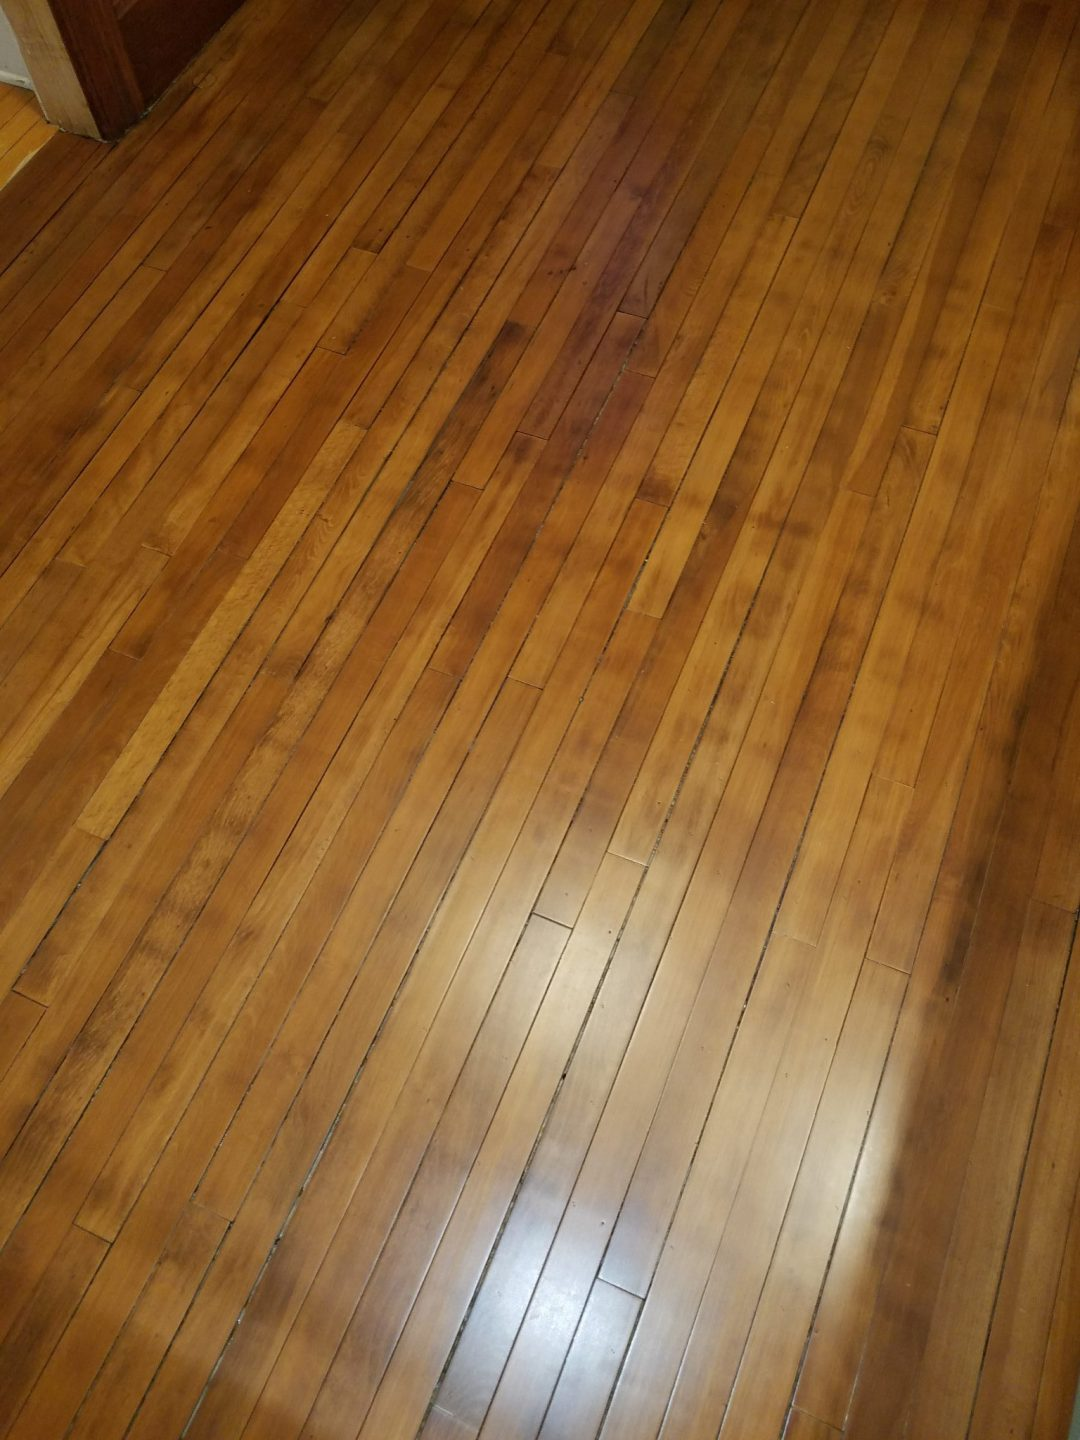
- Apply the wiping stain: 1 to 2 coats based on look to achieve. We applied 1 coat here. Dry time 24 hours. We used Old Masters in Early American.
- TIP: After this point, walk on floors in stocking feet only!
- Apply the first coat of urethane (we used a water-based Ceremathane by Graham), dry for 24 hours minimum.
- Scuff lightly to knock off dust nibs, HEPA vac, wipe with dry micro-fiber mop to remove dust.
- Apply additional coats (at least 4) and repeat.
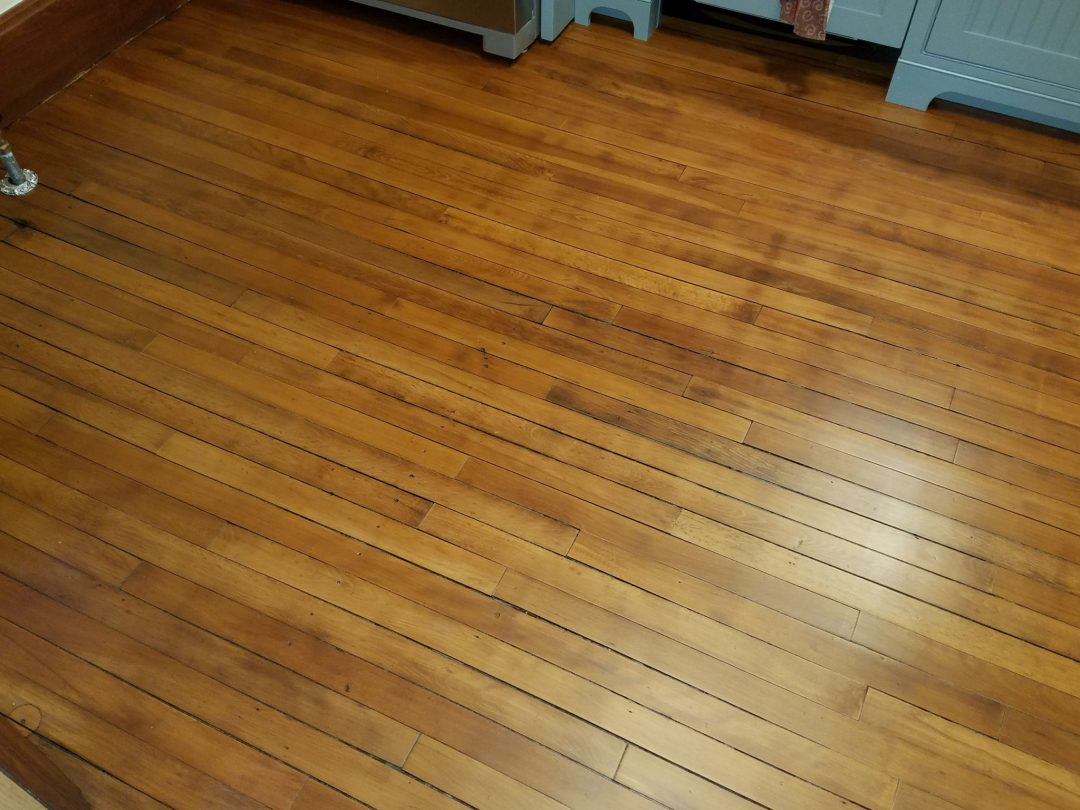
- We applied 6 coats for this kitchen remodel to ensure the best wood protection in the kitchen.
- Allow floor to dry properly: The last thing we want is foot prints or damage to the floor because we didn’t let it dry properly.
- TIP: Allow the floor to dry 4-7 days minimum (based on temperature, humidity, etc)…AND…
- Apply “red rosin” paper to the floor so you don’t leave footprints/smudges in the new finish.
Satin gives a “matte” furniture look
Kitchen Remodel – Hardwood Floor Refinishing
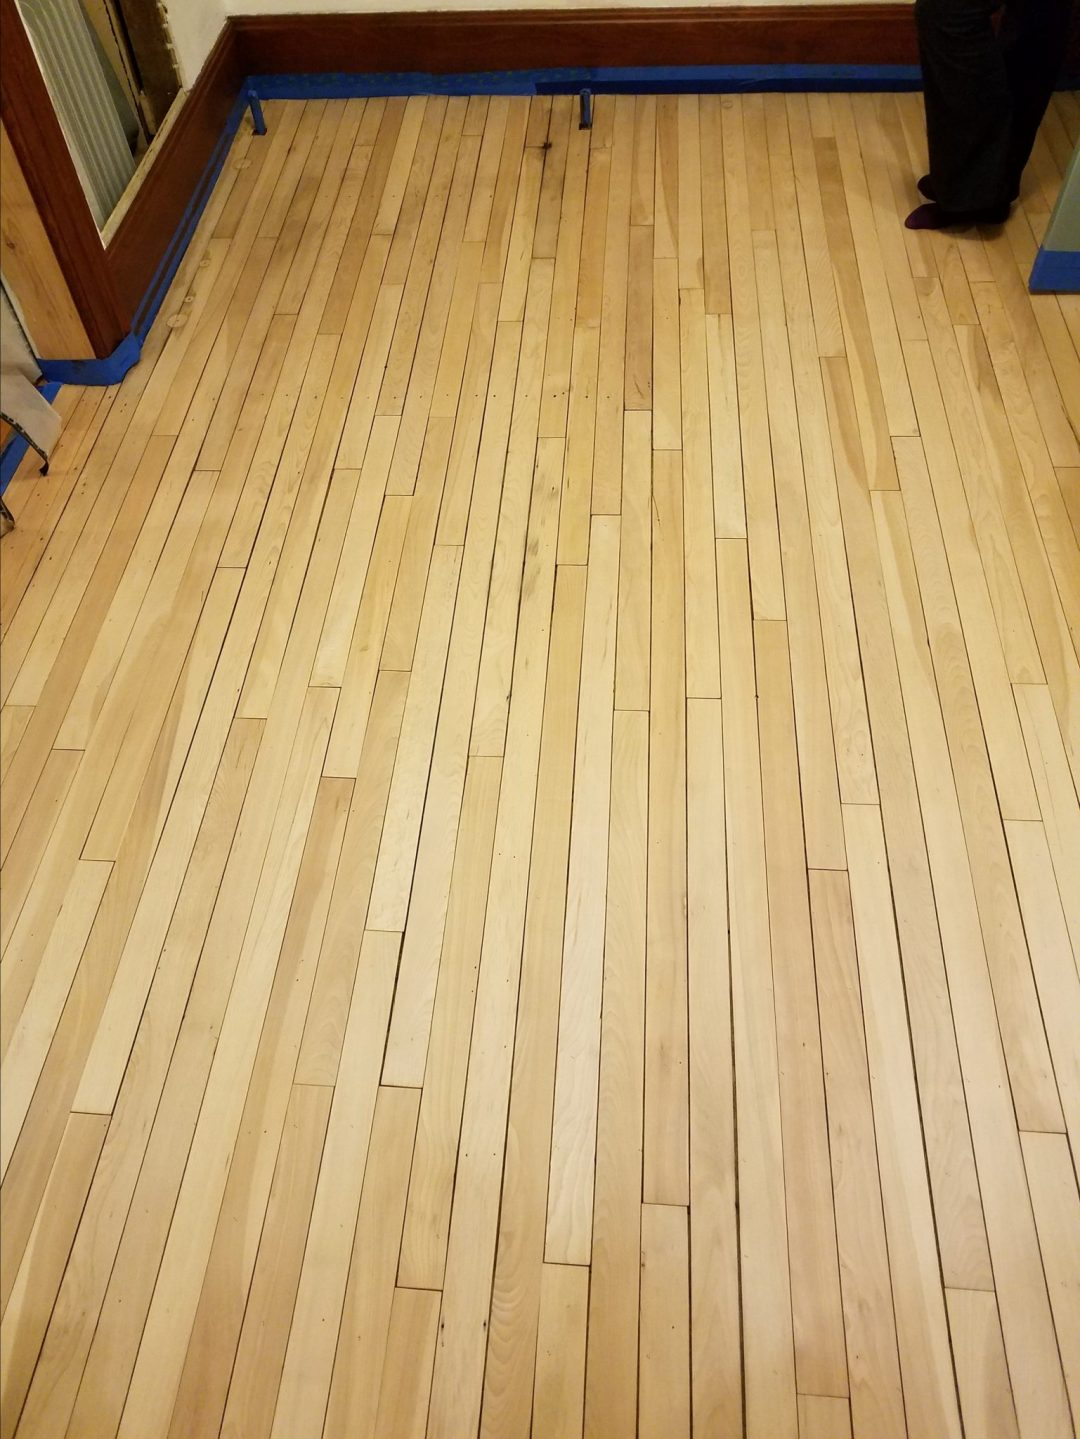
Raw floor, sanded and ready for stain
Wiping stain application
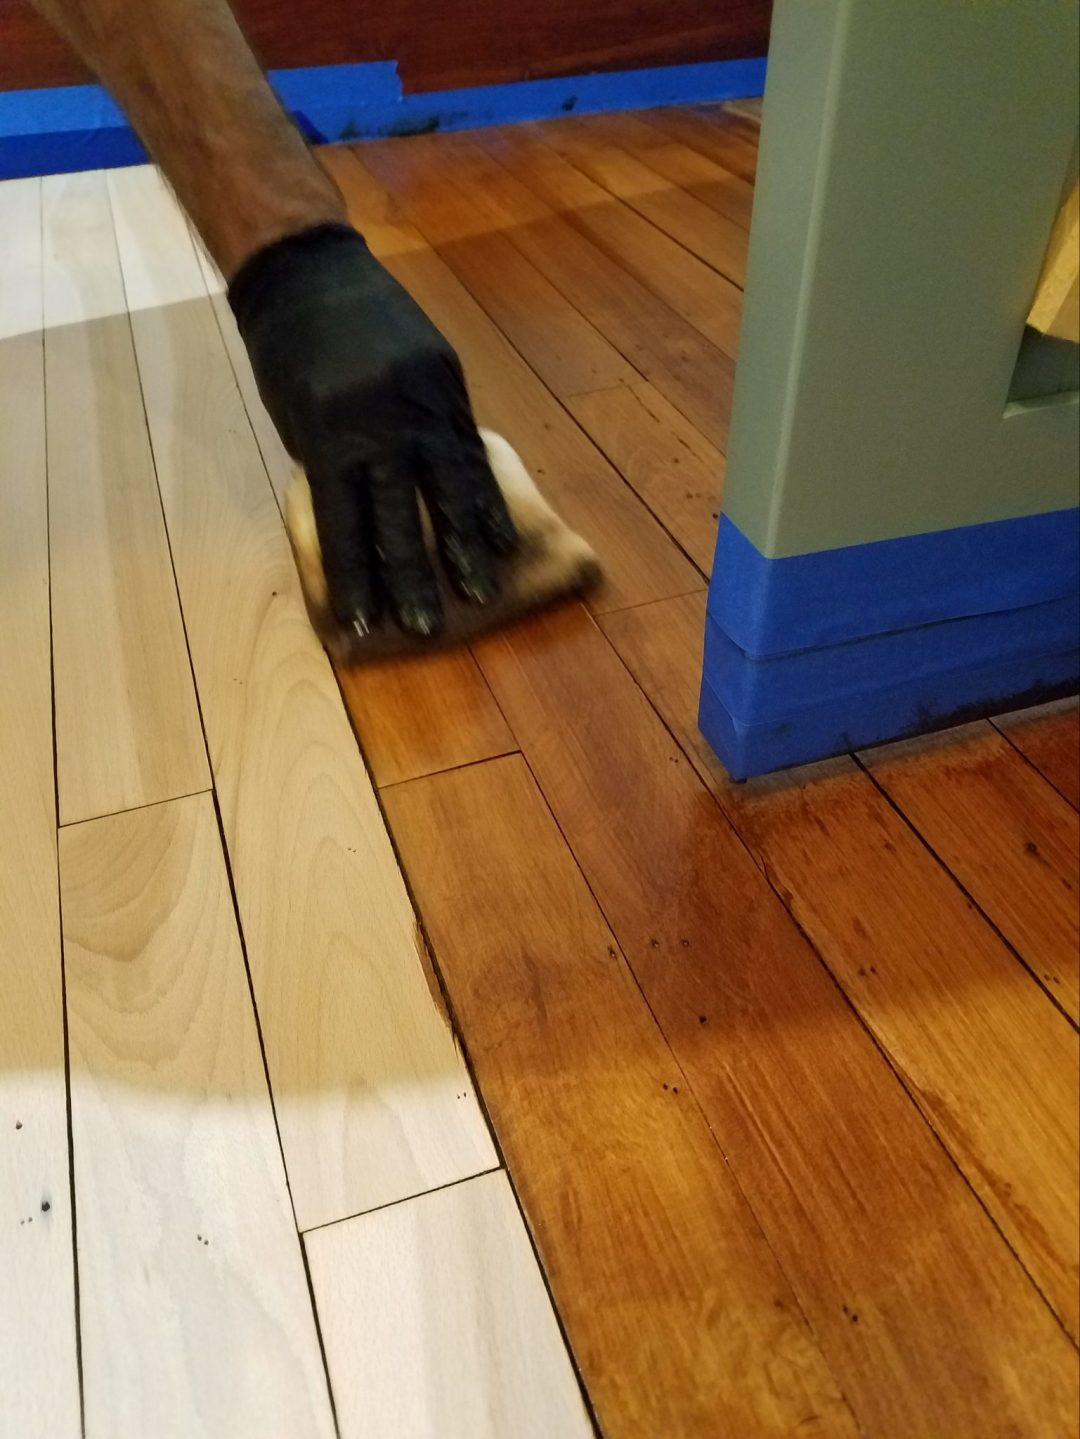
Color is “Early American”
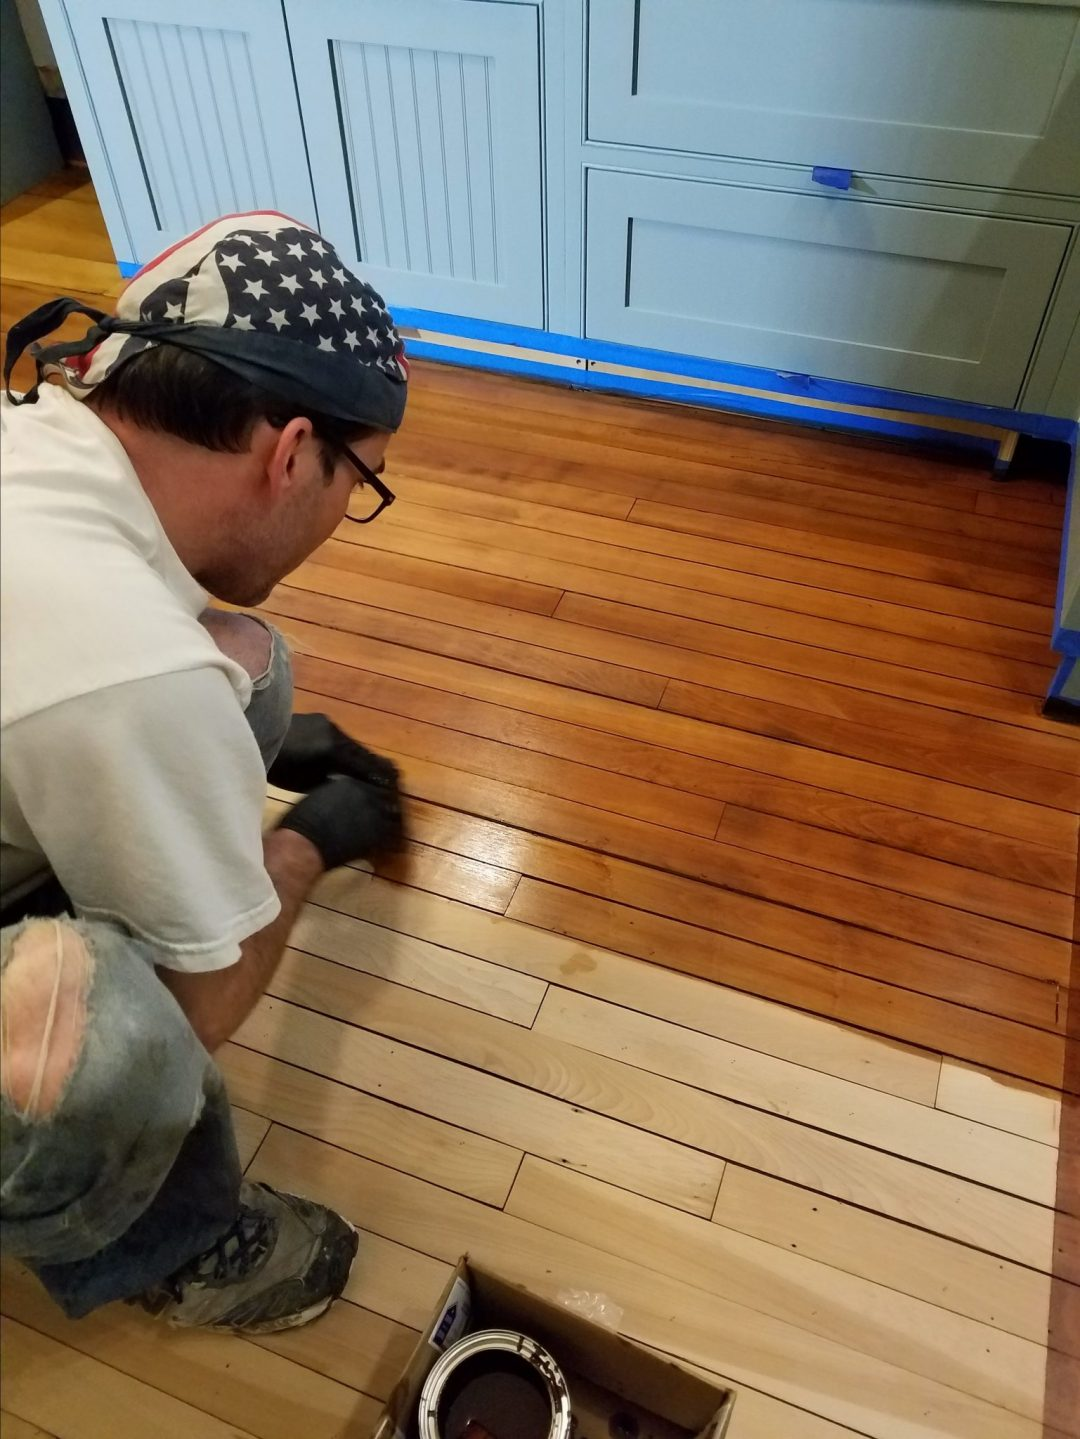
Kitchen Remodel – Hardwood Floor Refinishing
Kitchen Remodel – Hardwood Floor Refinishing
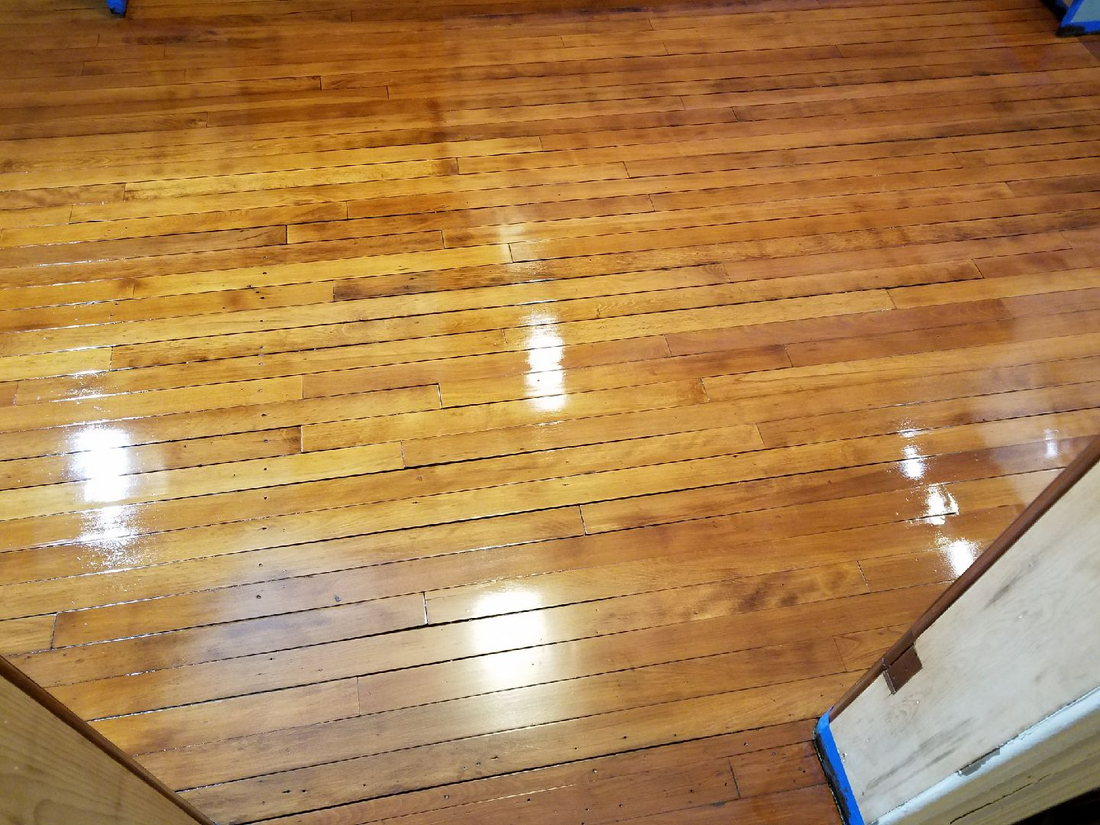
First application of the urethane topcoat
For more information, go check out our Hardwood Floor Refinishing Technical Blog!
Farmhouse Kitchen Remodel – Install Major Appliances and Function Test
Now it's a moving day! Time to finally move in all the appliances, install them, and perform a function check.
- TIP: Prior to moving any heavy items across the newly refinished floor:
- Re-install the old Ram Board on top of the “red rosin” paper to protect the floor.
- Apply felt furniture pads to ALL major appliances (refrigerator and Range/stove feet), so future servicing and cleaning won’t damage the floor while moving appliances around.
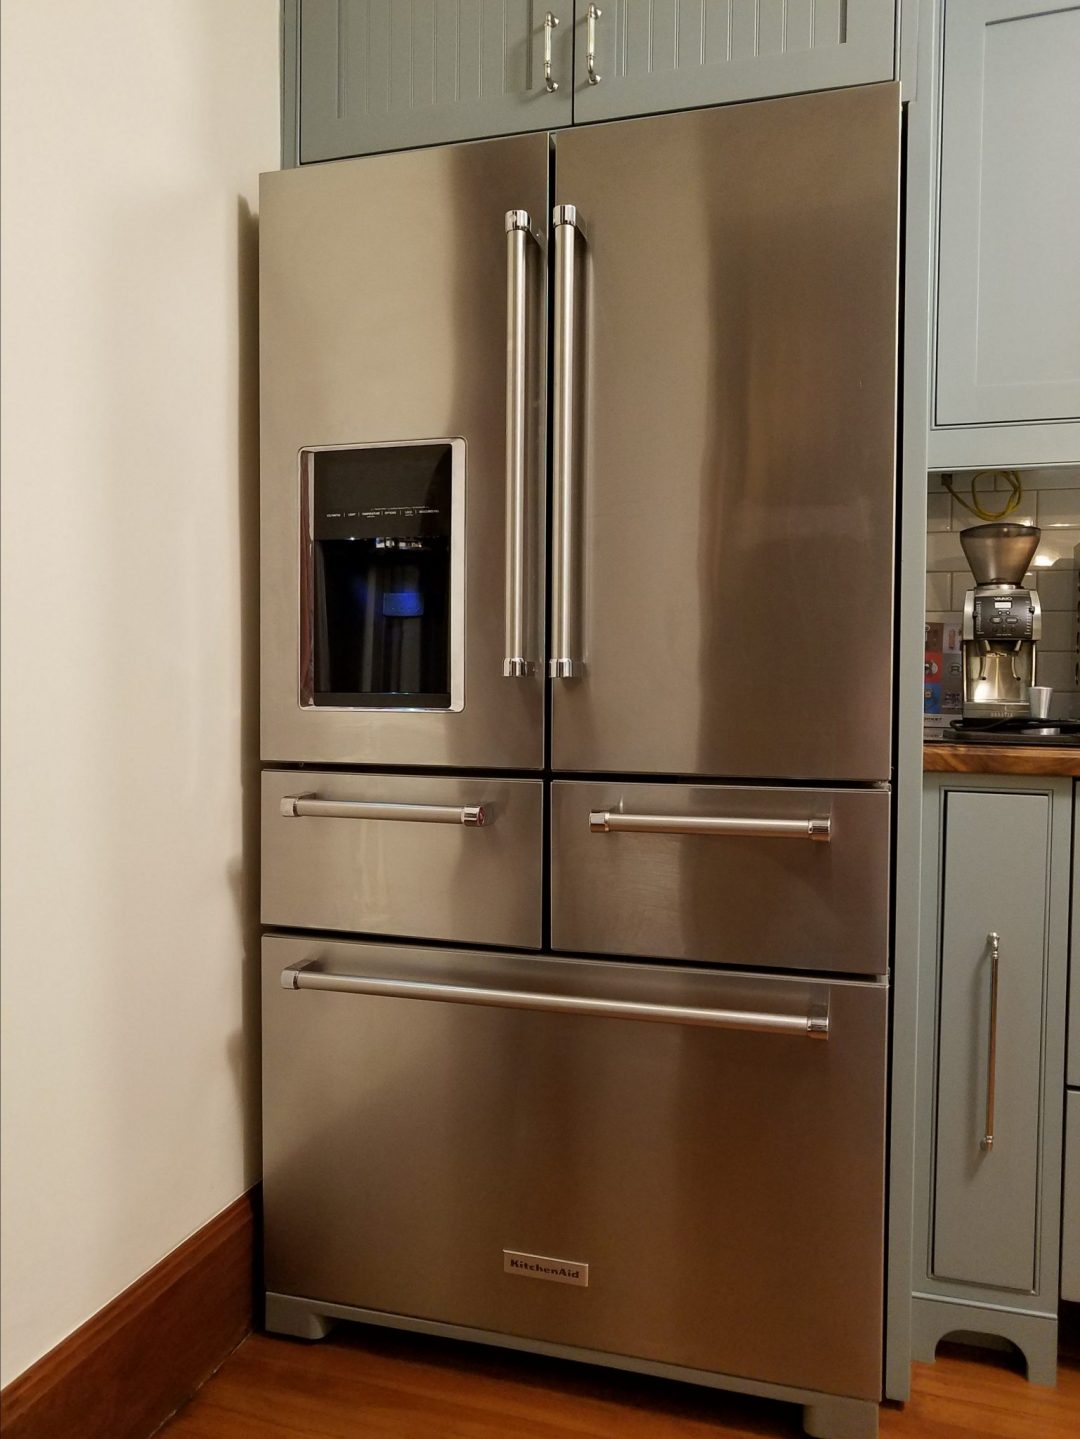
- KitchenAid Refrigerator:
- Carefully roll into the opening, make the ice maker water line connection, plug it in , check for leaks, THEN gently roll into place.
- General Rule – 1″ space/gap all the way around for proper ventilation, and 2″ in the rear, against the wall.
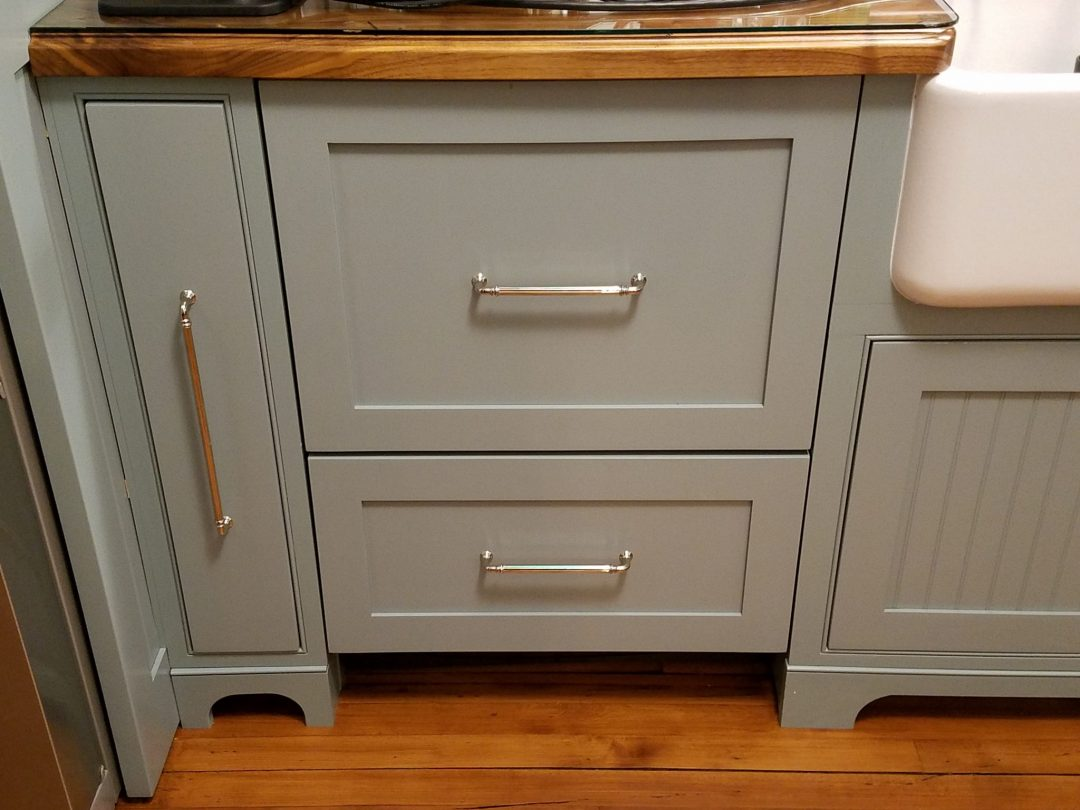
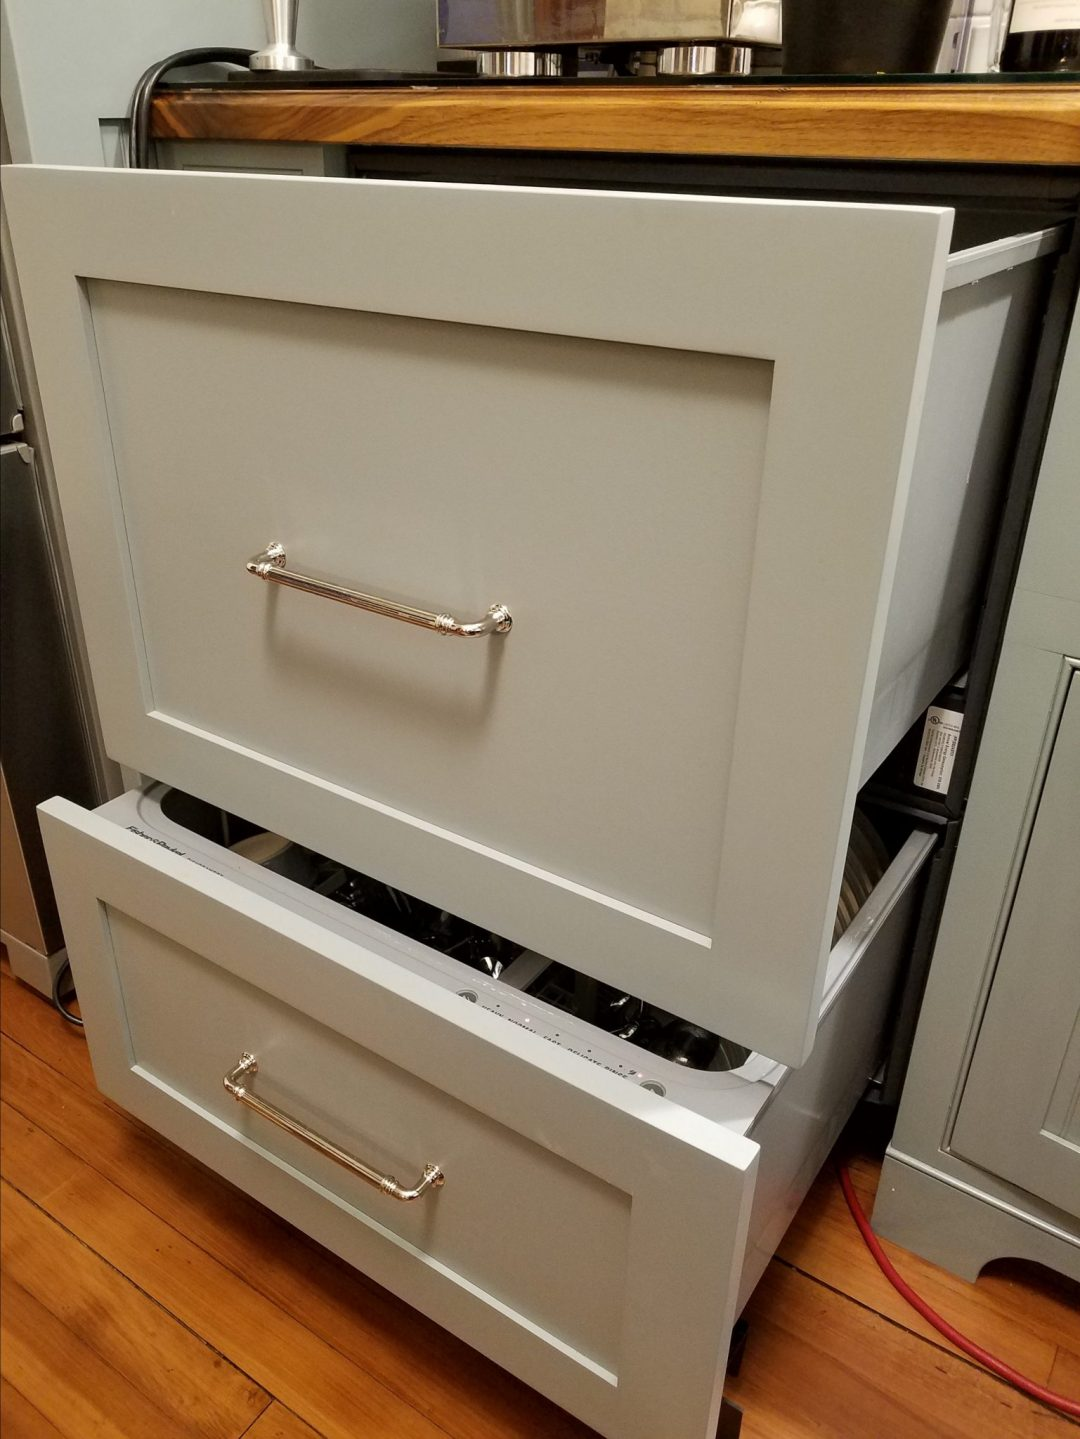
- Fisher & Paykel Dishdrawer:
- Gently slide into opening, while feeding in all the drain lines and power cord.
- TIP: Make sure there are no kinks in the drain lines.
- Make all the drain line connections per the installation instructions, and plug in the main power under the sink.
- Ensure the unit is level and plumb. Mount/screw the frame to the adjacent cabinets.
- Install hardware to front custom cabinet door covers, then install per instructions – top and bottom drawer doors.
- Power on, inspect for leaks, and proper function.
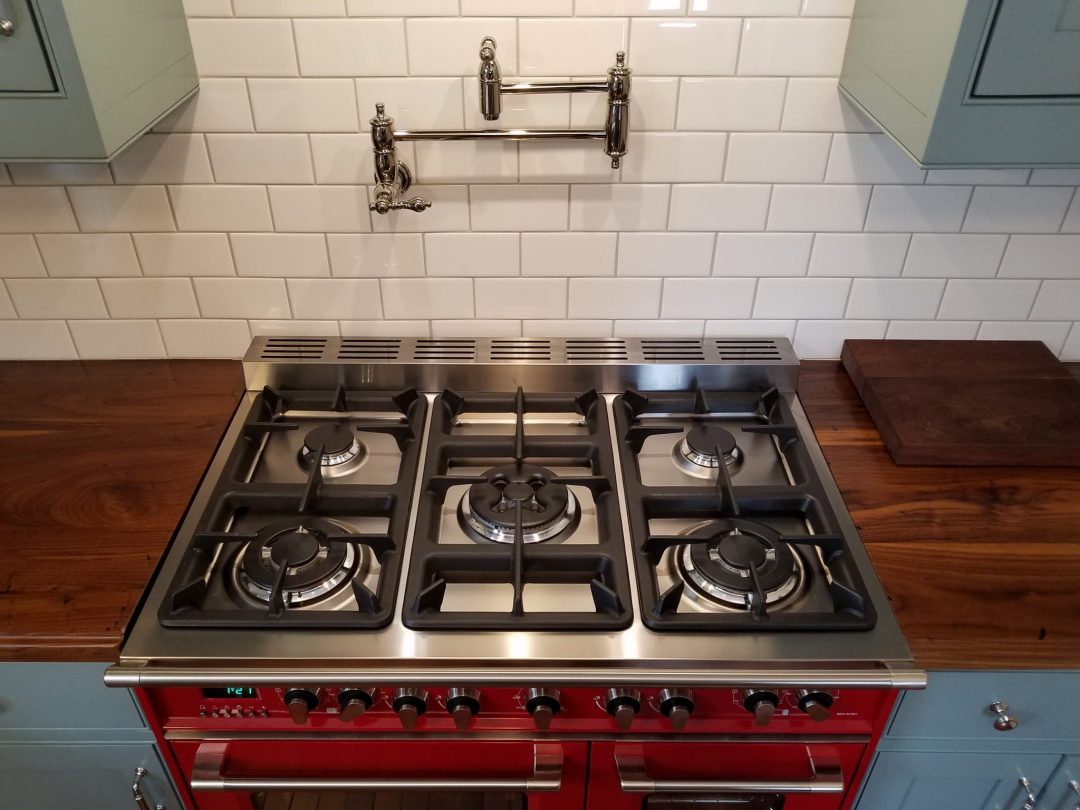
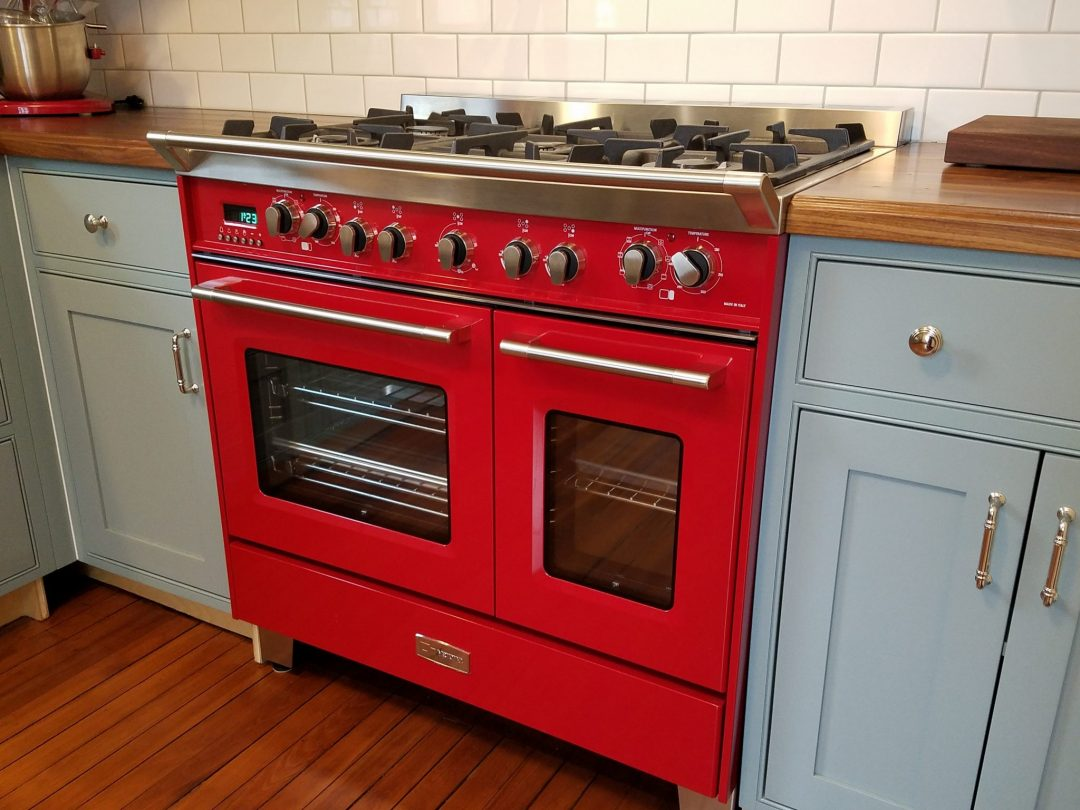
- Verona Classic Range:
- Assemble electrical plug and gas line plumbing, per instructions.
- Gently slide into the opening.
- Make gas connections and check for leaks.
- Plug in at the power source.
- Slide into the wall and ensure the range is level and plumb.
- Power on and perform function checks.
- TIP: Check oven temperature accuracy (with thermometer) while new/under warranty as they can vary wildly or be calibrated incorrectly from the factory.
Attach dishwasher water line
Slide in opening, set level
Fasten to sides of cabinets
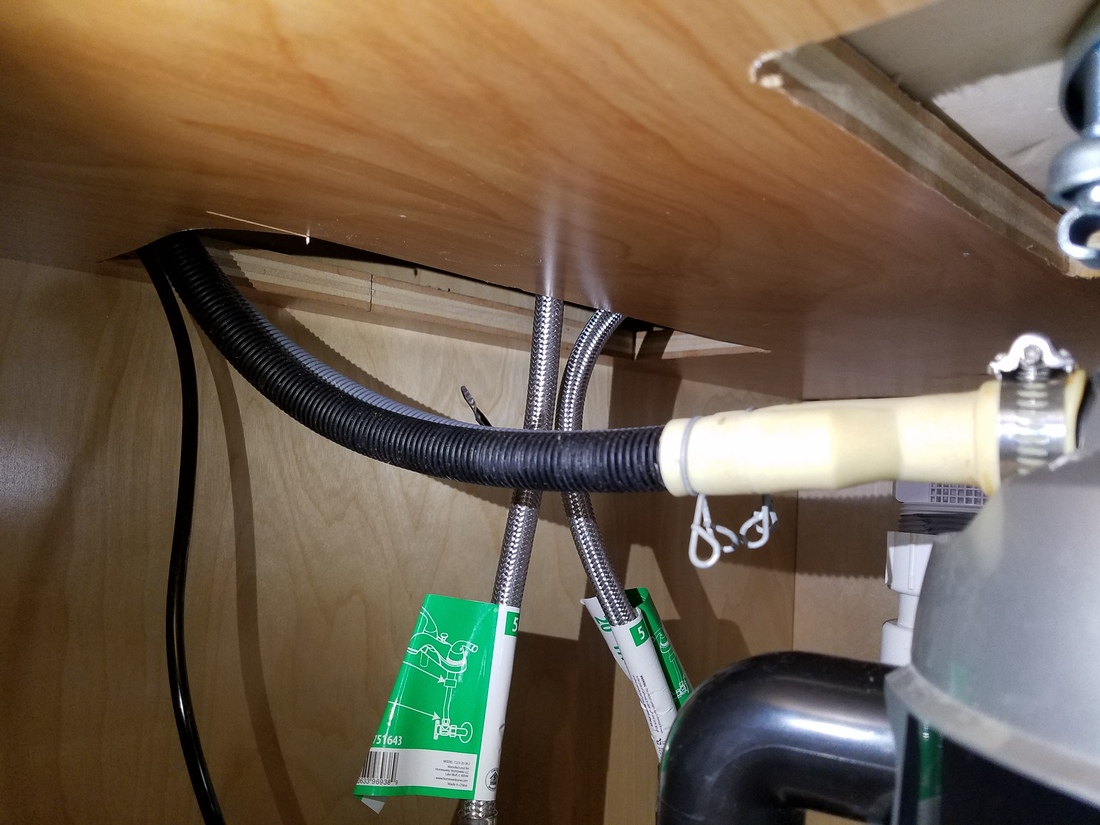
Feed drains through, connect to disposal
Hook up gas line and plug in
Function check all appliances
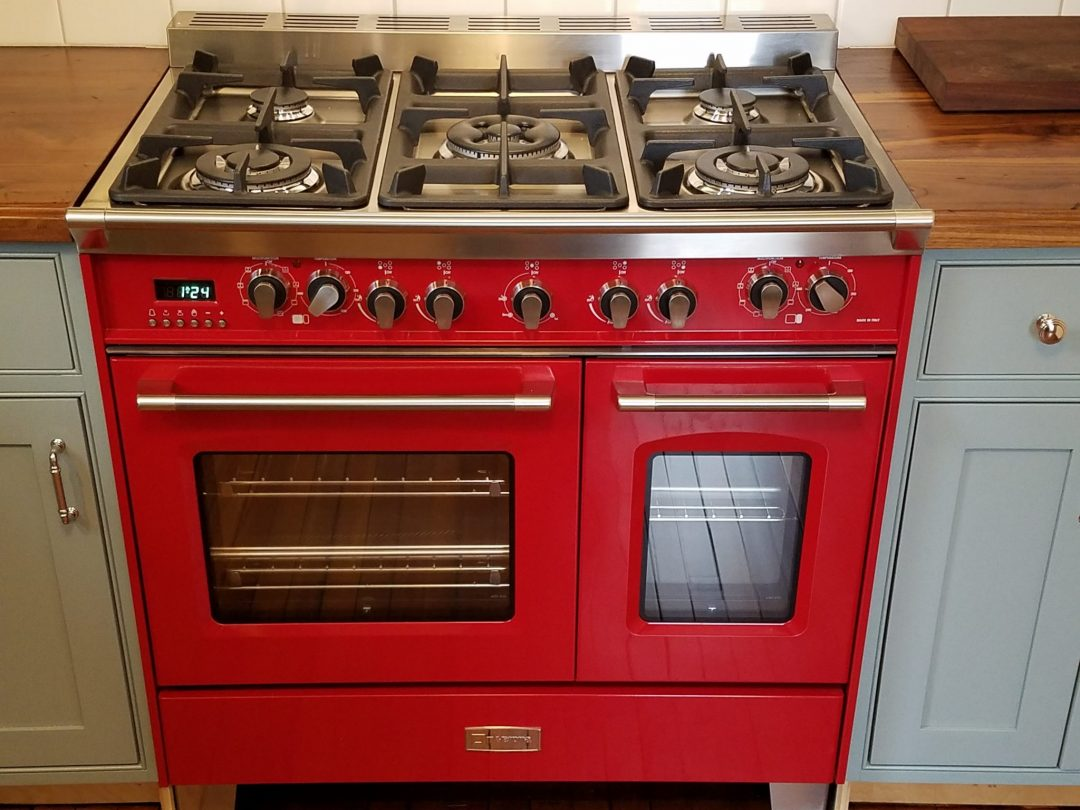
Kitchen Remodel – Red Stove
Slide to rear wall
Attach water line, check for leaks
APPLIANCE INSTALL IS COMPLETE!
Need more kitchen remodel ideas, or want to see the full list of items used , visit the MOHF Kitchen Remodel Resource Page for all the details.
Stay tuned for the last two steps of the Kitchen Remodel Planning Process:
Part 6: Project Monitoring and Controlling
Step 7: Program Closeout
Best of luck, and keep on Fixing!

For more info visit: www.myoldhousefix.com
![]()
Posts may contain affiliate links. If you use these links to buy something, we may earn a small commission (at no additional cost to you). Full disclaimer HERE.


0 Comment(s)